
How to Finish & Frame Cross Stitch: 9 Pretty Ideas
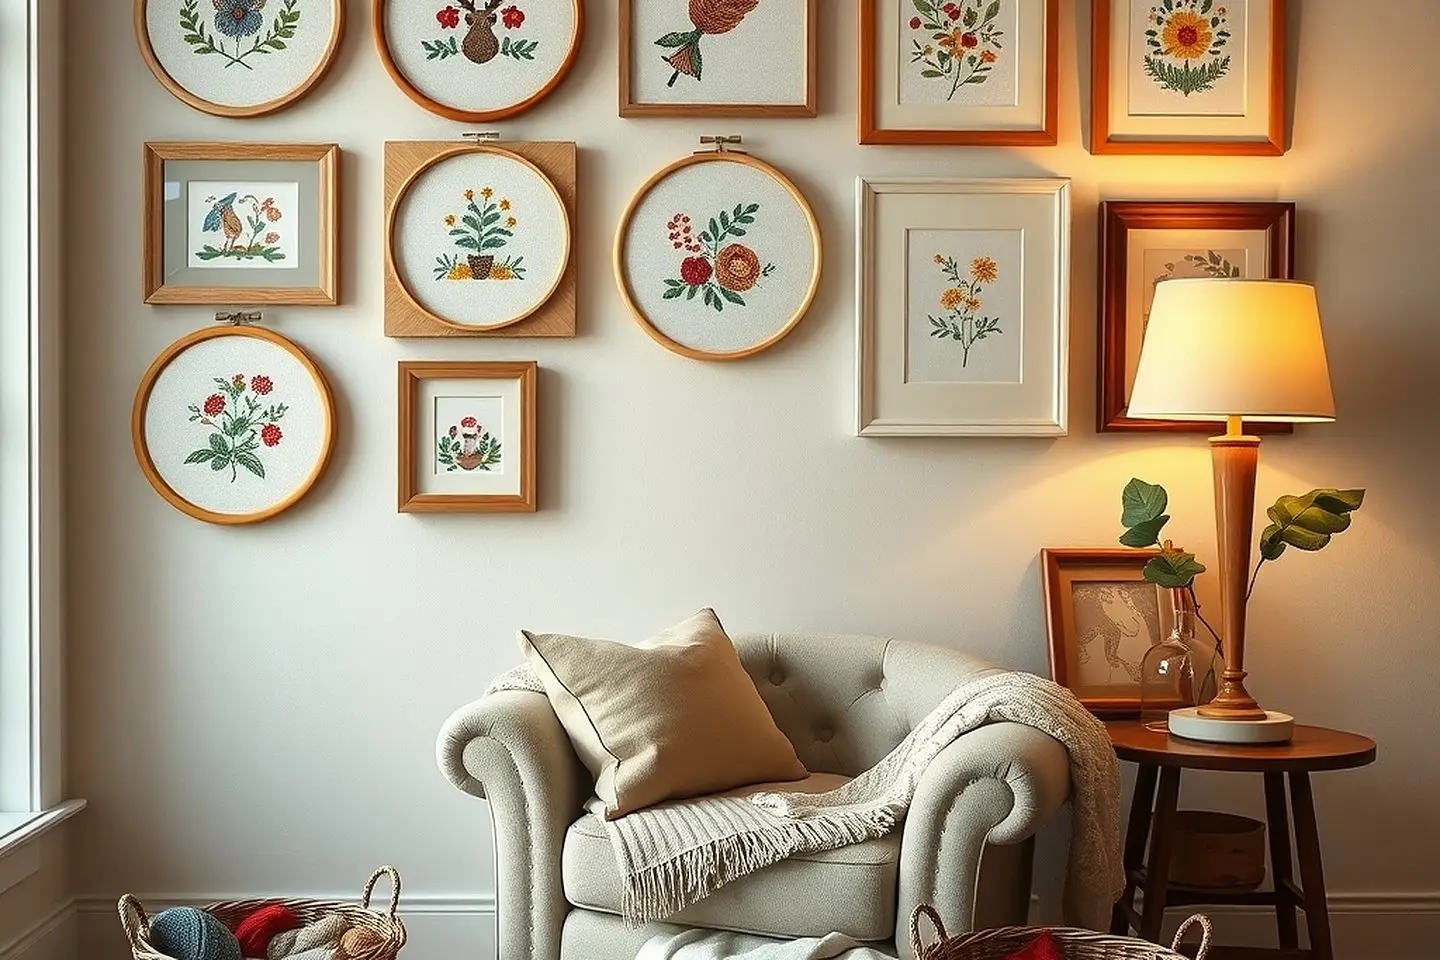
From hoops to frames, ornaments, pillows and bookmarks: easy ways to finish and frame cross stitch at home, with step-by-step tips from my sofa.
In this post
There’s a funny moment after the last stitch, when the piece is finished but not finished. It’s still crumpled, it has a hoop ring, and it’s sitting in a drawer. Learning how to finish cross stitch is what turns that little square of fabric into something you can hang, gift or put on the tree. Here are nine ways I like to do it, from the easiest to the most fiddly.
The short answer: to finish cross stitch, first wash and press it face down on a towel. Then choose a display: a hoop (trim and gather the back), a frame (lace or pin the fabric over board), or a sewn or glued finish such as an ornament, pillow, bookmark or card. Leave 2 to 3 inches of fabric around the design so you have enough to work with.
If you’re new to stitching, my complete beginner’s guide covers everything up to this point.
Before you finish: washing and pressing
Nearly every finish looks better after a gentle wash and press. It lifts hoop marks, hand oils and any pencil lines, and it plumps the stitches up.
- Soak it in cool water with a few drops of mild, dye-free soap for 15 to 20 minutes.
- Rinse until the water runs clear. Don’t wring it.
- Roll it in a clean towel to remove most of the water.
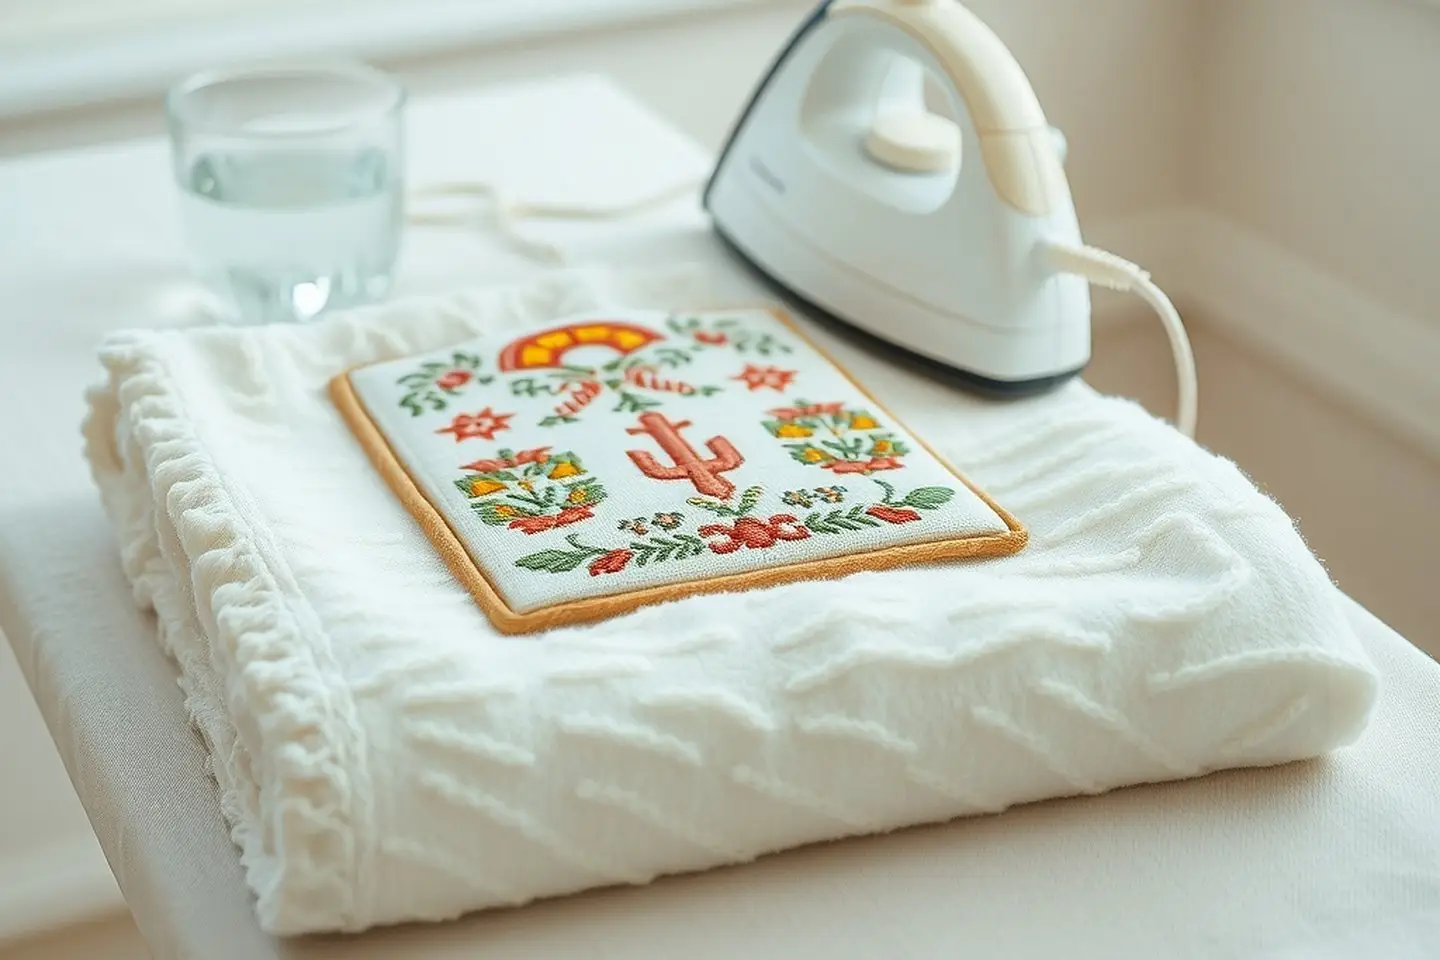
- Press it face down on a thick, fluffy towel while still slightly damp, so the stitches sink into the towel instead of being crushed flat.
If your piece is clean and has no marks, a press alone is fine. My full guide to washing and ironing cross stitch covers what to do if a red runs (cold water, quickly, and don’t panic).
How much fabric each finish needs
It’s much easier to plan your margins before you cut the fabric than to discover at the end that there isn’t enough to wrap. Here’s what I leave:
| Finish | Fabric beyond the stitching, each side |
|---|---|
| Framed (laced or pinned over board) | 3 inches |
| Display hoop | Enough to reach 1 to 1.5 inches past the hoop |
| Pillow or cushion | 1 inch plus your seam allowance |
| Stuffed ornament | 1 to 2 inches |
| Flat felt-backed ornament | 1 inch |
| Card or gift tag | About half an inch past the card window |
| Bookmark | Half an inch to 1 inch |
If you’re not sure how you’ll finish a piece yet, leave 3 inches all round. You can always trim more, but you can’t add it back. The fabric size calculator works these sums out for you.
1. Finishing in a hoop
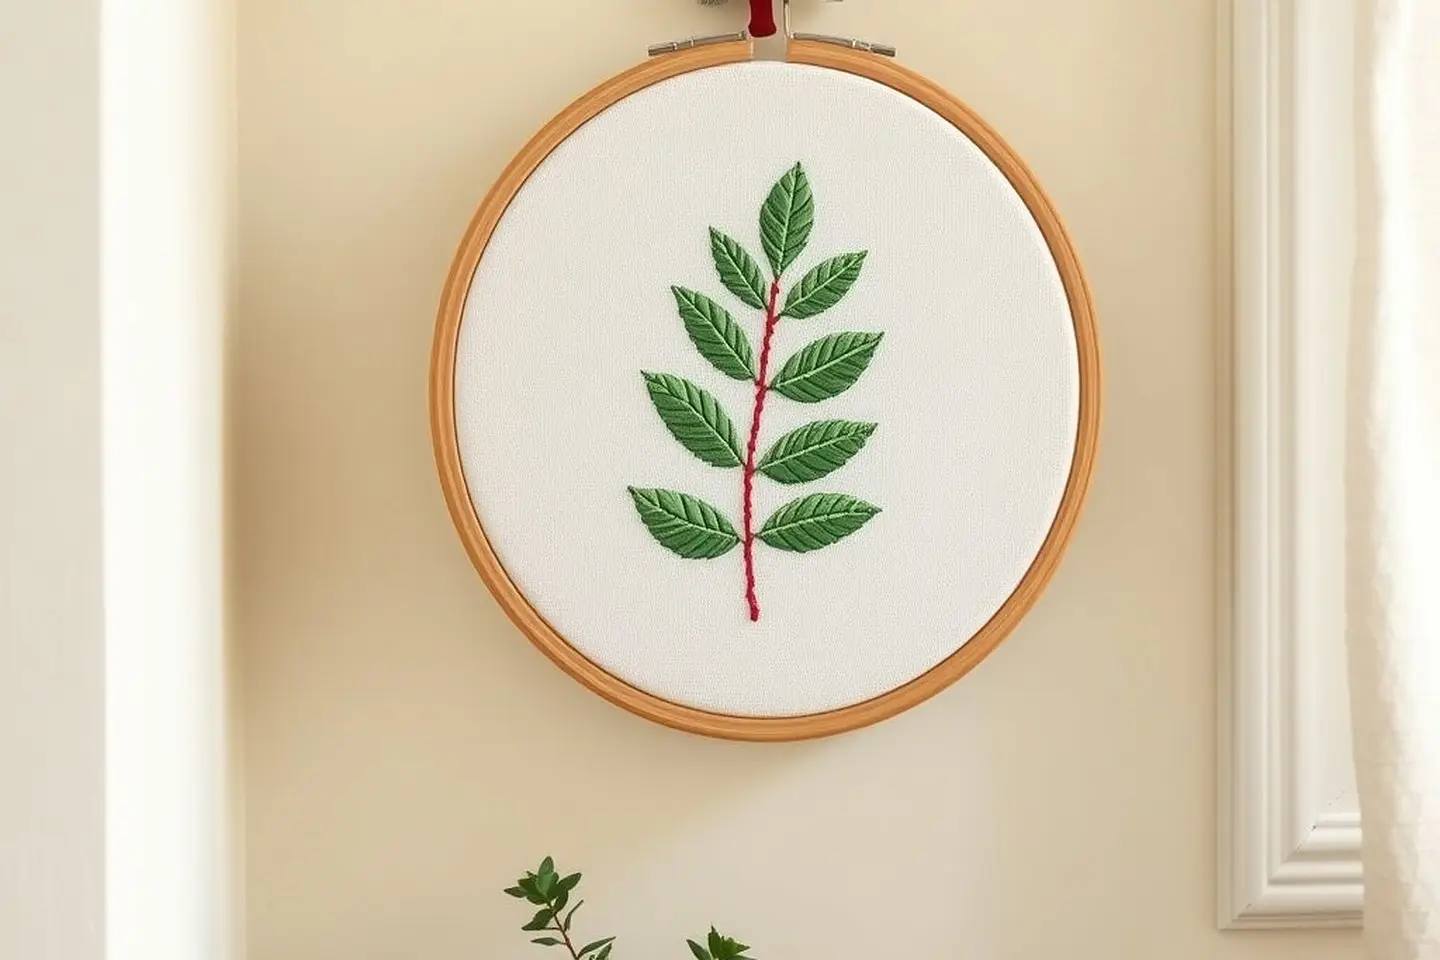
The hoop is the easiest finish, and one of my favorites. It looks right on a gallery wall and costs almost nothing.
- Choose a display hoop about 1 to 2 inches wider than your design on every side.
- Center the design, tighten the screw until the fabric is drum-tight, and make sure the weave runs straight.
- Trim the fabric to about 1 to 1.5 inches outside the hoop.
- Run a line of large running stitches around the edge, pull it tight to gather the fabric to the back, and tie it off.
- Glue or stitch a circle of felt or card over the back to hide everything.
You can paint or wrap the hoop first, and add a ribbon to the screw for hanging. I’ve written a full step-by-step guide to finishing cross stitch in a hoop.
2. Framing at home (lacing, pinning or a mat)
A frame is the classic finish for bigger pieces and samplers. You’ll need a frame, a piece of board cut to the size of the frame’s opening, and about 3 inches of extra fabric on every side.
Choose your board. Acid-free mount board or acid-free foam board is best for anything you want to keep for years. Ordinary cardboard yellows over time and can mark the fabric.
Then attach the fabric in one of two ways:
- Pinning (quickest). Use foam board. Center the stitching on the front, fold the edges round, and push pins into the edge of the foam, starting at the middle of each side and working out to the corners. Keep checking the weave stays straight.
- Lacing (the traditional way). Lay the piece face down, center the board on top, fold the top and bottom edges over, and lace between them with strong thread in a zigzag, pulling snug. Then fold in the corners and lace the sides the same way.
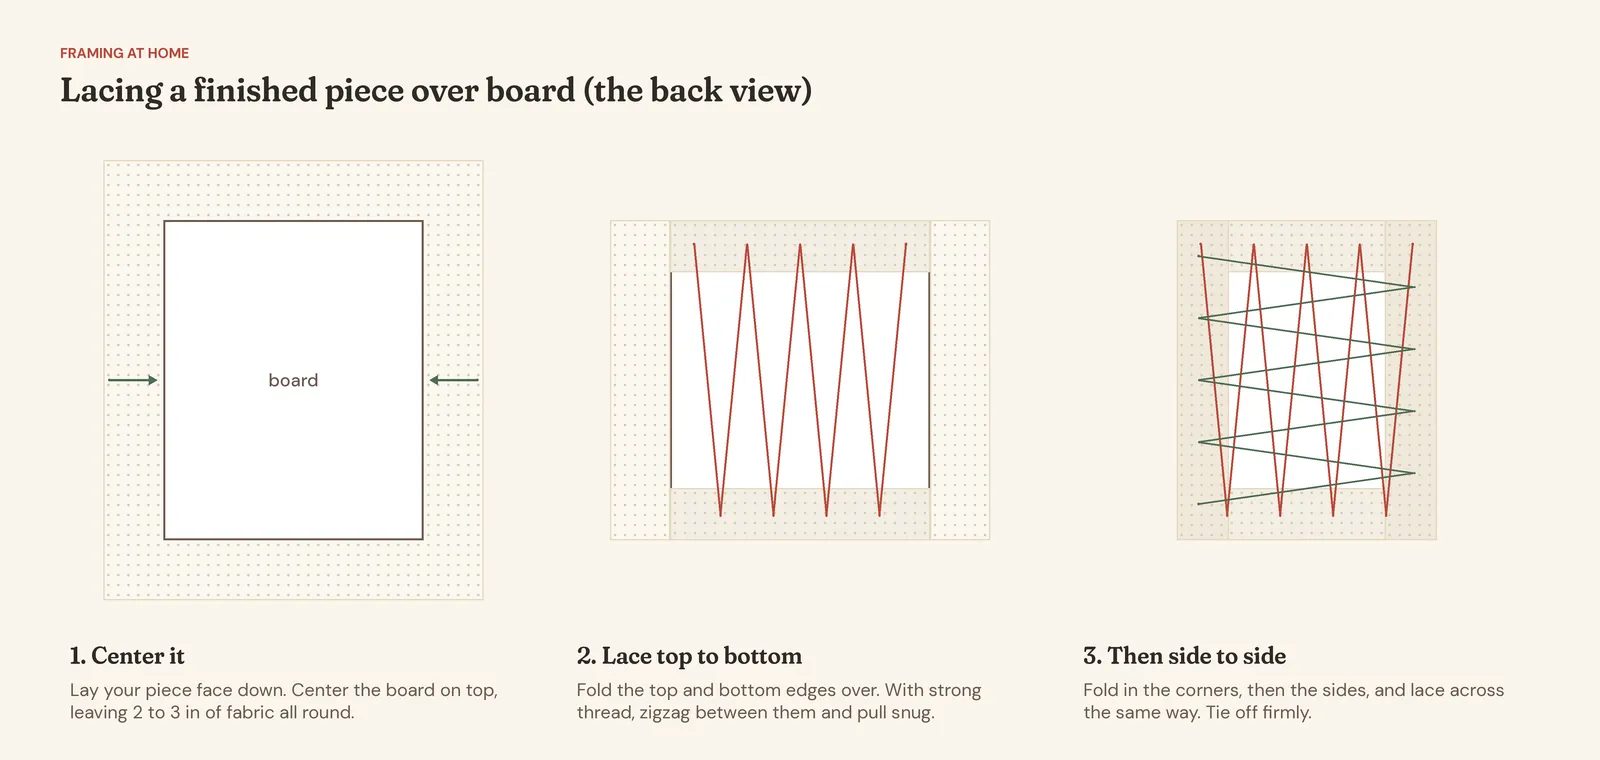
Choosing the frame size. Decide how much plain fabric you’d like to show around the stitching. One to two inches on each side usually looks balanced for small and medium pieces. Add that to the design size, and look for a standard frame (5 x 7, 8 x 10, 11 x 14 inches and so on) that’s close. Then cut your board to fit the frame’s opening at the back, not the window at the front. If you’re using a mat, the mat window should sit a little way outside the stitching, so no stitches hide under its edge.
Glass or no glass? Many stitchers skip the glass so the texture of the stitches shows. If you do use glass, put a mat (the card window) or small spacers between the glass and the fabric so the stitches aren’t squashed. Either way, hang it away from strong sunlight, which fades floss over time.
I’d avoid self-adhesive boards for heirloom pieces. They’re quick, but the fabric can’t be removed later without damage.
For a really special piece, a professional framer is worth it. Ask for acid-free materials and say it’s needlework, so they lace or pin it rather than glue it.
a little gift for you
Get a free pattern to finish
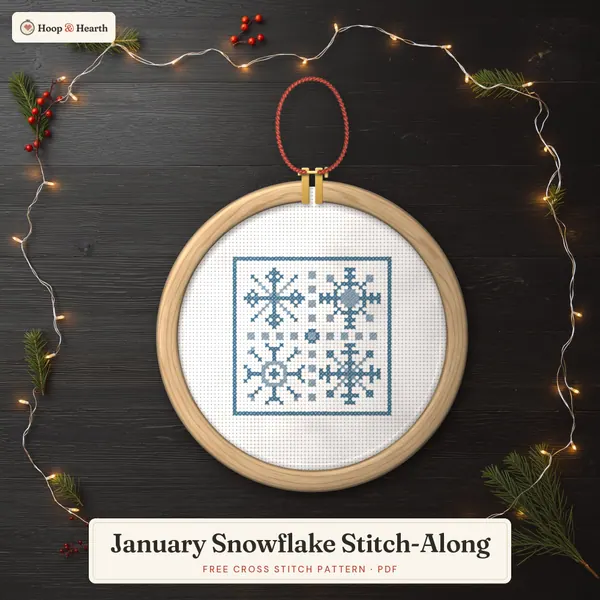
Join The Hearth Letter and I'll send you a small, cozy pattern that's perfect for practising a hoop or ornament finish.
We send about two letters a month. Unsubscribe with one click.
3. Christmas ornaments
Little designs of 30 to 50 stitches make the sweetest ornaments, and they’re my favorite gifts to give. There are three easy ways:
- Flat and felt-backed (no sewing). Glue the stitched piece over a card shape, add a ribbon loop, and glue felt on the back.
- Stuffed pillow. Sew the stitched front to a backing fabric, turn it out, stuff lightly and close it.
- Mini hoop. Finish it in a 3 or 4 inch hoop exactly like method 1, and hang it from the screw.
My guide to making cross stitch ornaments has diagrams for each, and there are free Christmas ornament patterns to start with.
4. Bookmarks
Long, slim designs (about 25 to 30 stitches wide) finish beautifully as bookmarks. You can back them with felt, sew them to a backing fabric with a tassel at the bottom, or iron fusible interfacing on the back for a no-sew finish. Aida bands, which come with ready-finished edges, make it even easier.
My post on how to make a cross stitch bookmark goes through all three methods.
5. Pillows and cushions
Small pillows show off a sampler or a seasonal design, and they’re surprisingly quick.
- Trim the stitched piece, leaving a seam allowance of about half an inch beyond where you want the edge.
- Cut a backing fabric the same size. Cotton, linen or a soft wool felt all work.
- Place them right sides together and sew around the edge, leaving a gap of 2 or 3 inches on one side.
- Clip the corners, turn it right side out and push the corners out gently.
- Stuff with polyester fiberfill (or insert a small pillow form), then close the gap with a ladder stitch.
For a larger cushion you’d like to wash, an envelope back (two overlapping backing pieces) lets you slip the pad out. Adding a strip of fabric border around the stitching first makes even a small design cushion-sized.
6. Cards and gift tags
A tiny stitched motif turns a card into a keepsake. Aperture cards have a window cut in the front and a flap behind. You trim the stitching to fit, tape or glue it behind the window, and fold the flap over to hide the back.
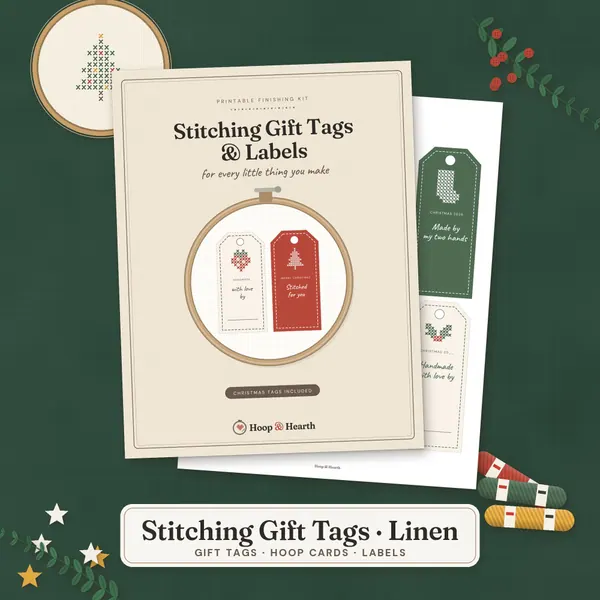
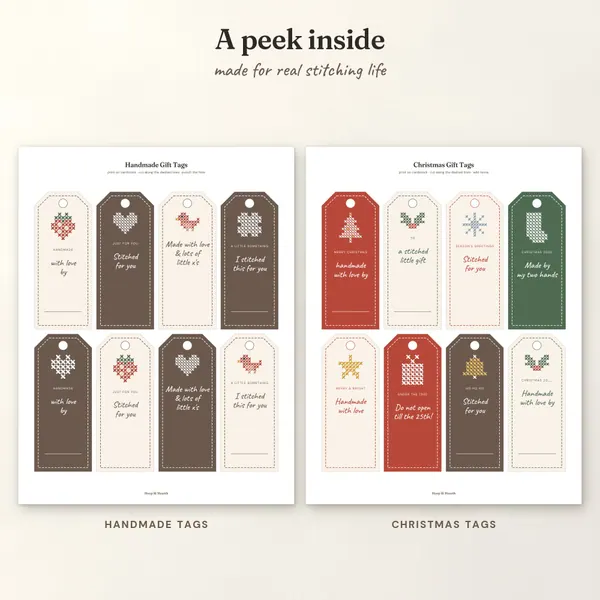
For gift tags, I glue a small piece of stitching onto a card tag with a felt backing, punch a hole and add twine. A heart or star of 15 to 20 stitches is plenty.
My Stitching Gift Tags & Labels printable has hoop backing cards, care cards and labels that are made for exactly this.
7. Biscornu and flat-fold ornaments
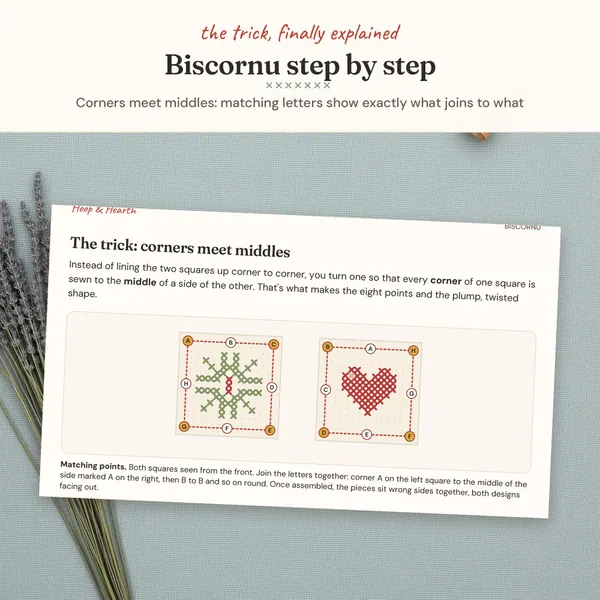
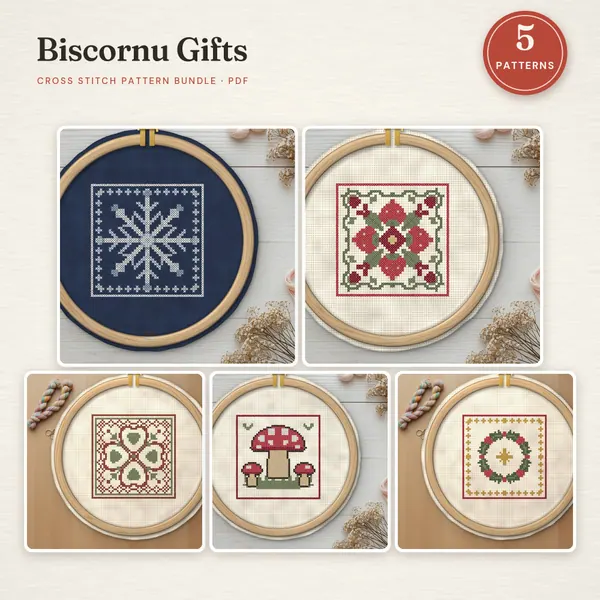
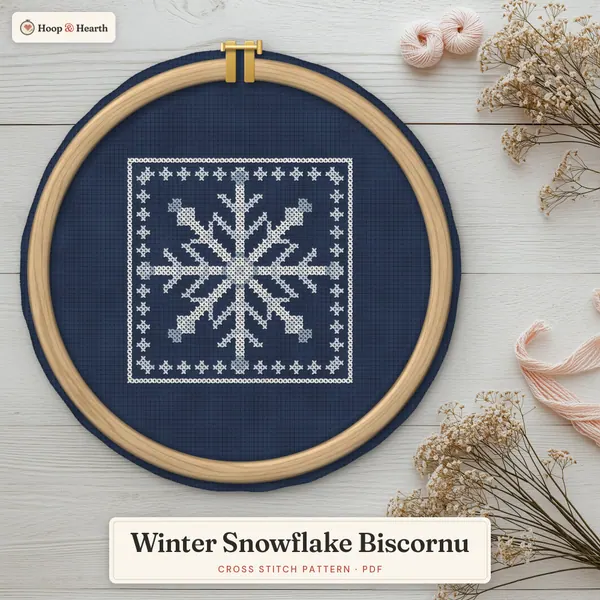
A biscornu is a little eight-sided pincushion, and it’s one of the most satisfying finishes there is. You stitch two identical squares, each surrounded by a backstitched border. Then you join them by whipstitching through the backstitches only, turning the second square so that each of its corners meets the middle of a side of the first. Stuff it, then sew a button through the center to give it its dimple.
Flat-folds are a cousin: one stitched piece, folded and joined along a backstitched border into a little flat pillow. Both are fiddly the first time and wonderful by the second.
My Biscornu Gifts patterns each come with a step-by-step finishing guide.
8. A covered box lid, tray or patch
Small pieces don’t always need a frame. A few more ideas I love:
- Box lids and trays. Some boxes and wooden trays are sold with a recessed lid or insert for needlework. Mount the stitching over the card insert and pop it in.
- Pinkeeps and small sachets. A tiny stuffed square, perfect for pins or a little dried lavender.
- Patches. Back a small design with fusible interfacing, trim it with a narrow margin and sew it onto a project bag or tote.
9. Signing and dating your work
Whatever finish you choose, sign it. I promise you’ll be glad in twenty years.
- Stitch it in. Your initials and the year in one strand, tucked into a corner or the border. Tiny alphabets are perfect for this.
- Write it on the back. Use a fabric pen on the margin, or on the board or felt backing.
- Add a label. A small card label on the back of a frame with your name, the date, the design name and who it was made for.
Common finishing mistakes (and how to avoid them)
Most finishing disasters are small and fixable. These are the ones I’ve made, so you don’t have to:
- Trimming too early. Keep your full margin until the very last step. A stitched piece with a short margin is hard to frame and impossible to lace.
- A crooked weave. Before pinning or lacing, line up a single row of holes with the edge of the board, top and bottom. A design that’s a few degrees off is very noticeable once it’s on the wall.
- Pressing face up. It flattens your stitches. Always press face down on a thick towel.
- Glue on the front. Keep glue to the edges and the back. On ornaments, a thin line just inside the edge of the card is plenty.
- Glass pressing on stitches. Use a mat or spacers, or leave the glass out.
- Leaving it in the stitching hoop for months. A hoop left on for a long time can leave a stubborn ring. Take the fabric out between sessions and before you store it.
- Rushing the last step. Finishing takes an evening, sometimes two. It’s worth giving it the same patience as the stitching.
Which finish should I choose?
| Finish | Time | Sewing needed? | Best for |
|---|---|---|---|
| Hoop | Under an hour | A little hand sewing | Small and medium designs, gallery walls |
| Frame (pinned or laced) | An evening | Lacing is optional | Samplers, larger pieces, heirlooms |
| Flat felt-backed ornament | An hour | No | Christmas, gifts, kids’ finishes |
| Stuffed ornament or pillow | An evening | Yes | Gifts, seasonal decor |
| Bookmark | An hour or two | Optional | Book lovers, teachers |
| Card or gift tag | Under an hour | No | Quick gifts, using up small motifs |
| Biscornu | An evening | Yes | Pincushions, sewing friends |
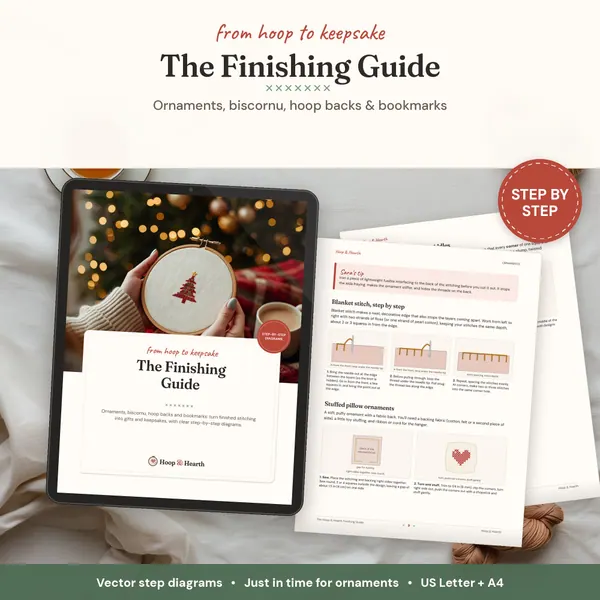
If you’d like all of these in one place, my printable Finishing Guide has every method with step-by-step diagrams.
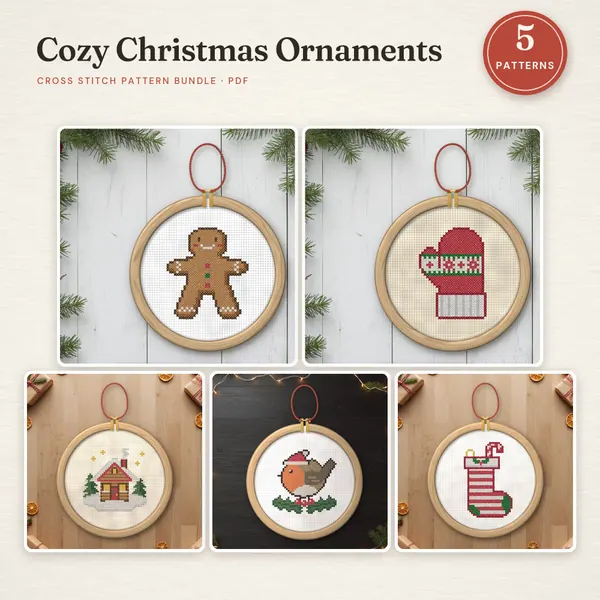
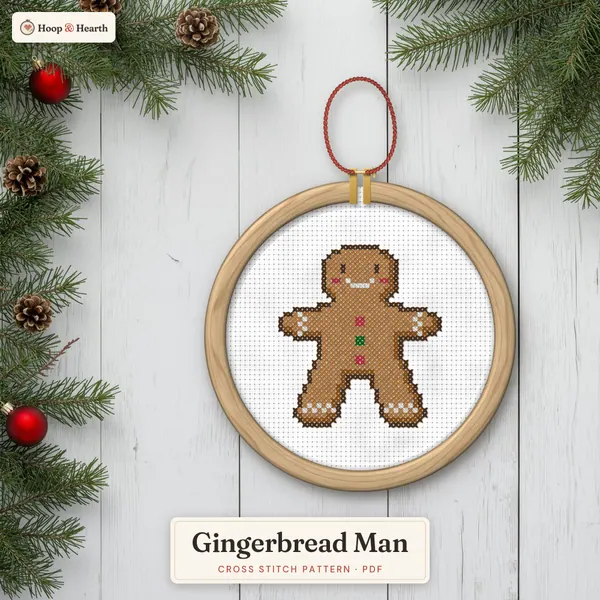
Planning a gift? Have a look at the Cozy Christmas Ornaments collection, or my list of last-minute cross stitch gifts. And if you’re still at the start of the journey, my beginner’s guide to cross stitch has everything up to the last stitch.
a little gift for you
Get your free cross stitch patterns
Join The Hearth Letter and download every freebie instantly, plus 15% off your first order and cozy stitching tips from Sara.
We send about two letters a month. Unsubscribe with one click.
Frequently asked questions
Should I glue or sew my cross stitch finish?
Both work. Sewing (lacing, gathering or seaming) can be undone later and is best for pieces you hope to keep for years. Fabric glue is quick and tidy for ornaments, cards and gifts. Keep glue away from the front of the stitching and use it sparingly.
How do I stop cross stitch fabric from fraying when finishing?
Leave a generous margin while you stitch, then trim only at the very end. For edges that will be visible, a thin line of fabric glue or a fray-stopping liquid along the cut edge, or a backstitched border you trim just outside, keeps aida from fraying.
Do you put glass over framed cross stitch?
It's your choice. Many stitchers frame without glass so the texture shows. If you use glass, add a mat or spacers so the glass doesn't press the stitches flat, and keep the piece out of direct sunlight either way.
How much fabric do I need around a design to frame it?
About 3 inches on every side. That gives you enough to wrap around a board and lace or pin it. Ornaments and hoop finishes need less, around 1 to 2 inches.
Patterns to try
Stitch along with this post
Keep reading
More from the blog
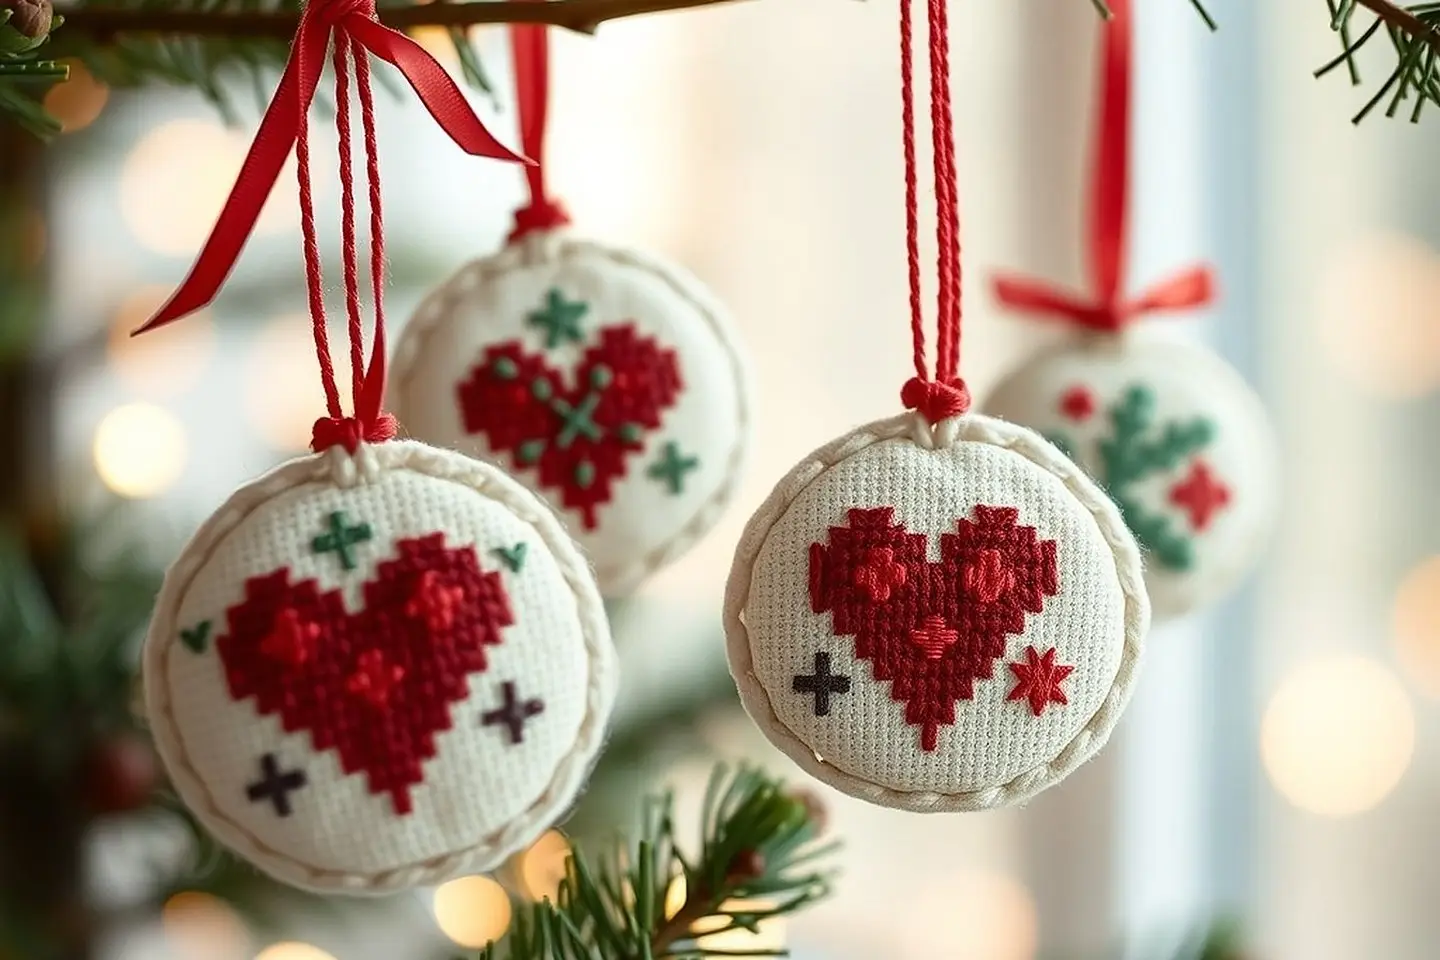
How to Make Cross Stitch Ornaments (Easy, No-Sew Too)
Turn little stitched designs into handmade Christmas ornaments: flat felt-backed, stuffed and mini-hoop finishes, step by step, with free patterns.
How to Frame Cross Stitch in a Hoop (Neat Back)
A step-by-step guide to framing cross stitch in an embroidery hoop: centering, tightening, gathering the back, and adding a felt backing.
How to Wash & Iron Cross Stitch Before Framing
How to wash cross stitch safely, remove hoop marks, stop colors running, and press it flat without crushing stitches, before you frame or gift it.