
How to Make Cross Stitch Ornaments (Easy, No-Sew Too)
Turn little stitched designs into handmade Christmas ornaments: flat felt-backed, stuffed and mini-hoop finishes, step by step, with free patterns.
In this post
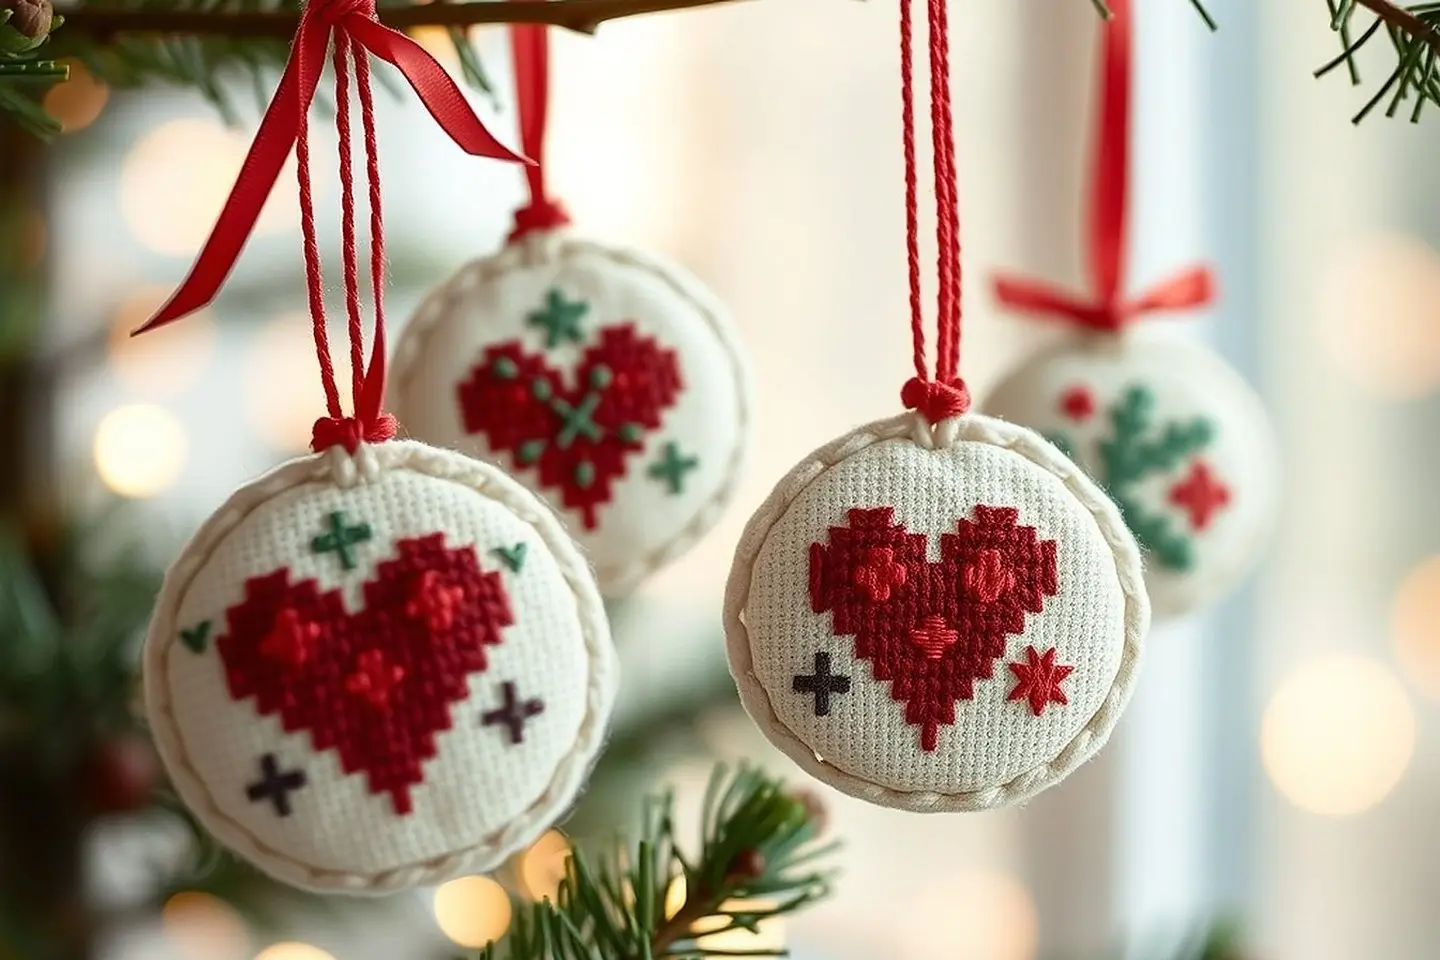
Every December, our tree gets a few more stitched ornaments, and a few more go out in envelopes to grandparents and teachers. They’re my favorite thing to make this time of year: small enough to finish in a couple of evenings, and they last for decades. Here’s how to make cross stitch ornaments three ways, including a no-sew version that’s perfect for beginners and kids.
The short answer: stitch a small design (about 30 to 50 stitches each way), wash and press it, then choose a finish. For a no-sew flat ornament, glue the stitching over a card shape, add a ribbon loop and glue felt on the back. For a stuffed ornament, sew it to backing fabric, turn, stuff and close. Or simply finish it in a 3 or 4 inch hoop.
This is part of my bigger guide to finishing and framing cross stitch, which covers hoops, frames, pillows and more.
Choosing an ornament-sized pattern (40 to 60 stitches)
The best ornament designs are small, simple and readable from across a room. I look for:
- About 30 to 50 stitches each way, and rarely more than 60. On 14 count aida, 40 stitches is just under 3 inches.
- A clear outline, so the shape reads well when the fabric is trimmed close.
- A tight palette, five to ten colors.
- Full stitches, with maybe a little backstitch for detail.
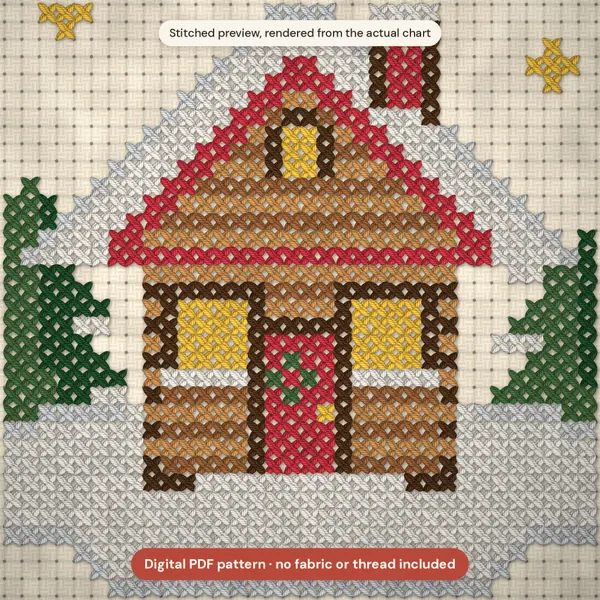
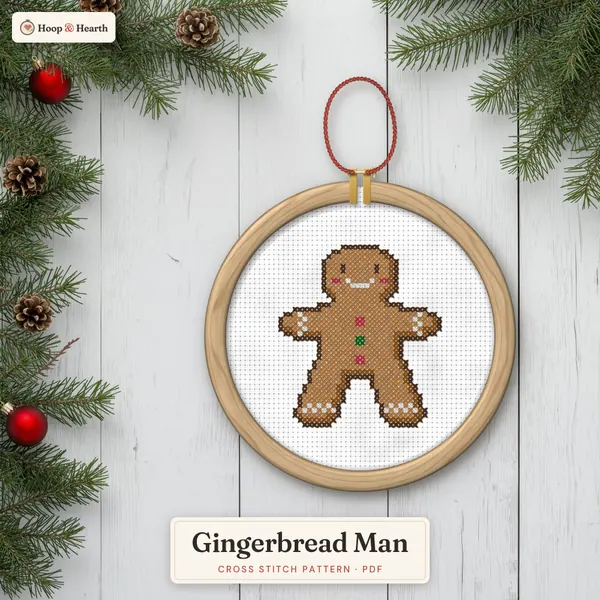
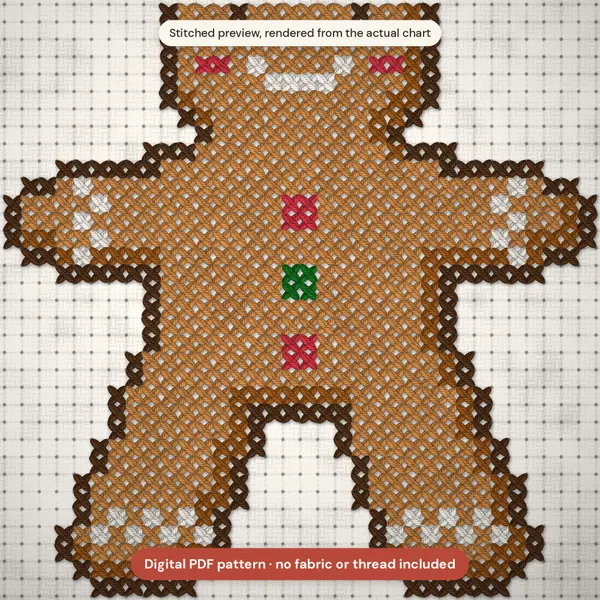
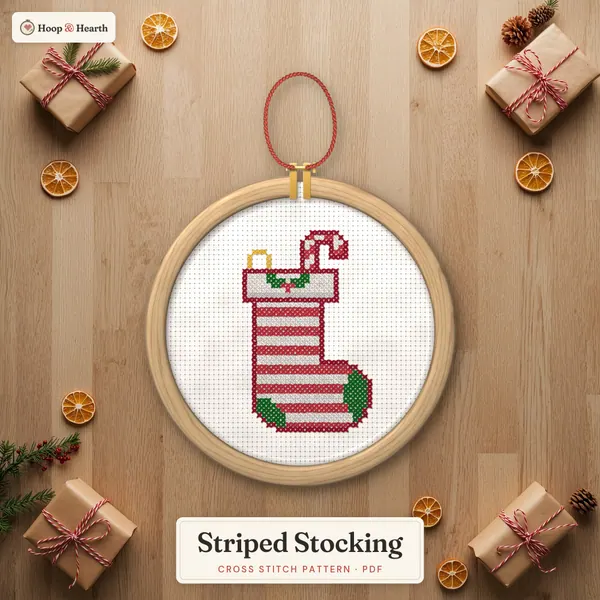
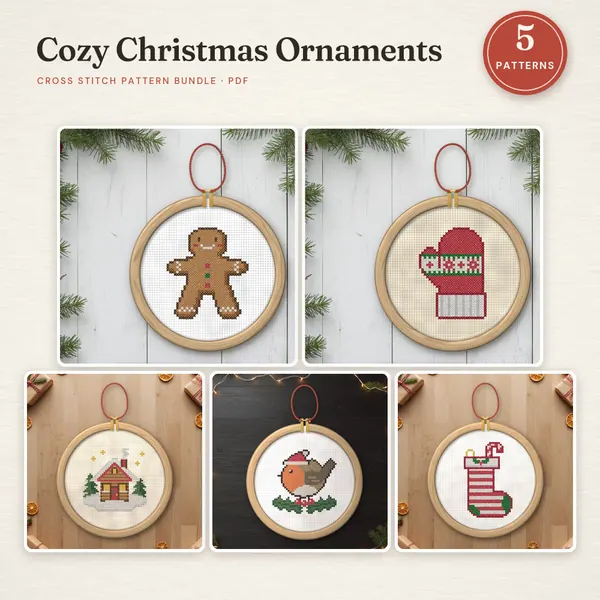
Here’s how the designs in my Cozy Christmas Ornaments collection measure up:
| Design | Stitches | On 14 count | On 18 count |
|---|---|---|---|
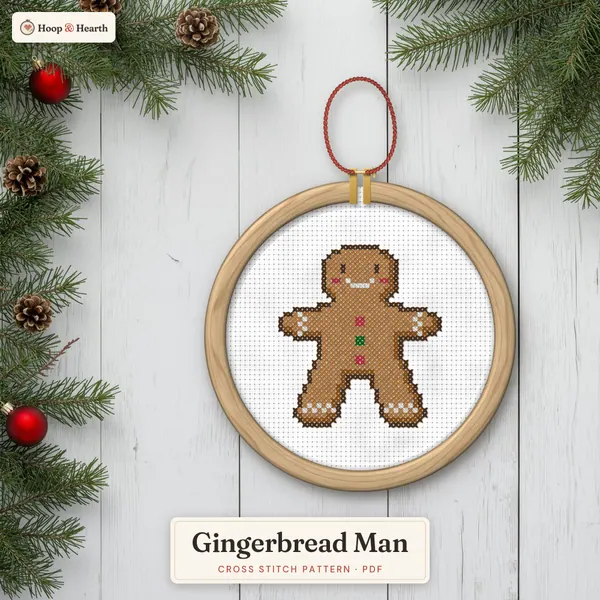
| Gingerbread Man | 34 x 40 | 2.4 x 2.9 in | 1.9 x 2.2 in |
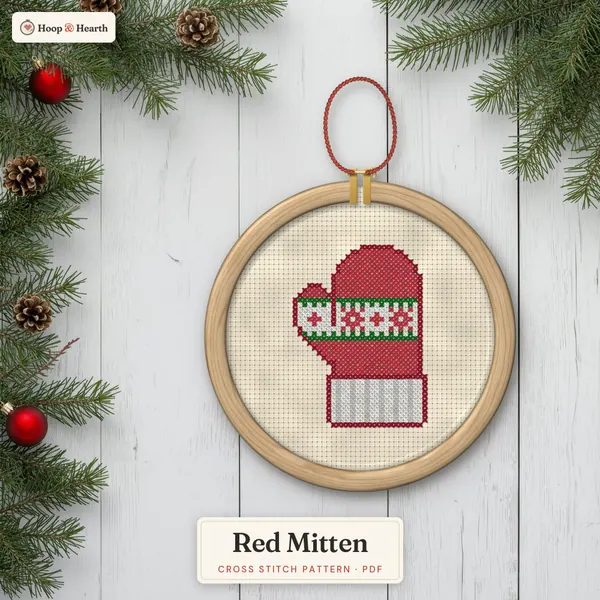
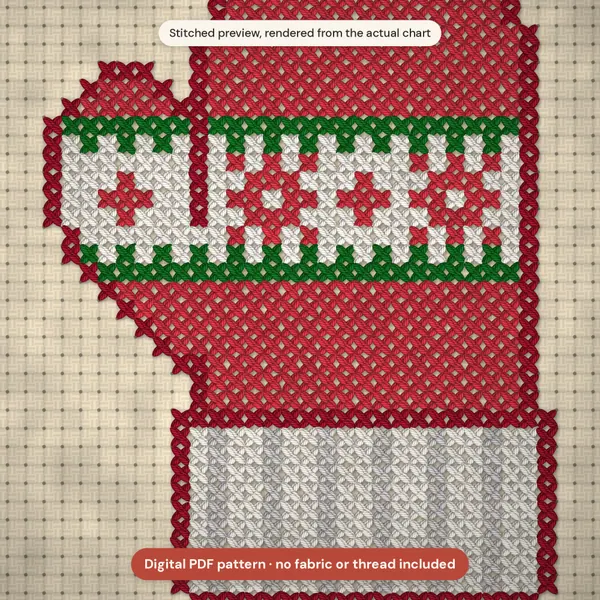
| Red Mitten | 32 x 40 | 2.3 x 2.9 in | 1.8 x 2.2 in |
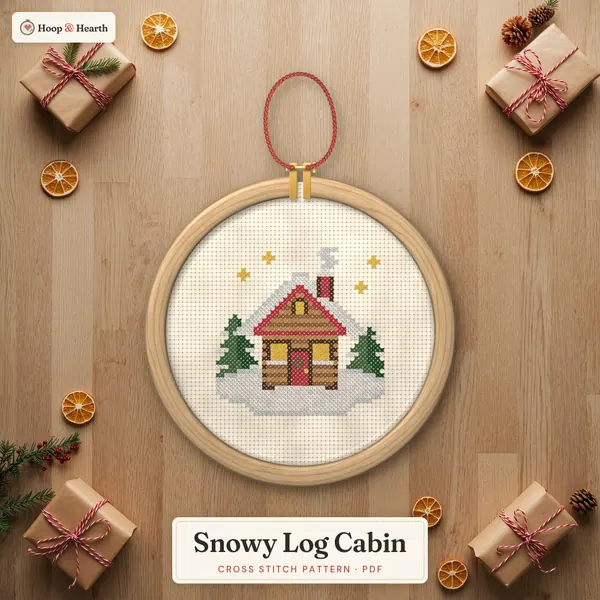
| Snowy Log Cabin | 40 x 40 | 2.9 x 2.9 in | 2.2 x 2.2 in |
| Robin on Holly | 38 x 38 | 2.7 x 2.7 in | 2.1 x 2.1 in |
| Striped Stocking | 30 x 42 | 2.1 x 3.0 in | 1.7 x 2.3 in |
For a flat or stuffed ornament, any of these work on either count. For a mini hoop, check the fit: a 40 x 40 design on 14 count needs a 4 inch hoop, while on 18 count it squeezes into a 3 inch one.
Cut your fabric with about 2 inches of margin on every side. That’s plenty for an ornament, and you can fit several designs on one piece of fabric (more on that in the batch tips below).
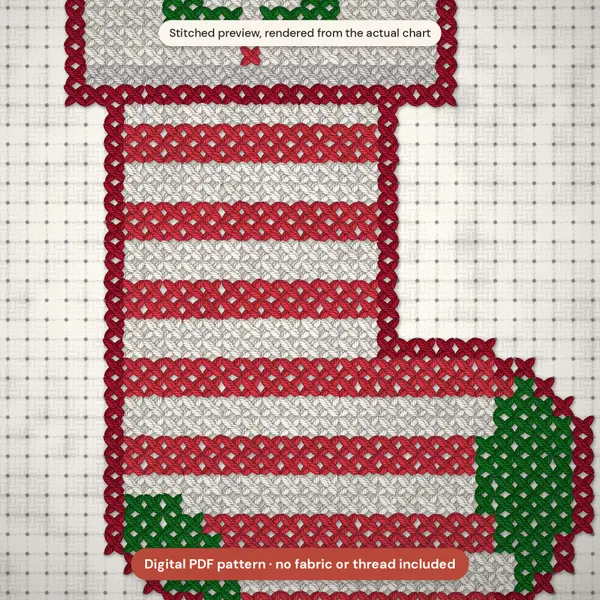
Supplies for finishing (felt, cardstock, ribbon, stuffing, glue)
You probably have half of these already.
| Supply | Used for | Notes |
|---|---|---|
| Felt | Backing flat ornaments | Wool or wool-blend cuts cleanest |
| Card, mat board or plastic canvas | A stiff inner shape | Cereal-box card works in a pinch |
| Fabric glue or tacky craft glue | No-sew finishes | Use a thin line, not a puddle |
| Ribbon, twine or cord | Hanging loops | About 6 inches per ornament |
| Backing fabric | Stuffed ornaments | Cotton, linen, felt or a festive print |
| Polyester fiberfill | Stuffing | A small bag goes a long way |
| Mini hoops (3 or 4 inch) | Hoop ornaments | Wooden ones paint nicely |
| Small sharp scissors, pins | Everything | Pinking shears are a nice extra for felt |
| Extras | Decoration | Buttons, tiny bells, trim, twisted floss cord |
Before you start any method, wash and press your stitching if it has hoop marks, then press it face down on a towel. Here’s how I wash and press cross stitch.
Method 1: the no-sew felt-backed flat ornament
This is the one I make with my kids, and the one I’d recommend for a first ornament. It’s quick, tidy and very forgiving.
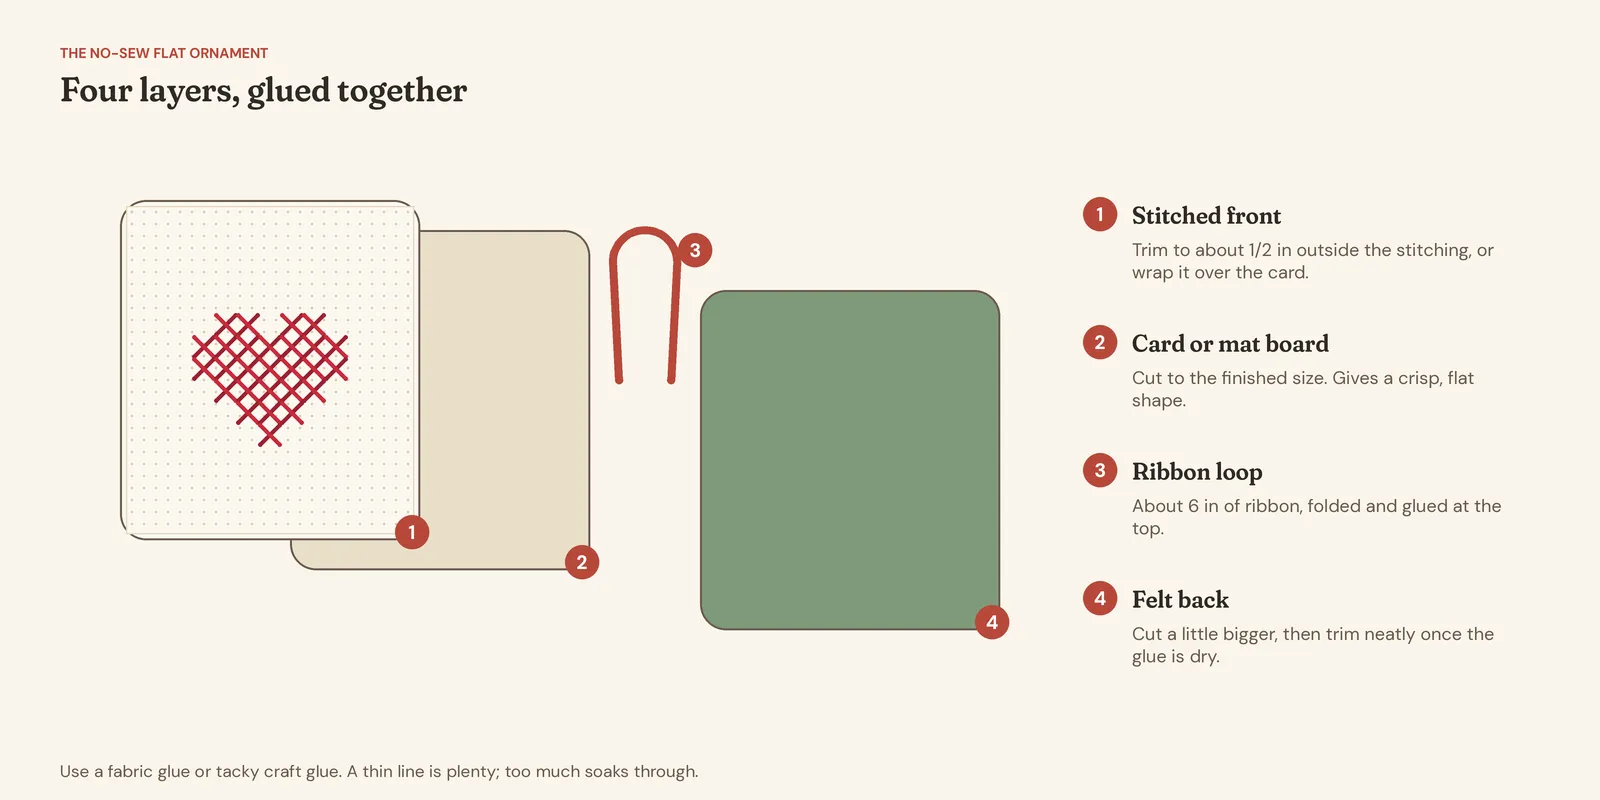
- Cut the card shape. Draw a circle, square or heart about a quarter inch bigger than your design all round, and cut it out of card or mat board.
- Fit the fabric. You have two choices. To wrap, trim the fabric about half an inch bigger than the card, snip notches around curves, and glue the edges onto the back of the card. To face-mount, trim the fabric exactly to the card shape and glue it on the front, with glue only around the outer edge.
- Add the hanger. Fold about 6 inches of ribbon in half and glue the ends to the back, at the top center.
- Back it with felt. Glue a piece of felt, cut slightly bigger than the card, over the back. Press it under a book for a few minutes.
- Trim. Once dry, trim the felt neatly to the edge of the card. Pinking shears give a pretty zigzag.
- Optional: glue a twisted floss cord or a thin trim around the edge to hide the seam.
Go easy on the glue. A thin line is plenty, and too much can soak through to the front and leave a shiny mark.
a little gift for you
Free ornament patterns
Join The Hearth Letter and get my free little ornament patterns, plus new freebies through the season.
We send about two letters a month. Unsubscribe with one click.
Method 2: the stuffed pillow ornament
Stuffed ornaments feel lovely and squishy and look very “made with love.” They need a little hand sewing, nothing complicated.
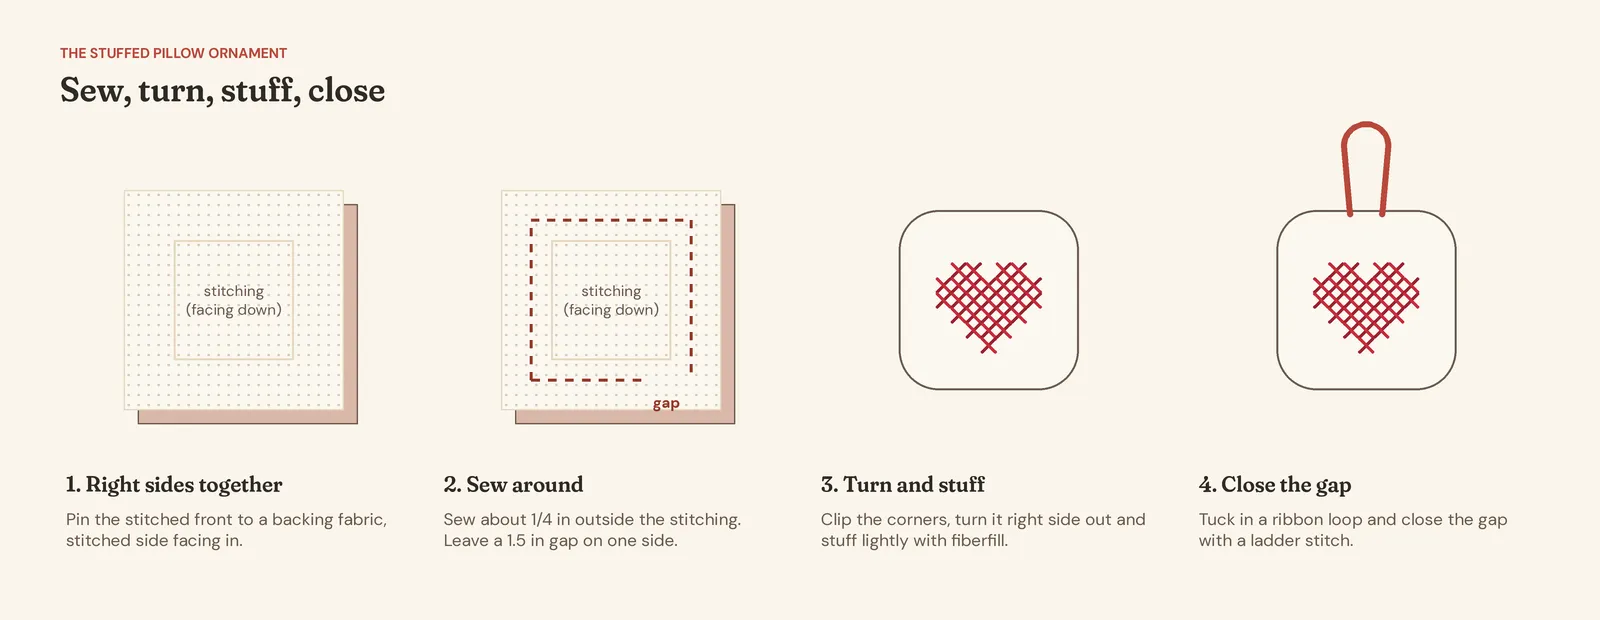
- Pin the front to a backing fabric, right sides together (stitching facing in).
- Sew around the design, about a quarter inch outside the outer stitches, using a small backstitch by hand or a short machine stitch. Leave a gap of about 1.5 inches on one side.
- Trim to about a quarter inch outside your seam and clip across the corners, so they turn out sharp.
- Turn it right side out through the gap. Ease the corners out gently with a blunt needle or a chopstick.
- Stuff lightly with small pieces of fiberfill, pushing them into the corners first.
- Tuck in a ribbon loop at the top and close the gap with a ladder stitch, which is almost invisible.
To make a stuffed ornament extra cute, sew a twisted cord all around the seam, or add a small button or bell at the bottom.
Method 3: the mini hoop ornament
If you can finish a hoop, you can make a hoop ornament. It’s exactly the same, just smaller.
- Center your stitching in a 3 or 4 inch hoop and tighten it until the fabric is drum-tight.
- Trim the fabric to about an inch outside the hoop.
- Run a gathering stitch around the edge, pull it tight and tie it off.
- Glue a circle of felt over the back.
- Tie a ribbon through the hoop’s screw to hang it.
Painting the hoop first (white, red or a soft sage) makes it look finished in a way plain wood doesn’t. My guide to finishing cross stitch in a hoop has more detail.
Adding hangers, names and dates
Hangers. Ribbon is easiest. A twisted floss cord matches perfectly: take six strands of floss about three times the length you want, knot the ends together, hook one end over something (a door handle works), and twist the other end until it kinks back on itself. Fold it in half, let it twist together, and knot the ends.
Names. A name makes an ornament a keepsake. Chart the letters on graph paper using a small backstitch or cross stitch alphabet, and leave room for them when you cut your fabric. On a stuffed ornament, you can also stitch the name on the back.
Dates. I always add the year. Write it on the felt back with a fabric pen, or stitch it tiny on the back fabric of a stuffed ornament.
Ornament troubleshooting
A few things that commonly go wrong, and the quick fixes:
- Glue showed through to the front. Too much glue, or glue spread under the stitching. Next time, use a thin line around the outer edge only. On white aida, test your glue on a scrap first.
- Fuzzy felt edges. Thin craft felt pills and stretches. Wool-blend felt and very sharp scissors give a crisp edge.
- The shape looks wobbly. Draw your card shape with a template (a glass for circles, a cookie cutter for hearts) rather than freehand.
- Lumpy stuffing. Use small tufts, fill the corners first, and stop before it’s rock hard.
- Fraying edges. Leave trimming until the last moment, and run a thin line of fabric glue along cut edges that will show.
Making a set for gifts (batch tips)
If you’re making ornaments for a whole class, a staff room or the family, a little planning saves hours.
- Stitch several on one piece of fabric. Leave about 2 inches between designs, and stitch them all before cutting anything.
- Pick one or two designs and repeat them, maybe in different colors. You’ll get faster with every one.
- Finish in an assembly line. Cut all the cards, then trim all the fabric, then glue all the fronts, then all the loops, then all the felt. It’s much quicker than finishing one at a time.
- Prep your floss onto labelled bobbins before you start.
- Leave time for drying. Glue needs a few hours, ideally overnight, before ornaments are packed.
How long will it take? That depends on the design and your speed. My post on last-minute cross stitch gifts has a simple way to plan backwards from the gift day.
Free ornament patterns to start
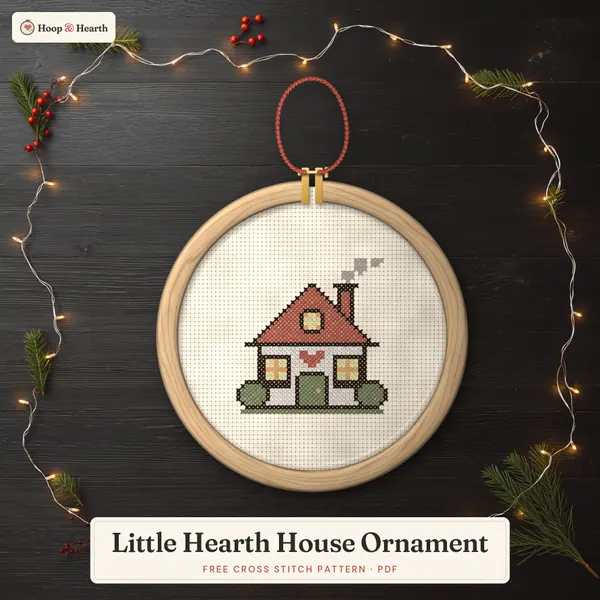
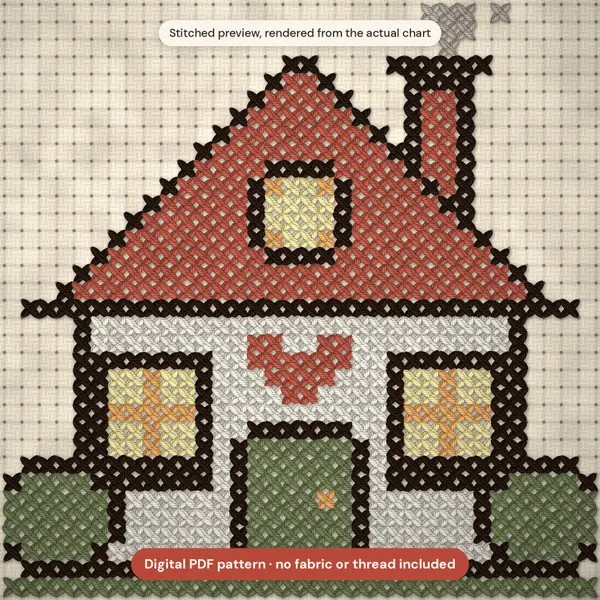
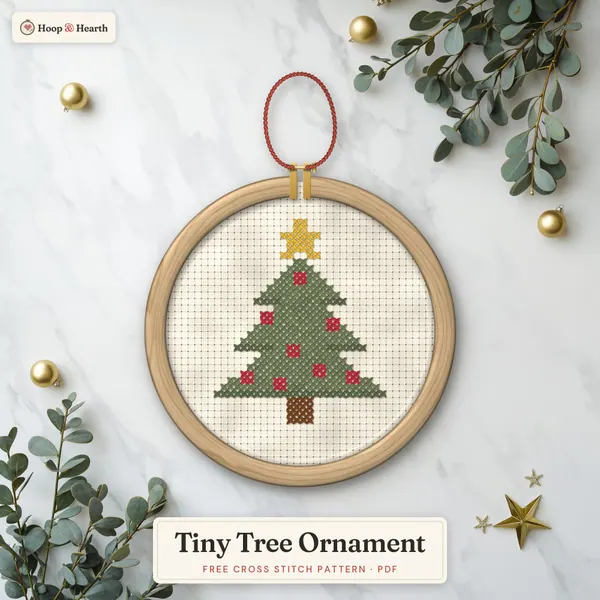
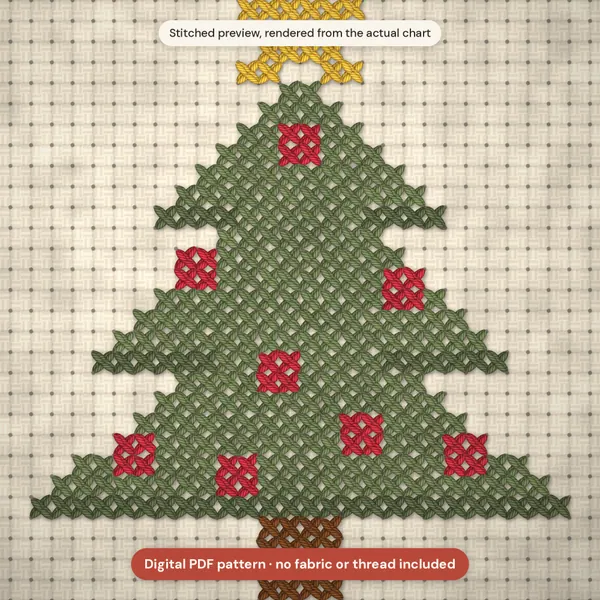
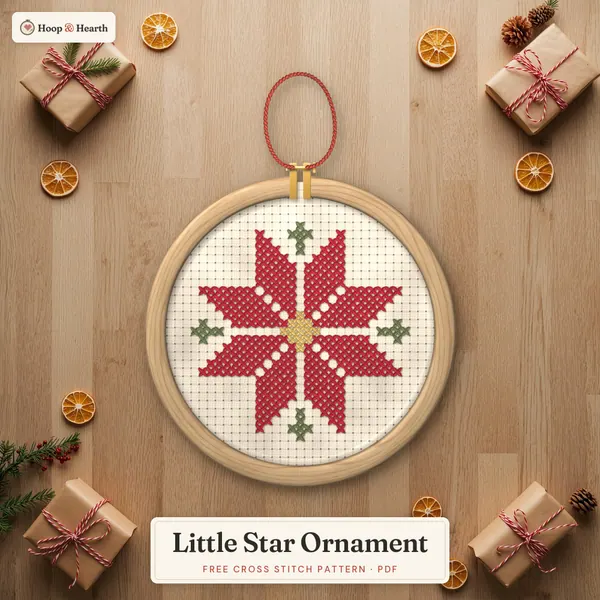
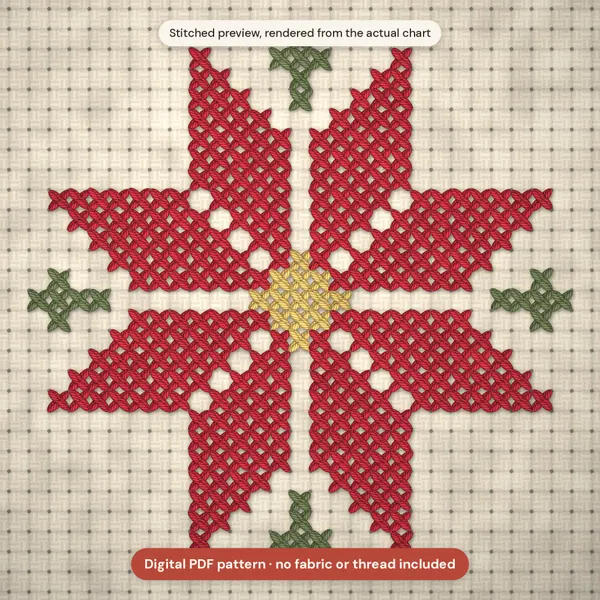
Want to try one tonight? I’ve made three free little ornament patterns, a cozy cottage, a tiny tree and a folk star, all beginner-friendly and small enough for a 3 or 4 inch hoop. You’ll find them in my post on free Christmas ornament cross stitch patterns.
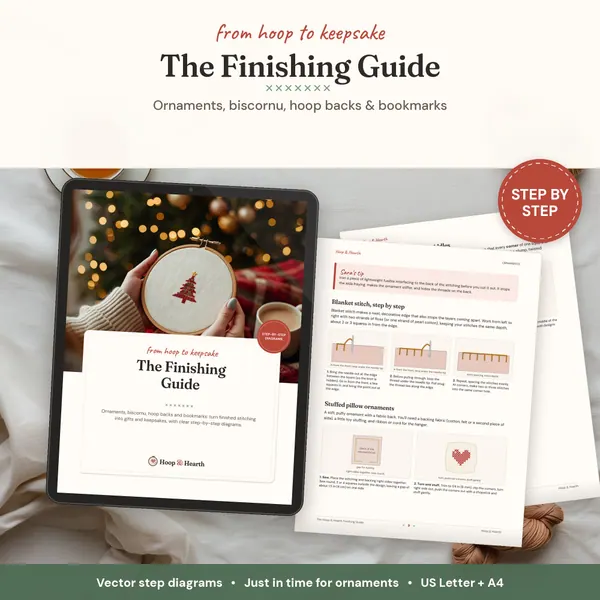
When you’re ready for a whole set, the Cozy Christmas Ornaments collection has five little designs that were made for exactly this, or the bundle gets you all of them together. For more Christmas ideas, browse the Christmas Pets and Snow Folk & Friends collections, and keep my finishing guide handy for the other eight finishes.
a little gift for you
Get your free cross stitch patterns
Join The Hearth Letter and download every freebie instantly, plus 15% off your first order and cozy stitching tips from Sara.
We send about two letters a month. Unsubscribe with one click.
Frequently asked questions
What size should a cross stitch ornament be?
Around 30 to 50 stitches each way is ideal. On 14 count aida that's roughly 2 to 3.5 inches, a lovely tree size. On 18 count the same design comes out about a quarter smaller.
How do you make a cross stitch ornament without sewing?
Glue the stitched piece over a shape cut from card or mat board, glue a ribbon loop to the back at the top, then glue a piece of felt over the back and trim it neatly once dry. Fabric glue or tacky craft glue works well.
What is the best felt for ornament backs?
Wool or wool-blend felt is thicker, softer and cuts more cleanly than thin acrylic craft felt, so edges look neater. Acrylic felt is fine for kids' ornaments and practice pieces.
How do I make an ornament stiff?
Mount the stitching over card, mat board or a piece of plastic canvas. For stuffed ornaments, stuff firmly into the corners with small pieces of fiberfill.
Patterns to try
Stitch along with this post
Keep reading
More from the blog
How to Make a Cross Stitch Bookmark (+ Free Pattern)
Make a cross stitch bookmark start to finish: best fabric, sizing, a free bookmark cross stitch pattern and three finishing methods, including no-sew.
How to Finish & Frame Cross Stitch: 9 Pretty Ideas
From hoops to frames, ornaments, pillows and bookmarks: easy ways to finish and frame cross stitch at home, with step-by-step tips from my sofa.
How to Frame Cross Stitch in a Hoop (Neat Back)
A step-by-step guide to framing cross stitch in an embroidery hoop: centering, tightening, gathering the back, and adding a felt backing.