
How to Wash & Iron Cross Stitch Before Framing
How to wash cross stitch safely, remove hoop marks, stop colors running, and press it flat without crushing stitches, before you frame or gift it.
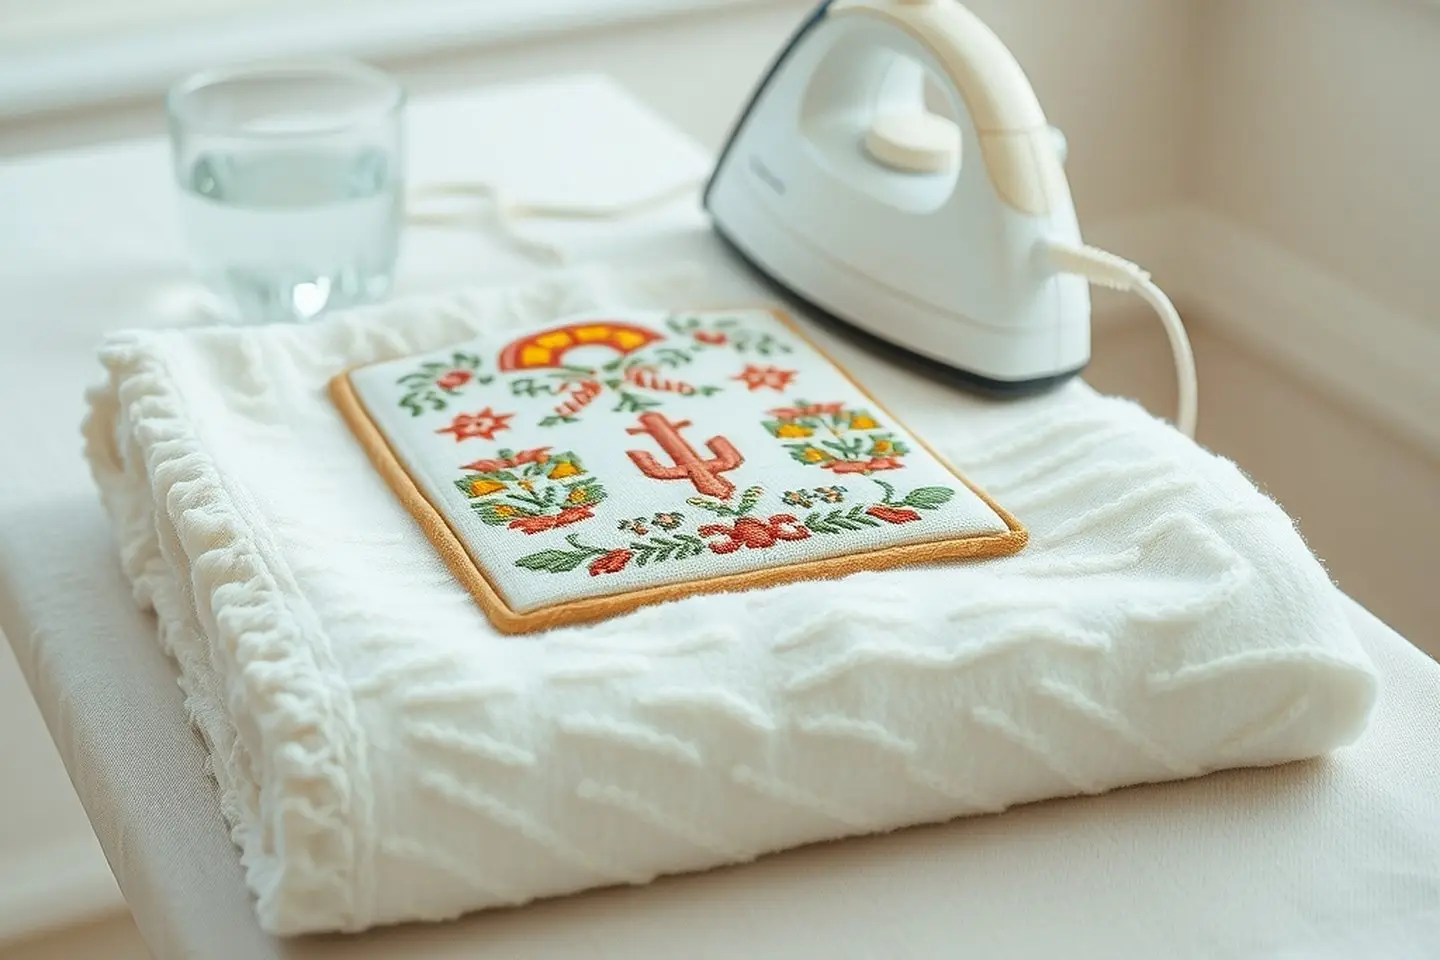
In this post
You’ve put the last stitch in, and the piece looks a little crumpled, with a ghostly ring where the hoop sat. This is the moment to wash and press it. Done gently, a quick wash lifts hoop marks and hand oils, and a good press makes your stitches look plump and even, ready to frame or gift.
The short answer: to wash cross stitch, soak it for 15 to 20 minutes in cool to lukewarm water (30°C / 86°F or cooler) with a few drops of mild, dye-free soap. Rinse until the water runs clear, roll it in a towel (never wring), then press it face down on a fluffy towel while it’s still damp.
This guide is part of my bigger post on how to finish and frame cross stitch. Washing and pressing is step one for nearly every finish.
Do you need to wash your finished piece?
Not always. Here’s how I decide:
| Your piece has… | Wash it? |
|---|---|
| No marks, stitched in a few weeks, kept in a bag | Usually no. Just press it |
| Hoop marks or creases that won’t press out | Yes |
| Water-soluble pen lines | Yes, the wash removes them |
| Grubby edges or hand oils from months of stitching | Yes |
| Spots of tea, chocolate or mystery | Yes, as soon as you can |
| Hand-dyed (variegated) floss, metallic thread or glued beads | Check the maker’s care advice first, and test |
The reason to wash before framing is simple: anything left in the fabric gets sealed behind glass, and oils can yellow over time.
Should you wash fabric before stitching?
For most projects, no. New aida has a light sizing (a starch-like finish) that keeps it crisp and easy to stitch. Washing it first makes it softer and floppier.
I do prewash in two cases:
- The finished item will be washed often, like a tea towel, a baby bib or a cushion. Prewashing lets the fabric shrink before you stitch, not after.
- You’re stitching on linen or evenweave that you plan to launder. Natural fibers can shrink a little.
Either way, finish the edges first (zigzag, masking tape or a quick whip stitch) so they don’t fray in the water. If you’re still choosing a fabric, my aida fabric count guide explains the options.
What you’ll need
- A clean bowl or sink
- Cool to lukewarm water
- A mild, dye-free and fragrance-free liquid soap, or a wool or delicates wash (no bleach, no “brightening” additives)
- Two clean, pale towels (one thick and fluffy for pressing)
- An iron and an ironing board
- Optional: a thin cotton pressing cloth and a color-catcher sheet
Step by step: washing
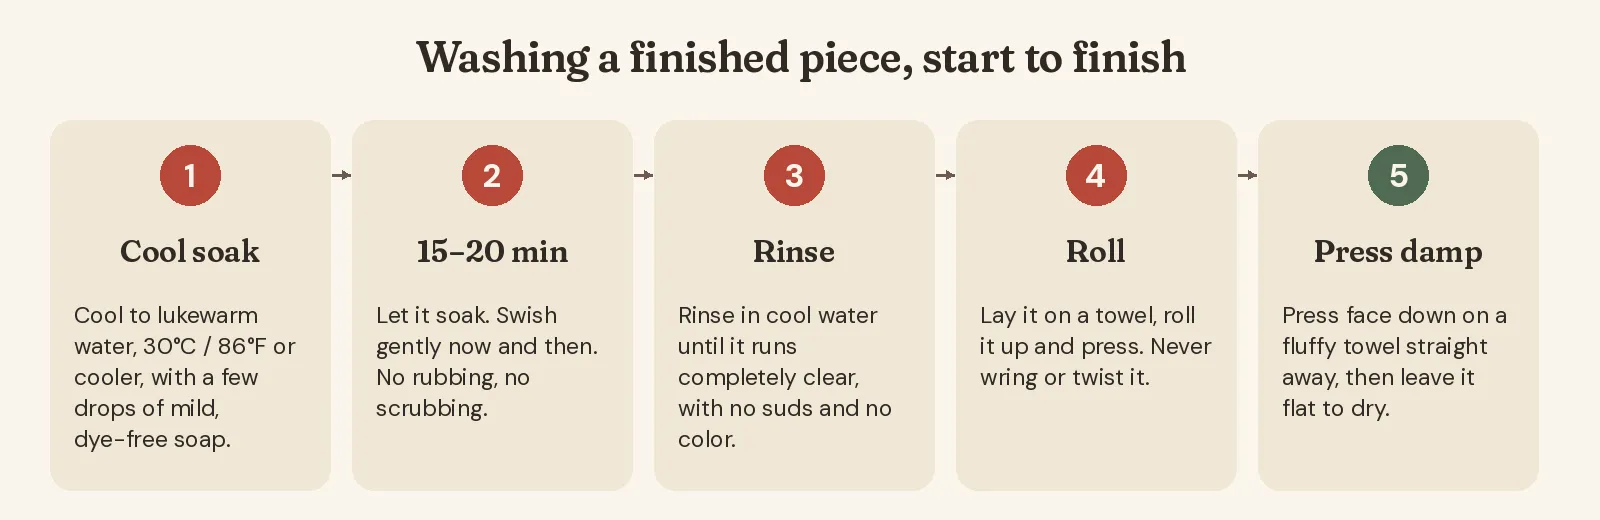
- Fill the bowl with cool to lukewarm water and stir in a few drops of soap.
- Lay the piece in flat and let it soak for 15 to 20 minutes. Swish it gently once or twice. Don’t rub the stitches together.
- Drain and rinse in clean cool water. Repeat until there are no suds and no trace of color in the water.
- Lay it on a clean towel and roll it up like a sponge cake. Press down on the roll to soak up water. Never wring or twist it, because that distorts the fabric and the stitches.
- Unroll and press it straight away, while it’s still damp (see below).
DMC describes its stranded cotton as colorfast, and in normal cool washing it behaves very well. Still, a strong red or a very dark color is always the one I watch, especially with hot water or long soaks. If you’re nervous, wet a scrap of the same floss first and press it on a white tissue.
a little gift for you
Get your free cross stitch patterns
Join The Hearth Letter and download every freebie instantly, plus 15% off your first order and cozy stitching tips from Sara.
We send about two letters a month. Unsubscribe with one click.
If a color runs (don’t panic)
It happens, and it’s usually fixable if you act before the piece dries:
- Do not let it dry, and do not iron it. Heat can set the stain.
- Rinse it in cold water straight away, then leave it to soak in fresh cold water.
- Change the water often. Keep going until the water stays clear and the halo fades. Stitchers who’ve rescued a bleeding red often report soaking for many hours, sometimes more than a day, with lots of water changes.
- Add a color-catcher sheet to the soak to pick up loose dye.
- Keep it flat while it soaks so the dye doesn’t wick into new areas.
You’ll see vinegar or salt suggested online for “setting” floss. I don’t rely on either for cotton. Cool water, short soaks and rinsing until clear do far more.
Pressing face down on a towel
This is the step that makes the biggest difference to how your piece looks in a frame.
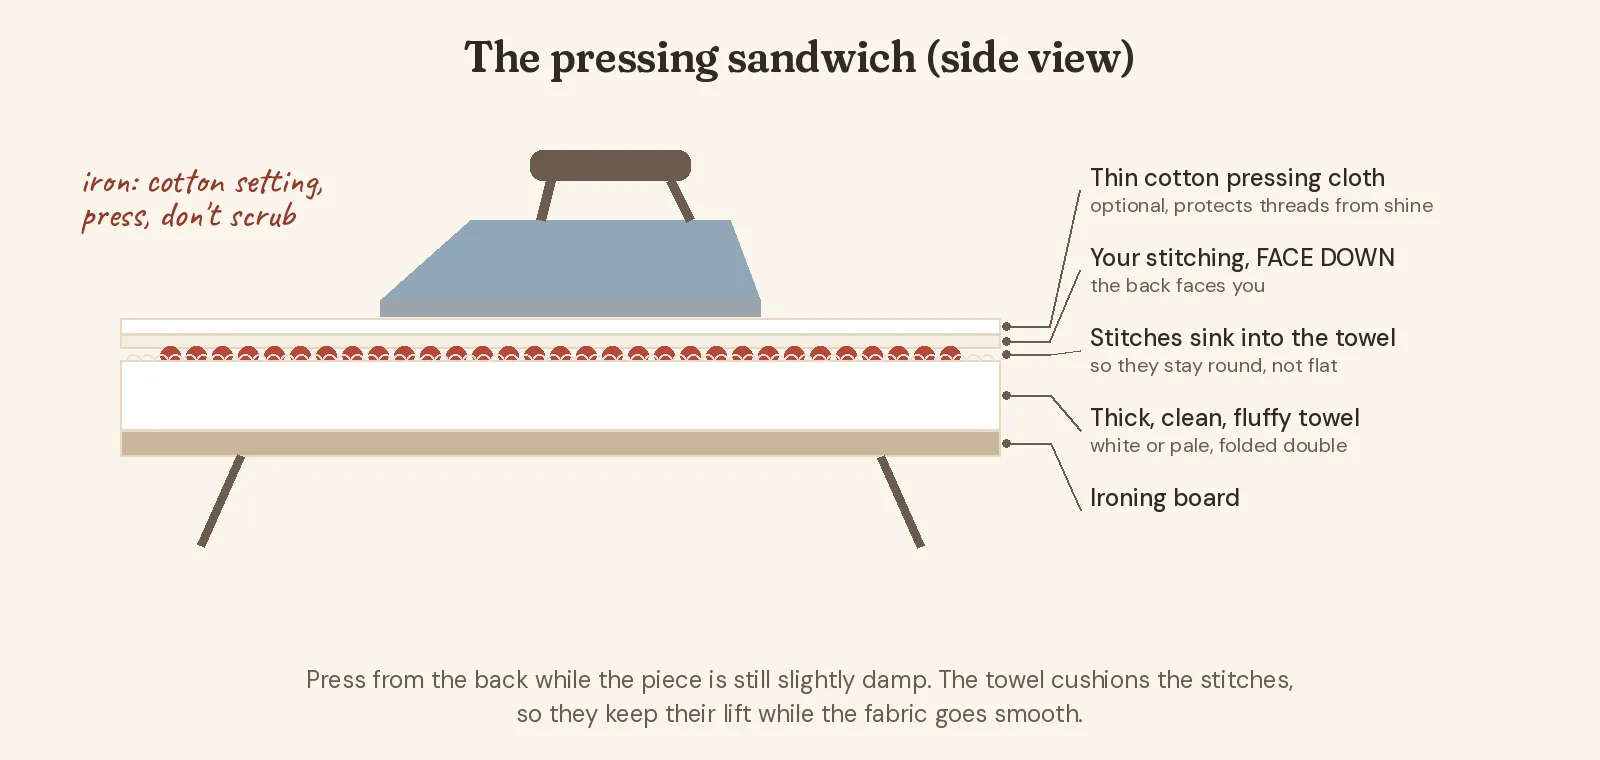
- Fold a thick, fluffy towel double and lay it on the ironing board.
- Place your stitching face down on the towel, so you’re looking at the back.
- Add a thin cotton pressing cloth on top if you have one. It protects specialty threads and stops shine.
- Set the iron to the cotton setting for cotton aida and cotton floss. Use a cooler setting for metallics, blending filaments or synthetic fabric.
- Press, lift, move, press. Don’t slide the iron back and forth, which can stretch the fabric off-grain.
- Work from the center out until the fabric is smooth and almost dry, then leave it flat to finish drying.
The towel is the secret: the stitches sink into the pile, so they keep their rounded shape while the fabric goes flat around them. Ironing on a hard board does the opposite and squashes them.
Removing hoop marks and creases
Hoop marks are the faint rings left where the hoop squeezed the fabric. Most come out with a normal wash and press. For stubborn ones:
- Dampen just the ring with a spray bottle, then press with steam from the back.
- Rewash and press while damp if the mark is still there. Damp fabric relaxes much more easily than dry.
- Prevent them next time: take the piece out of the hoop at the end of every session, and choose a hoop bigger than your design so the ring never sits on stitches. A Q-snap frame or scroll frame avoids rings almost completely.
Creases from folding behave the same way. Damp plus gentle heat from the back sorts them out.
What’s next: framing and finishing
Once it’s clean and flat, you’re ready for the fun part. My step-by-step guide to framing cross stitch in a hoop shows a neat, no-sew back, and the cross stitch bookmark tutorial covers three easy small finishes.

a little gift for you
Need a quick project to practice finishing?
Join The Hearth Letter and get my free small patterns, perfect for trying a wash, press and hoop finish.
We send about two letters a month. Unsubscribe with one click.
Frequently asked questions
Do you have to wash cross stitch before framing?
No. If your piece is clean and the hoop left no marks, a careful press is enough. Wash it if it has hoop marks, marker lines, hand oils or any spots, because framing seals those in.
What temperature should I wash cross stitch in?
Cool to lukewarm water, around 30°C or 86°F at most, with a little mild, dye-free soap. Hot water is the main reason reds and dark colors run.
Can you iron cross stitch?
Yes, but always face down on a thick, fluffy towel, ideally while it's still slightly damp. Press rather than slide the iron. A cotton setting is fine for cotton aida and DMC floss; go cooler for metallic or synthetic threads.
What do I do if the red floss bleeds?
Don't let it dry and don't use heat. Rinse and soak it in cold water straight away, changing the water often, until the stain lifts. It can take many hours.
Patterns to try
Stitch along with this post
Keep reading
More from the blog
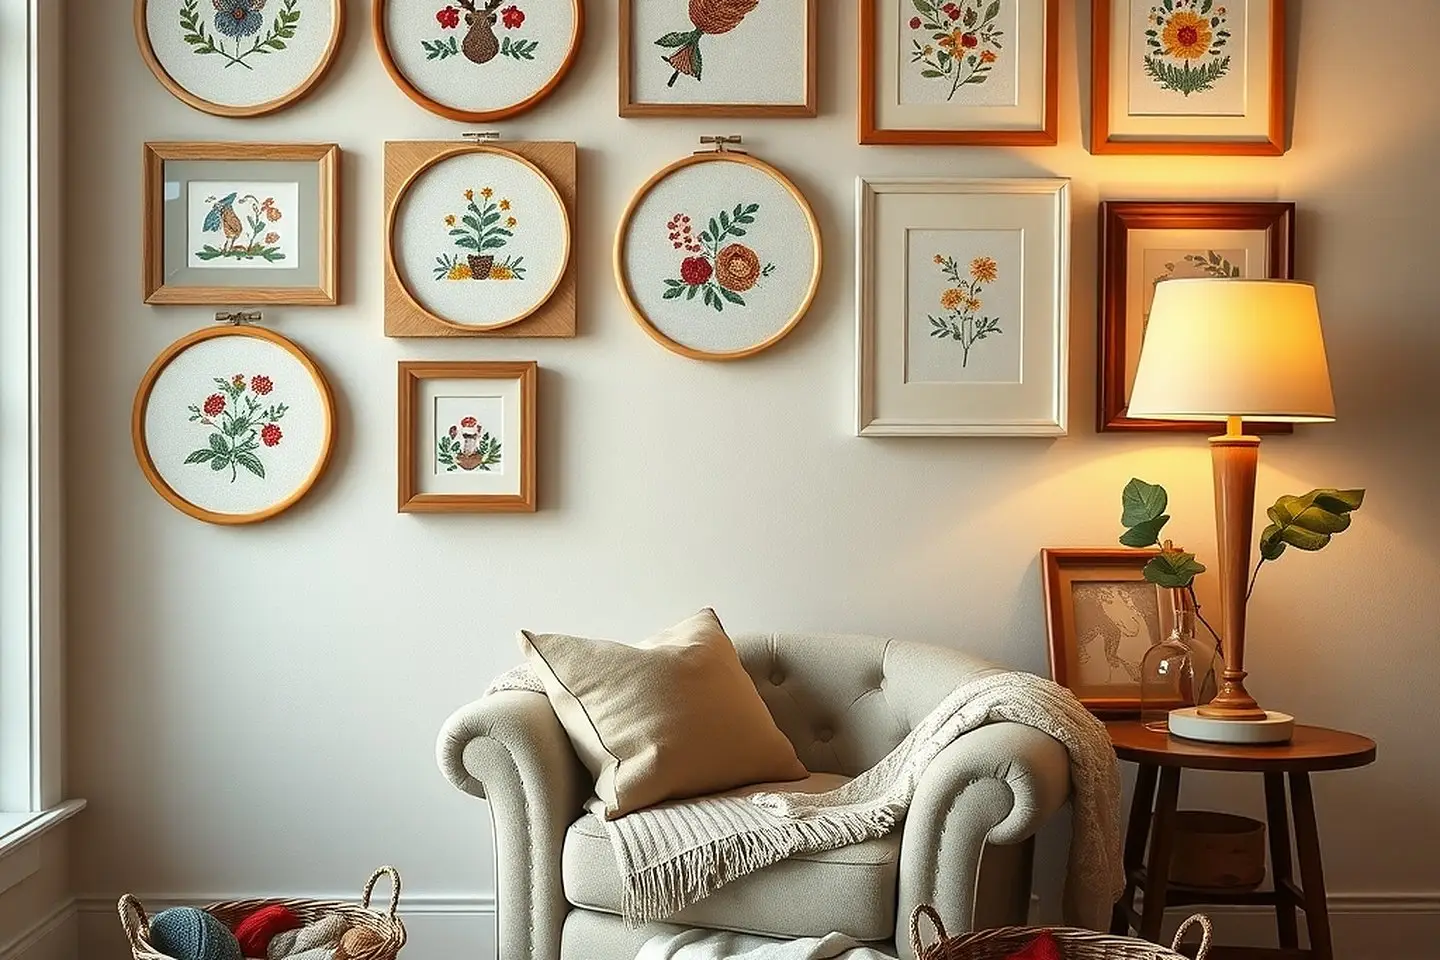
How to Finish & Frame Cross Stitch: 9 Pretty Ideas
From hoops to frames, ornaments, pillows and bookmarks: easy ways to finish and frame cross stitch at home, with step-by-step tips from my sofa.
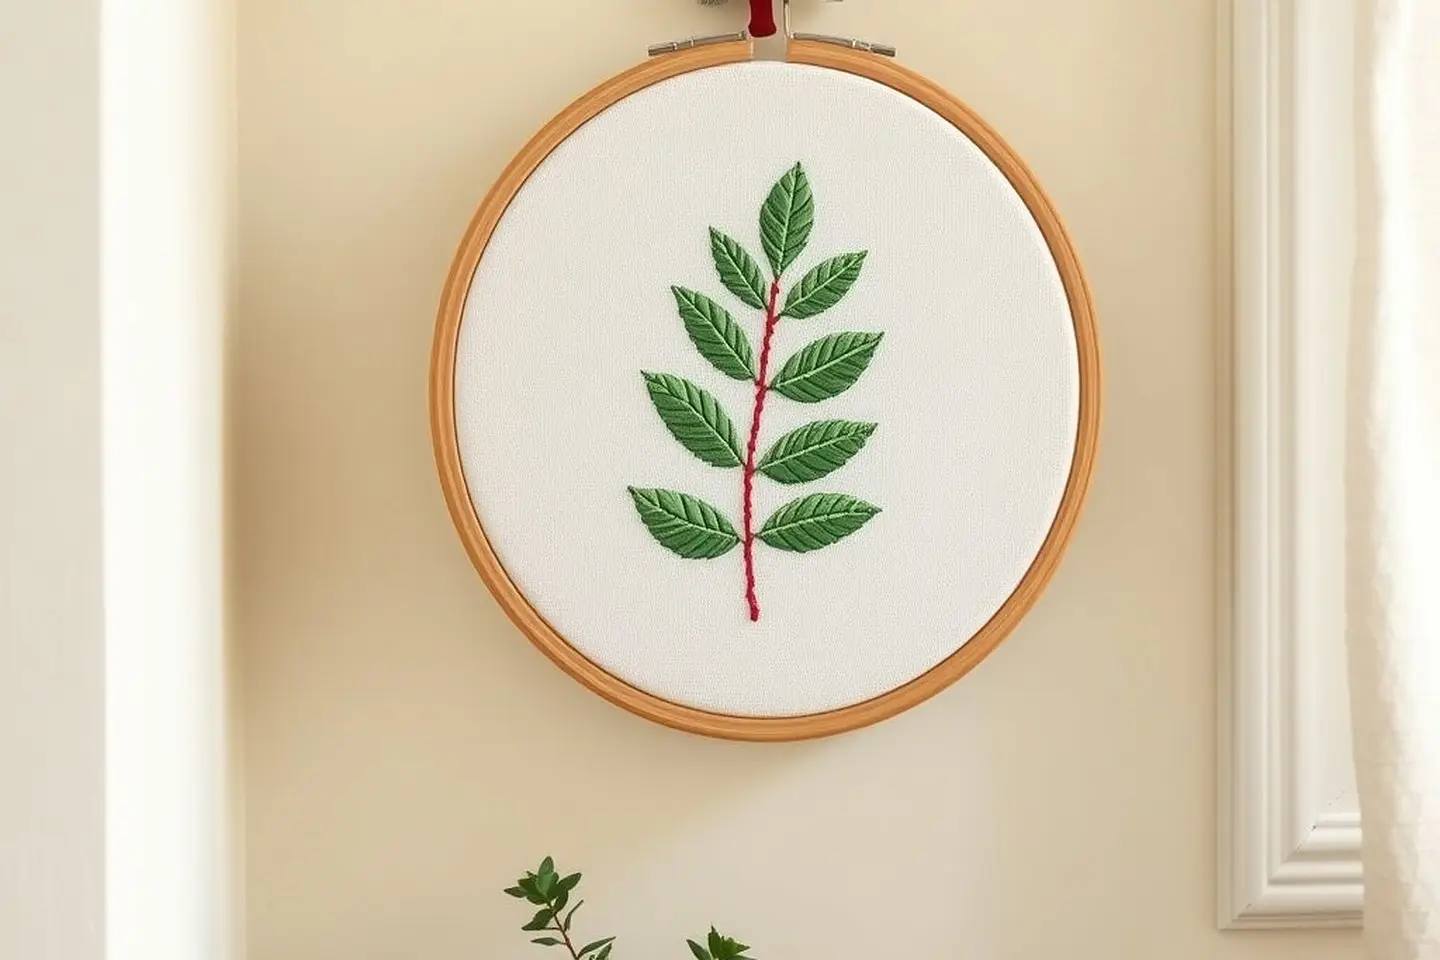
How to Frame Cross Stitch in a Hoop (Neat Back)
A step-by-step guide to framing cross stitch in an embroidery hoop: centering, tightening, gathering the back, and adding a felt backing.

How to Make Cross Stitch Ornaments (Easy, No-Sew Too)
Turn little stitched designs into handmade Christmas ornaments: flat felt-backed, stuffed and mini-hoop finishes, step by step, with free patterns.