
How to Make a Cross Stitch Bookmark (+ Free Pattern)
Make a cross stitch bookmark start to finish: best fabric, sizing, a free bookmark cross stitch pattern and three finishing methods, including no-sew.
In this post
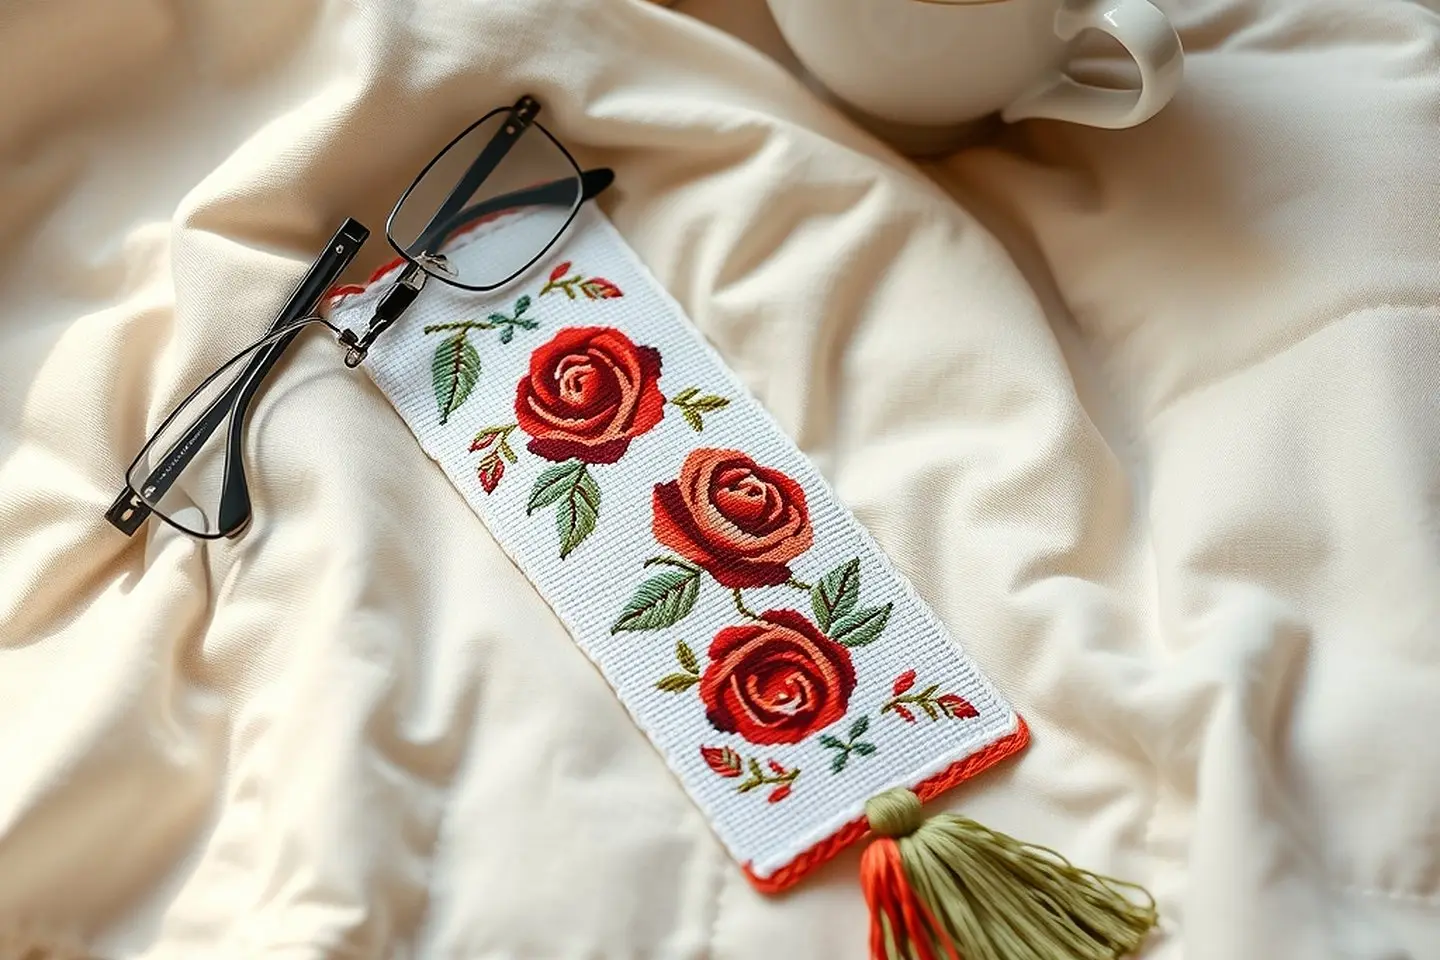
A cross stitch bookmark is one of my favorite small projects. It’s quick, it uses up odds and ends of floss, and it’s the perfect gift for a reader. This guide covers how to make a cross stitch bookmark from start to finish: what size and fabric to use, a free pattern to stitch, and three ways to finish it, including one that needs no sewing at all.
The short answer: stitch a long, narrow design (about 24 x 90 stitches) on 14 count aida or aida band, wash and press it, then back it. The easiest finish is stitching it onto felt and trimming with pinking shears. For a neater edge, sew on a fabric backing with a floss tassel. For no sewing, bond it to felt with fusible web.
This is one of the small finishes in my guide to finishing and framing cross stitch, so take a look there for even more ideas.
Bookmark size and fabric (aida band vs cut aida)
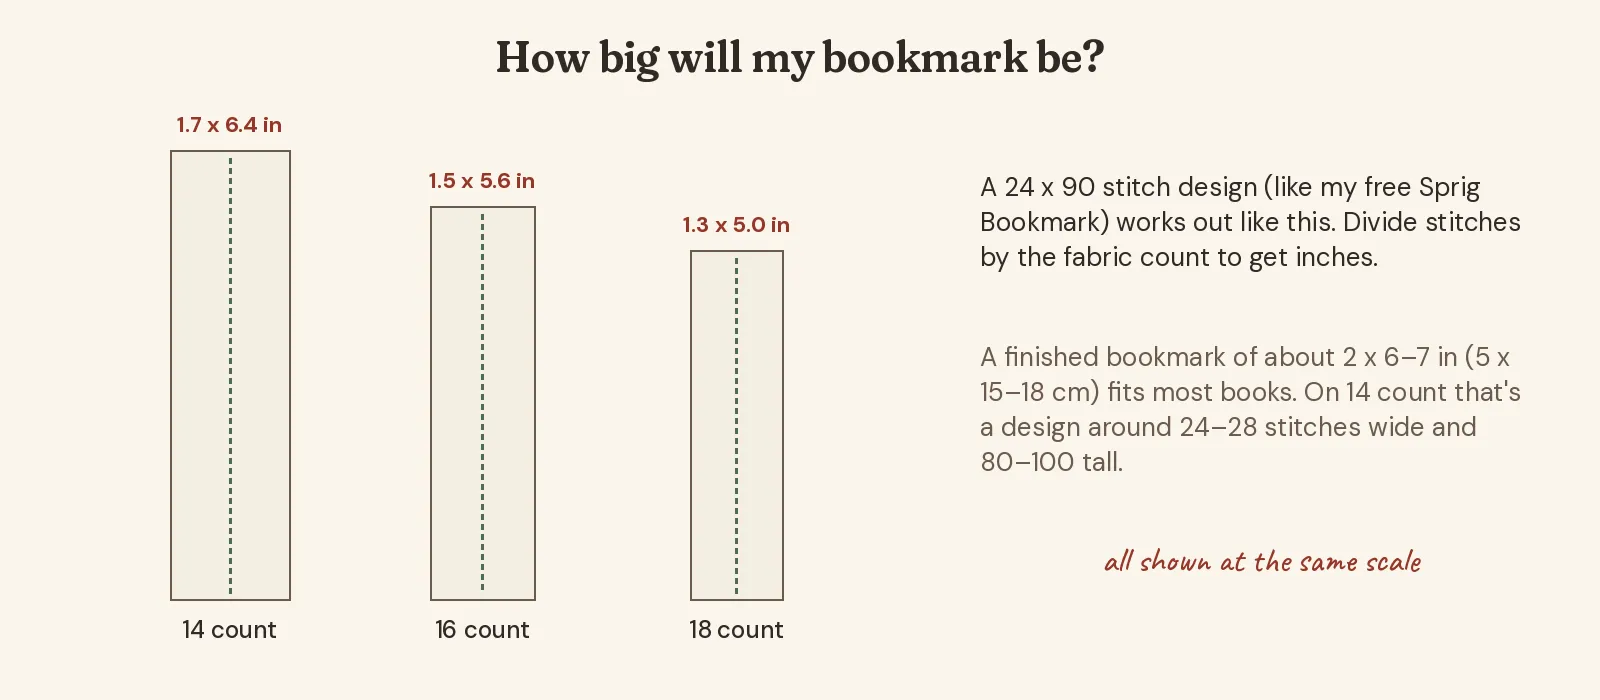
A finished bookmark of about 2 x 6 to 7 inches (5 x 15 to 18 cm) fits most paperbacks and hardbacks. To work out the size of any design, divide the stitches by your fabric count:
| Fabric | 24 x 90 stitch design | Notes |
|---|---|---|
| 14 count aida | 1.7 x 6.4 in | Easiest to see; my pick for a first bookmark |
| 16 count aida | 1.5 x 5.6 in | A slimmer, finer bookmark |
| 18 count aida | 1.3 x 5.0 in | Small and delicate; use 1 or 2 strands |
| 28 count evenweave over two | 1.7 x 6.4 in | Same size as 14 count, softer drape |
You have two fabric choices:
- Aida band is a long strip of aida with finished, woven edges, sold in several widths. You only need to finish the two ends, which makes the whole thing much faster.
- Cut aida gives you any width and color. Cut a strip with at least 2 inches of spare fabric around the design so you can hold it comfortably, then trim later.
The fabric calculator will work out the stitched size and the fabric to cut for any design. And if you’re unsure which count to choose, my aida fabric count guide explains the differences.
Free bookmark pattern (download)
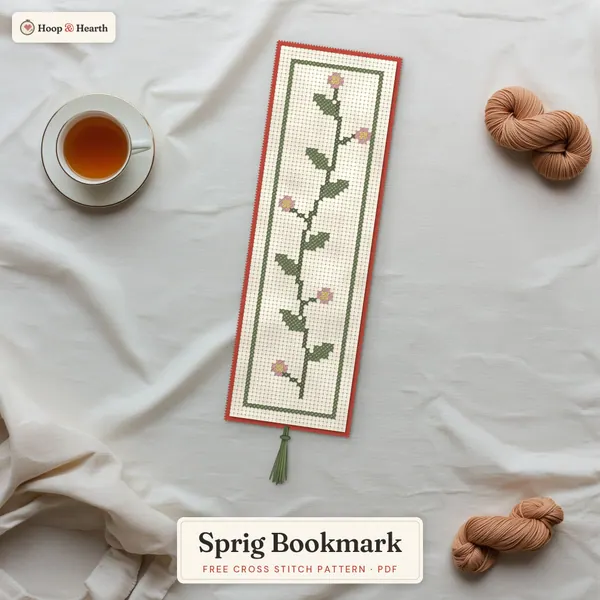
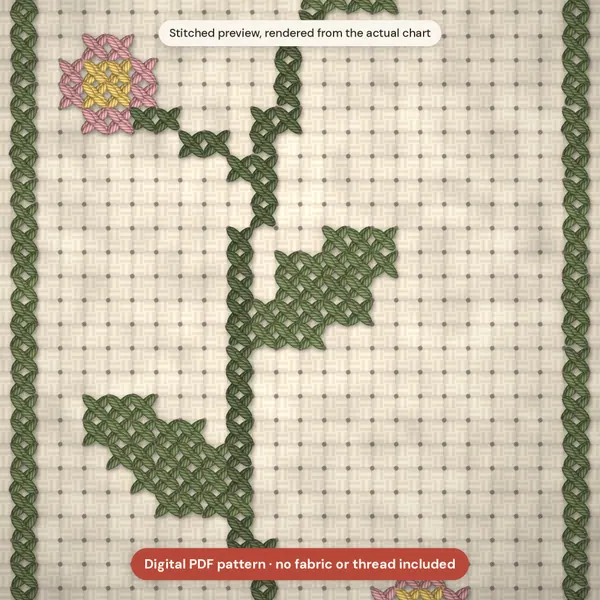
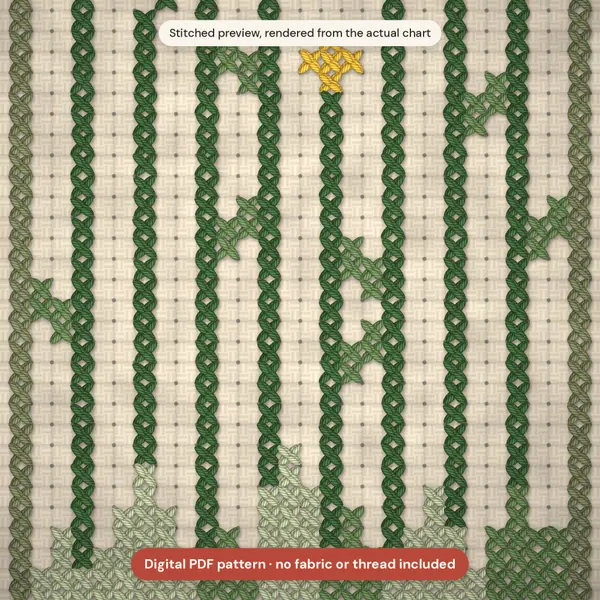
My free Sprig Bookmark is a slim climbing sprig of leaves with tiny flowers: 24 x 90 stitches and just 4 colors, so it’s very beginner-friendly. It comes as a PDF with a color chart, a black and white chart, and a Pattern Keeper version.
a little gift for you
Get the free Sprig Bookmark pattern
Join The Hearth Letter and download the bookmark pattern instantly, plus my other free patterns.
We send about two letters a month. Unsubscribe with one click.
Stitching tips for long, narrow designs
Long, skinny designs are lovely but have a few quirks:
- Start in the middle, not at one end. Find the center of the strip and the center of the chart, so the design sits evenly with equal margins.
- Use a small hoop and move it, or a scroll frame, or stitch in hand. A bookmark strip is often too narrow for a hoop, which is why aida band is so handy.
- Keep the back extra tidy. Bookmarks are thin and handled a lot, so long trailing threads catch. End off rather than jumping across gaps.
- Count the margins at both ends before you start, so you don’t run out of fabric at the bottom.
Before you finish it, give your bookmark a gentle wash and press. My guide to washing and ironing cross stitch shows how to press it face down on a towel so the stitches stay plump.
Three ways to finish a bookmark
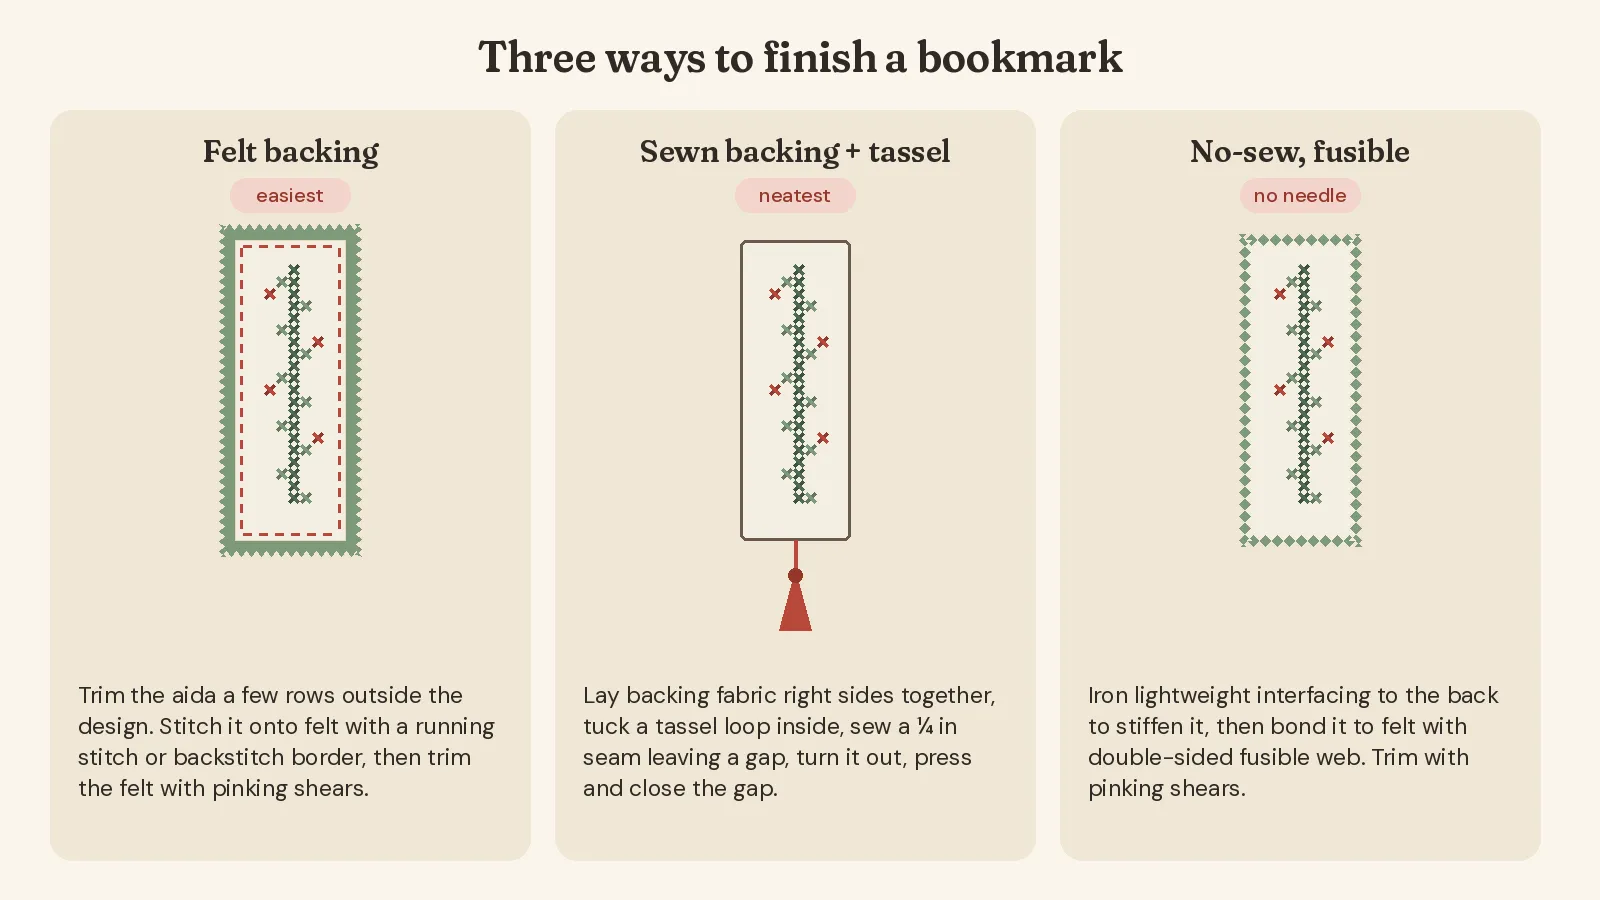
Finish 1: felt backing
The easiest finish, and the one I’d suggest for a first bookmark.
- Trim the aida to leave 2 or 3 empty rows around the design. For a little fringe, pull out one or two threads along the edges.
- Cut a piece of felt slightly bigger than the aida.
- Stitch the aida onto the felt with a running stitch or backstitch border in a matching floss, one or two rows outside the design.
- Trim the felt with pinking shears, leaving a narrow border of felt showing.
Finish 2: sewn backing with a tassel
Neater edges, and a soft back that’s lovely to hold.
- Make a tassel first (see below) and leave a loop of floss at its top.
- Trim the aida to a neat rectangle, leaving about ¼ inch (6 mm) seam allowance beyond your planned edge.
- Cut a backing in cotton fabric or felt to the same size.
- Lay them right sides together and tuck the tassel inside, with its loop poking out at the bottom center seam.
- Sew around the edge with a ¼ inch seam, by hand in backstitch or by machine, leaving a 1 inch gap on one long side.
- Clip the corners, turn it right side out, poke the corners out gently, and press from the back.
- Close the gap with small slip stitches.
Finish 3: no-sew with fusible interfacing
No needle needed after the stitching, so it’s a good one for kids’ bookmarks too.
- Iron lightweight fusible interfacing onto the back of your stitching. It stiffens the bookmark and stops fraying. Use a pressing cloth and press from the back on a towel.
- Cut a piece of felt or cotton for the back, plus a piece of double-sided fusible web the same size.
- Sandwich and press: stitching, fusible web, backing. Follow the heat setting on the fusible web packet.
- Trim with pinking shears, leaving 2 or 3 rows of aida around the design.
Making cord and tassels from floss
A simple tassel:
- Cut a piece of card about 3 inches (7.5 cm) tall.
- Wrap floss around it 20 to 30 times, depending on how full you want it.
- Slide a short piece of floss under the loops at the top and tie it tightly. This is your hanging loop.
- Cut through all the loops at the bottom.
- Wrap another piece of floss around the bundle about ½ inch below the top, a few times, and knot it. Trim the ends level.
A twisted cord: cut floss about three times the length you want the finished cord. Knot both ends, hook one end over a doorknob, and twist the other end until the floss starts to kink. Hold the middle, bring the two ends together, and let it twist back on itself. Knot the end.
Bookmark gift ideas
Bookmarks make wonderful small gifts, especially for teachers, book clubs and grandparents. A few ideas:
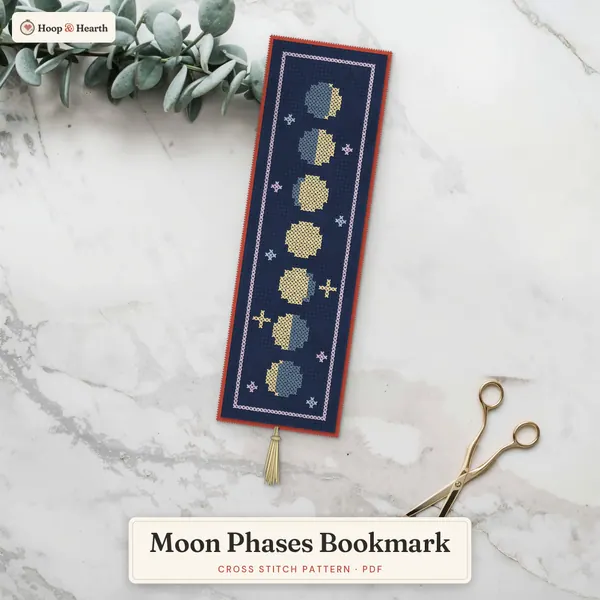
- Pick the design for the reader: moon phases for a night owl, a cat for a cat person, wildflowers for a gardener.
- Match the tassel to a color in the design.
- Tuck it into a book you think they’d love, with a little gift tag.
If you’re stitching against a deadline, my list of last-minute cross stitch gifts has more quick ideas, and bookmarks are on it for a reason.
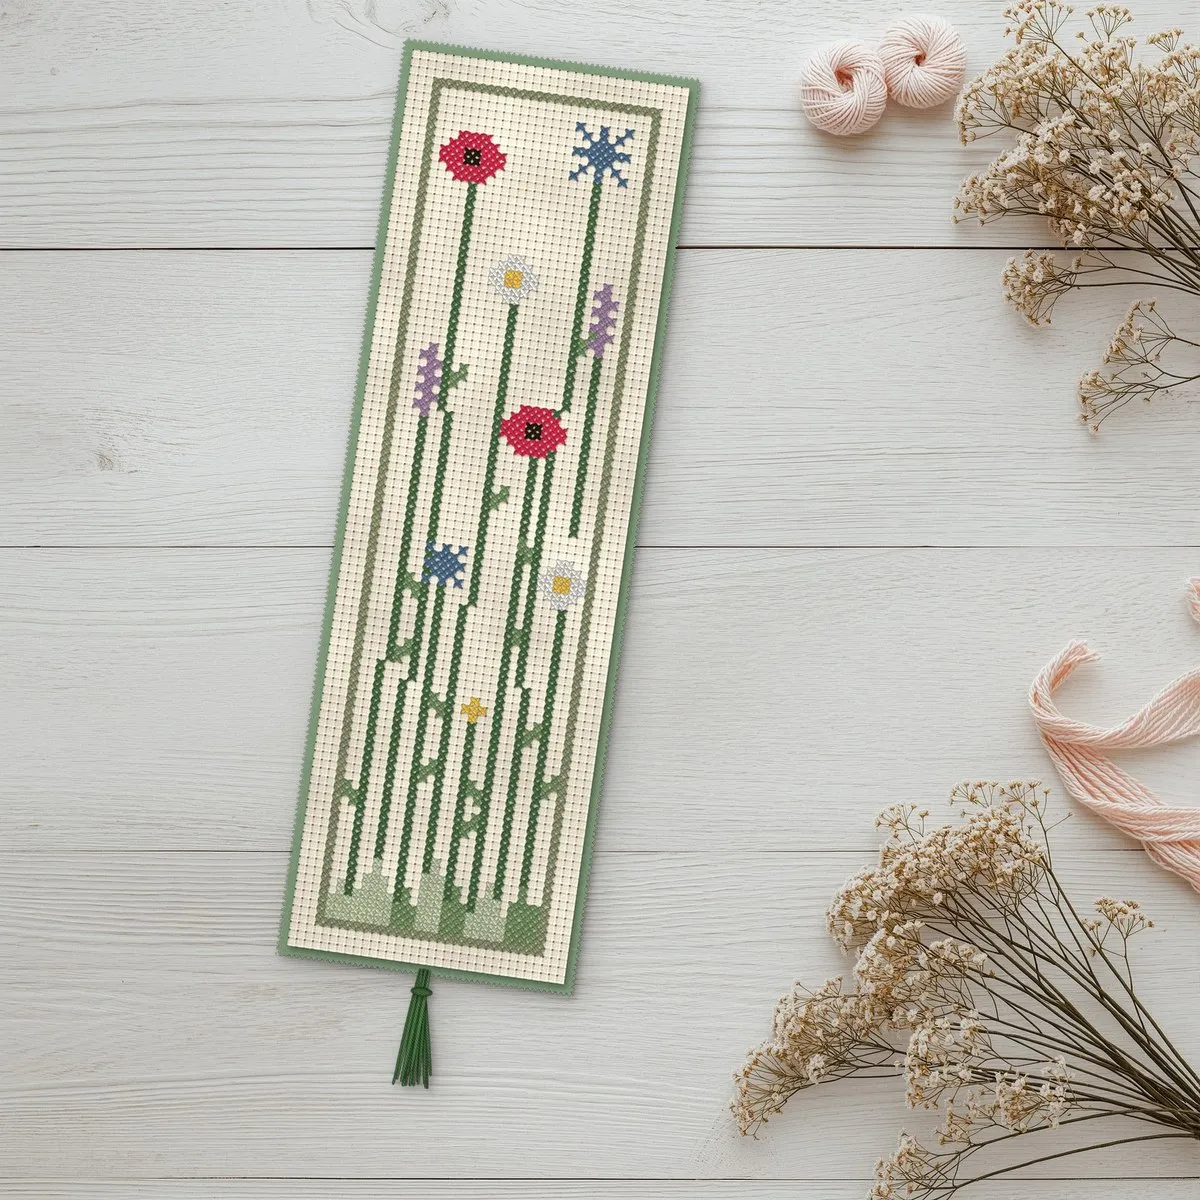
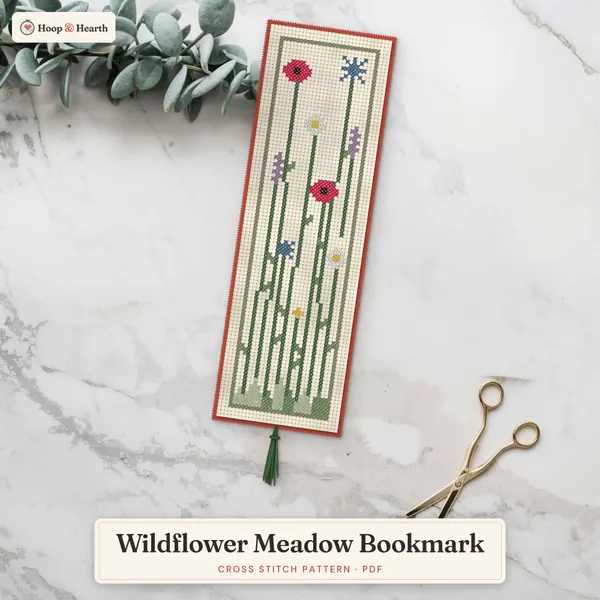
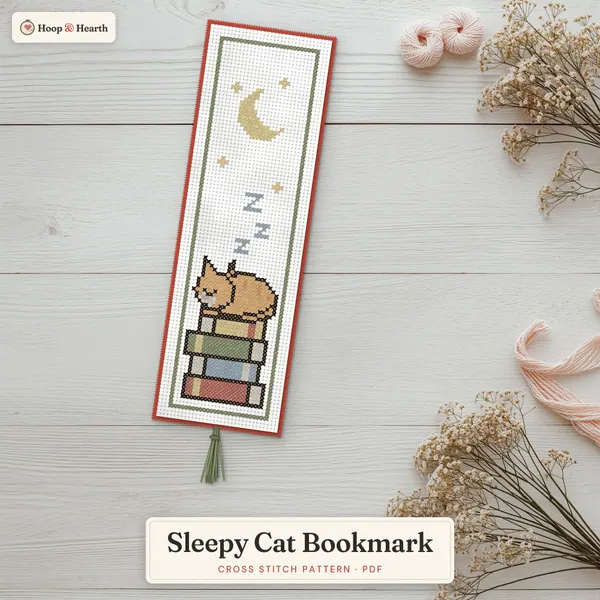
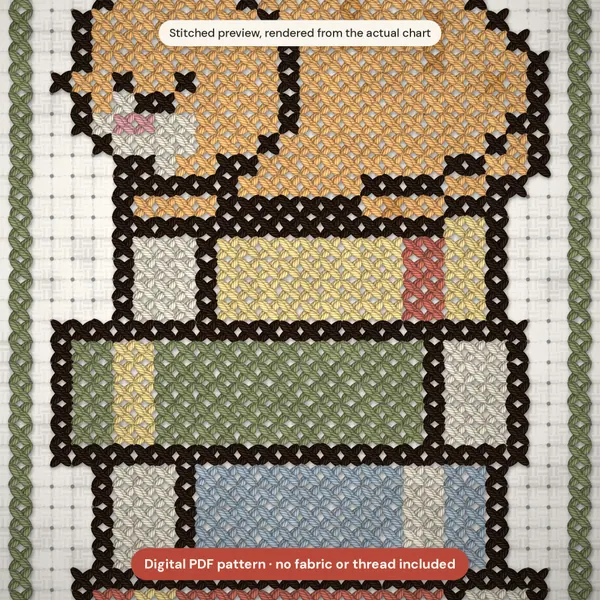
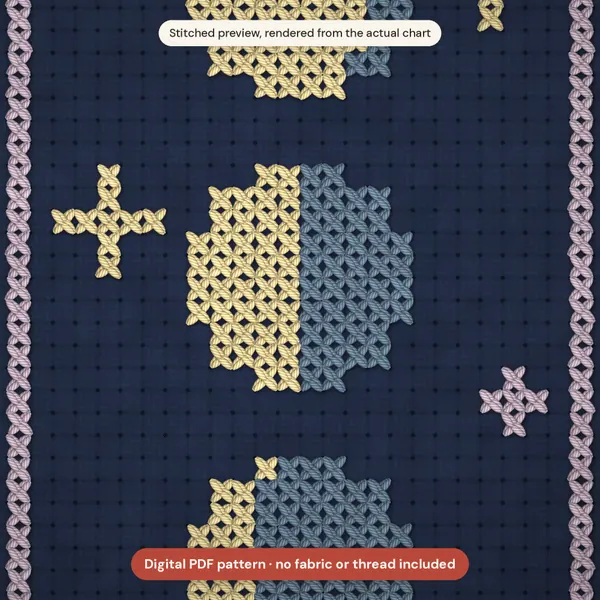
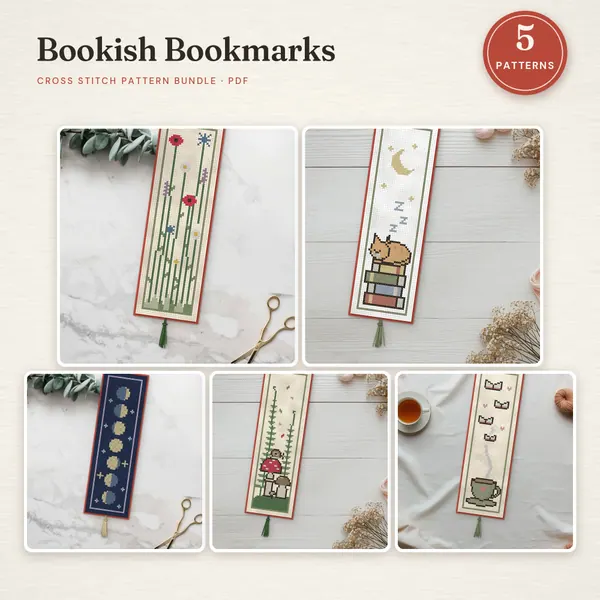
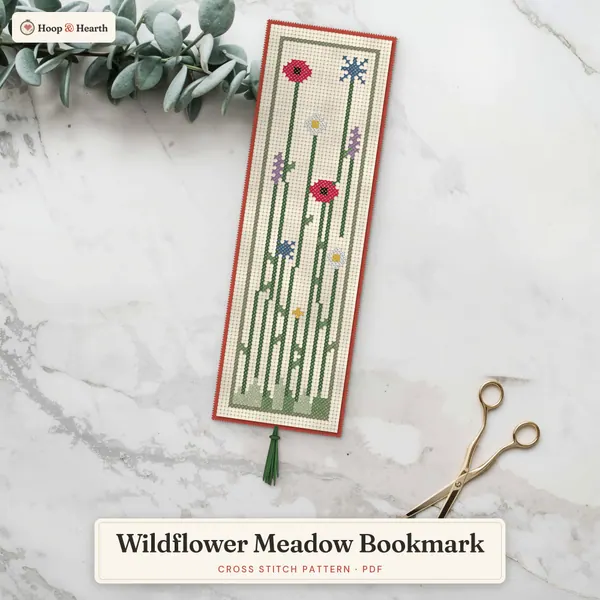
Here’s a digital preview of one of the designs from my bookmark collection, rendered from its chart, with a felt back and tassel:
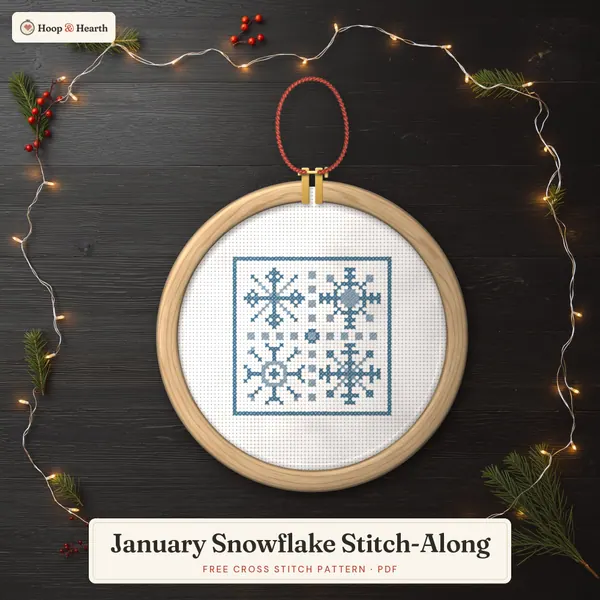
Once you’ve made a bookmark, a mini hoop is a lovely next finish. My guide to framing cross stitch in a hoop shows a neat no-sew back.
Frequently asked questions
What size should a cross stitch bookmark be?
About 2 inches wide and 6 to 7 inches long when finished (5 x 15 to 18 cm) fits most books. On 14 count aida, that means a design roughly 24 to 28 stitches wide and 80 to 100 stitches tall.
What is the best fabric for a cross stitch bookmark?
14 count aida is the easiest. Aida band, which has finished edges, saves you hemming. For a slimmer, finer bookmark, try 16 or 18 count.
How do you finish a cross stitch bookmark without sewing?
Iron lightweight interfacing to the back to stiffen it, then bond it to felt or cotton with double-sided fusible web and trim the edges with pinking shears. Press from the back on a towel so the stitches don't flatten.
How do you make a tassel from embroidery floss?
Wrap floss around a 3 inch piece of card 20 to 30 times, tie the loops together at the top, cut them at the bottom, then wrap a short length of floss around the bundle just below the top and knot it.
Patterns to try
Stitch along with this post
Keep reading
More from the blog
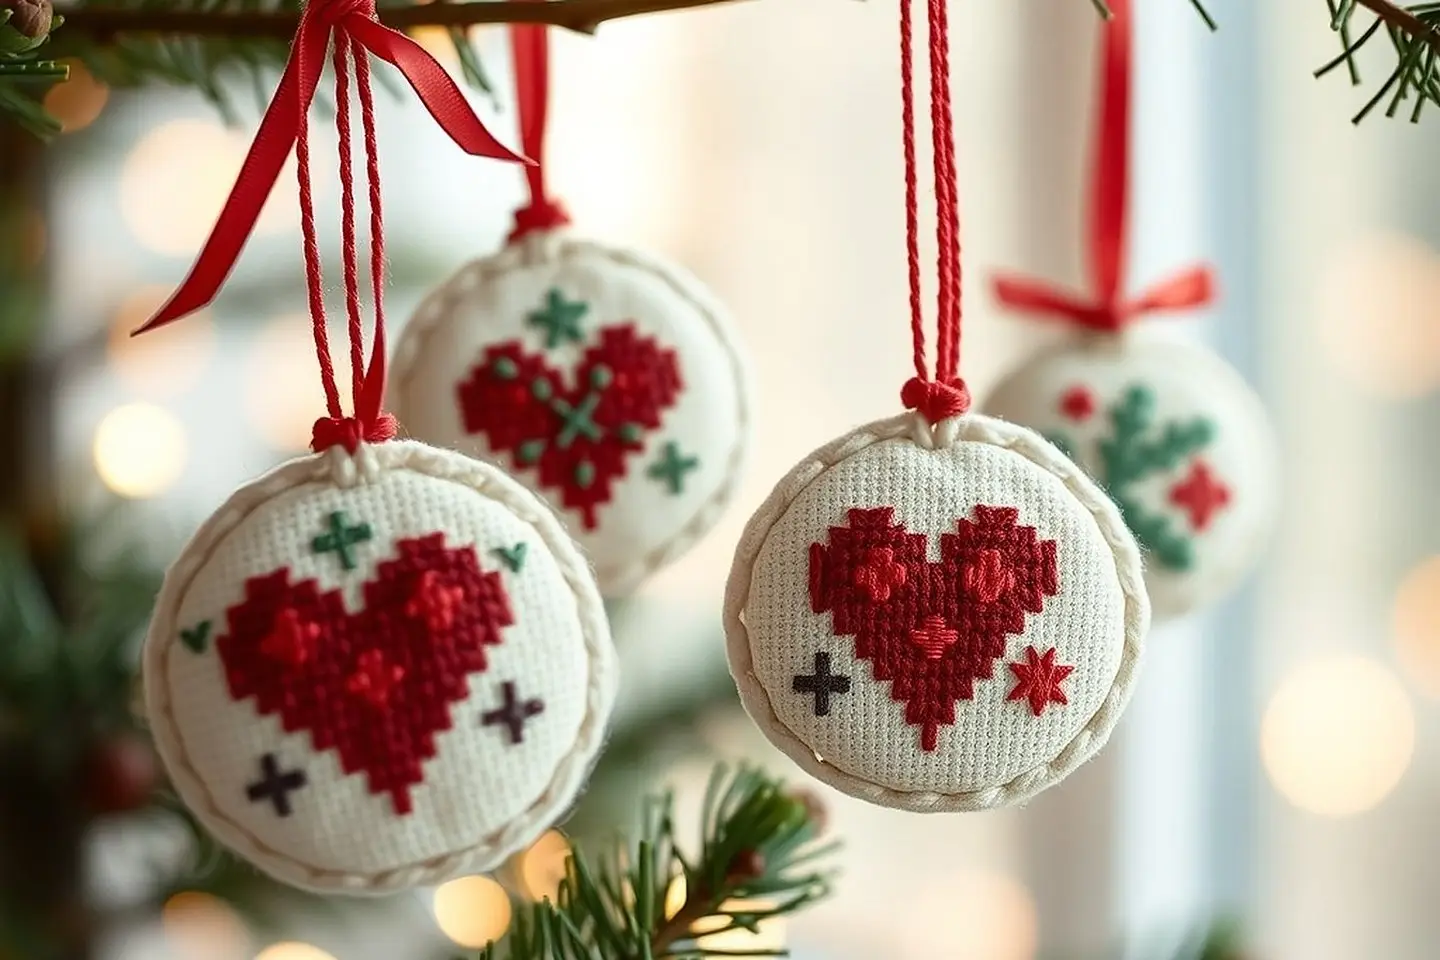
How to Make Cross Stitch Ornaments (Easy, No-Sew Too)
Turn little stitched designs into handmade Christmas ornaments: flat felt-backed, stuffed and mini-hoop finishes, step by step, with free patterns.
How to Frame Cross Stitch in a Hoop (Neat Back)
A step-by-step guide to framing cross stitch in an embroidery hoop: centering, tightening, gathering the back, and adding a felt backing.
How to Finish & Frame Cross Stitch: 9 Pretty Ideas
From hoops to frames, ornaments, pillows and bookmarks: easy ways to finish and frame cross stitch at home, with step-by-step tips from my sofa.