
How to Cross Stitch for Beginners: A Cozy, Complete Guide
Learn to cross stitch step by step: supplies, reading a chart, your first stitch, and neat finishing. A friendly guide with a free beginner pattern.
In this post
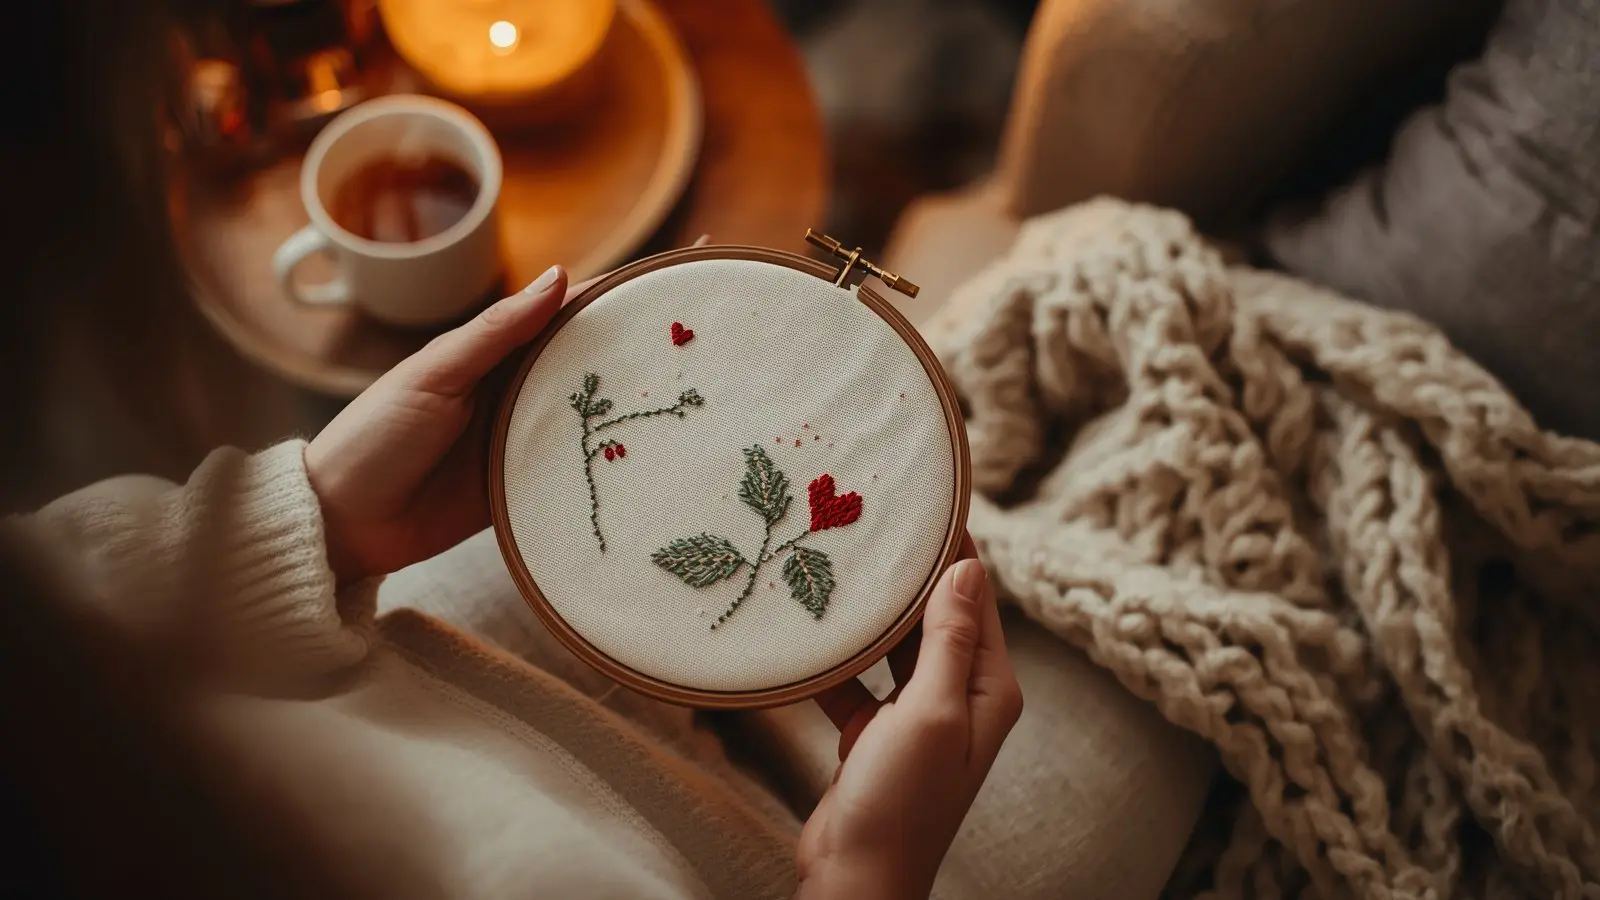
The very first thing I stitched was a wobbly little heart, sitting next to my grandmother. She showed me how to make one small X, then another, and I’ve been hooked ever since. If you’ve been wondering how to cross stitch for beginners, here’s everything she taught me, plus all the small things I’ve learned since.
The short answer: cross stitch is counted embroidery. You follow a chart where each square stands for one X-shaped stitch, and you sew those Xs onto an even-weave fabric called aida, using six-strand embroidery floss split into two strands. You need fabric, floss, a blunt tapestry needle, small scissors and a pattern. A hoop is optional but helpful.
This is the big, start-here guide. Wherever a topic deserves more room, I’ve linked a deeper post, like my cross stitch supplies list and my step-by-step guide to reading a cross stitch pattern.
What you need to start (the short list)
You don’t need a craft room. You need about six things, and they all fit in a zip bag.
| Supply | What to get for your first project | Why |
|---|---|---|
| Fabric | 14 count aida, white or cream | Big, clear holes. Most patterns quote sizes for it. |
| Floss | DMC six-strand cotton, in the colors your pattern lists | The numbers on the pattern key match DMC numbers. |
| Needle | Tapestry needle, size 24 | Blunt tip slips through the holes, big eye is easy to thread. |
| Hoop | 5 or 6 inch wooden or plastic hoop | Keeps the fabric taut so stitches stay even. |
| Scissors | Small, sharp embroidery scissors | Clean cuts make threading much easier. |
| Pattern | A small, beginner-friendly chart | More on choosing one below. |
A tapestry needle is the one people most often get wrong. A regular sewing needle is sharp and splits the fabric threads. A tapestry needle has a rounded tip, so it finds the holes for you.
If you’d like the longer version, with hoop alternatives, needle sizes for other fabrics and the extras I actually use, it’s all in my cross stitch supplies guide. Fabric count gets its own post too: 14 vs 16 vs 18 count aida.
a little gift for you
Get my free beginner pattern
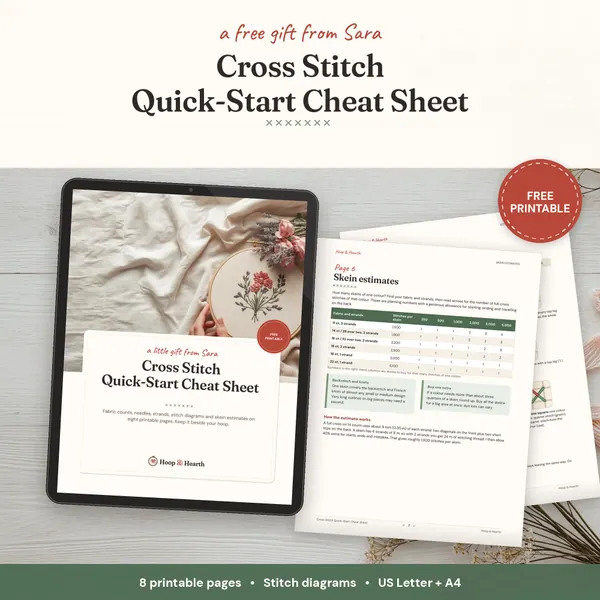
Join The Hearth Letter and I'll send you a small, cozy first pattern plus my one-page stitching cheat sheet.
We send about two letters a month. Unsubscribe with one click.
Choosing your first pattern: size, colors and confetti
The pattern matters more than people think. A good first chart makes you feel clever. A tricky one makes you think you’re bad at this, when really the pattern was just hard.
Here’s what I look for in a first project:
- Small. Somewhere around 30 x 30 to 60 x 60 stitches. On 14 count aida that’s roughly 2 to 4 inches across, which fits a small hoop and finishes in weeks, not months.
- Few colors. Four to ten is plenty. Fewer colors means fewer thread changes.
- Full stitches only. Leave quarter and three-quarter stitches for later. A little backstitch is fine.
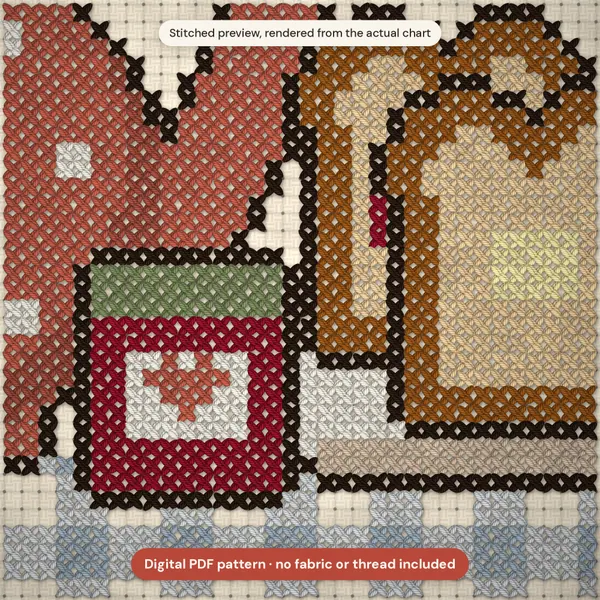
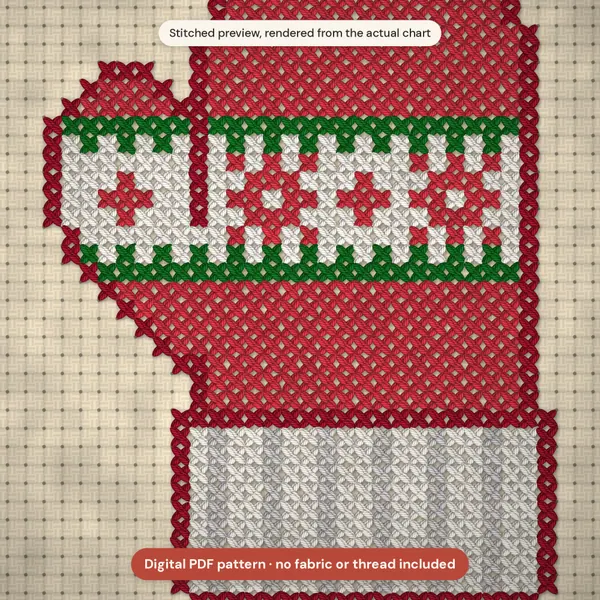
- Low confetti. Confetti means lots of single, scattered stitches of one color. They’re slow and fiddly. Look for designs built from solid blocks of color instead. I wrote a whole post on what confetti is and how to spot it.
- A clear chart. Distinct symbols, a bold line every 10 squares and a full-color key.
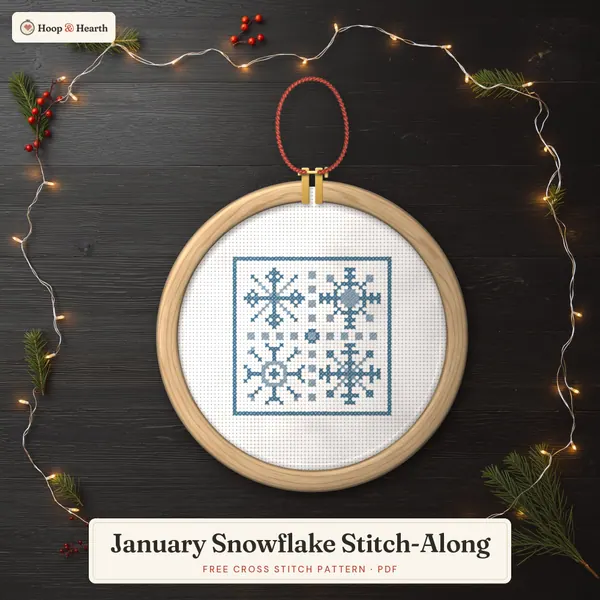
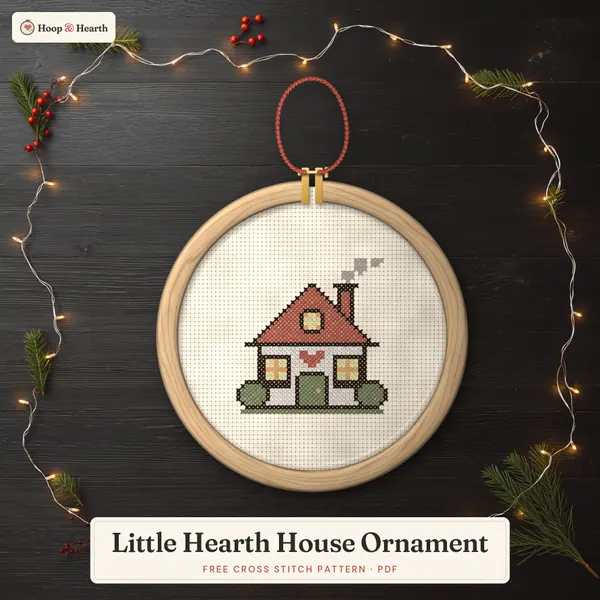
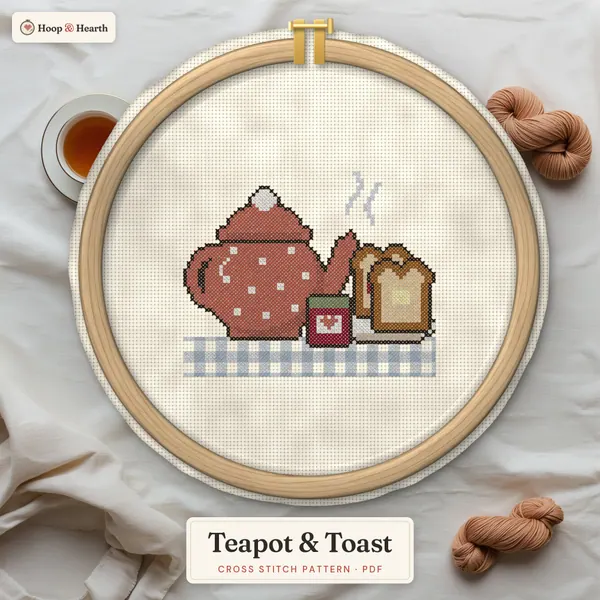
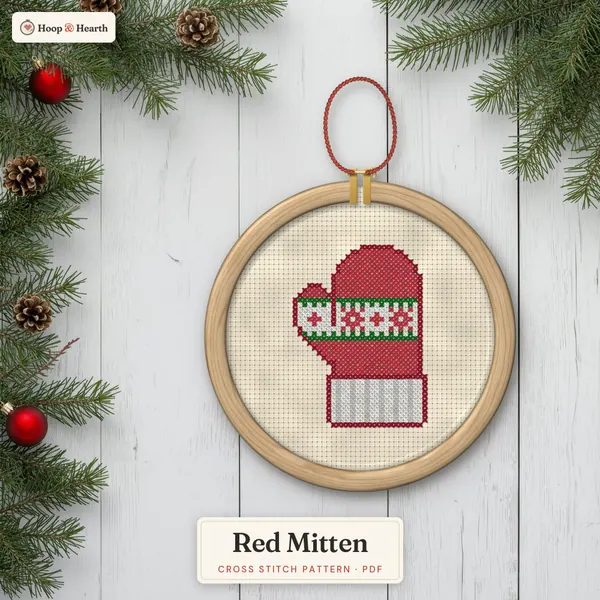
Little ornaments, hearts, simple houses and small florals all make lovely first projects. A cozy little scene like a teapot or a cottage is satisfying because it looks like something by the time you’re halfway.
How to read your chart in five minutes
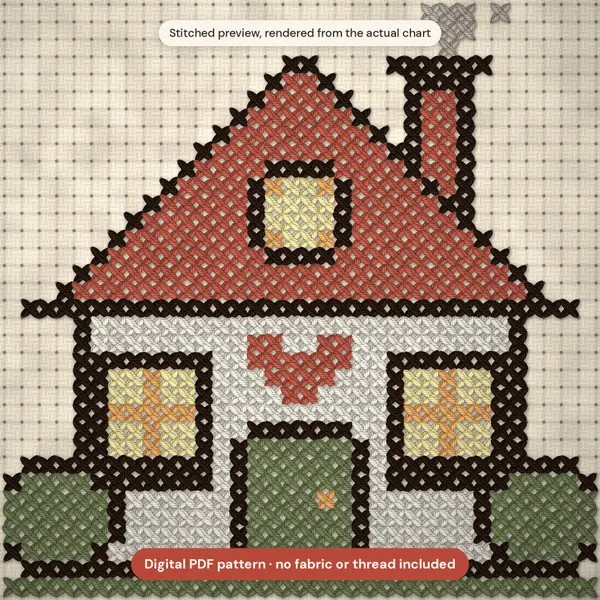
A cross stitch chart is a grid. Each square is one cross stitch. An empty square means no stitch, so the fabric shows through. The symbol (or color) in a square tells you which floss to use, and the key matches each symbol to a DMC number.
A few more things you’ll see:
- Bold lines every 10 squares. They make counting much easier. You count in tens, not one by one.
- Arrows on the edges. Follow them in and they meet in the middle of the design.
- Solid lines between squares are backstitch, usually stitched last with one strand.
- Dots on the grid lines are French knots.
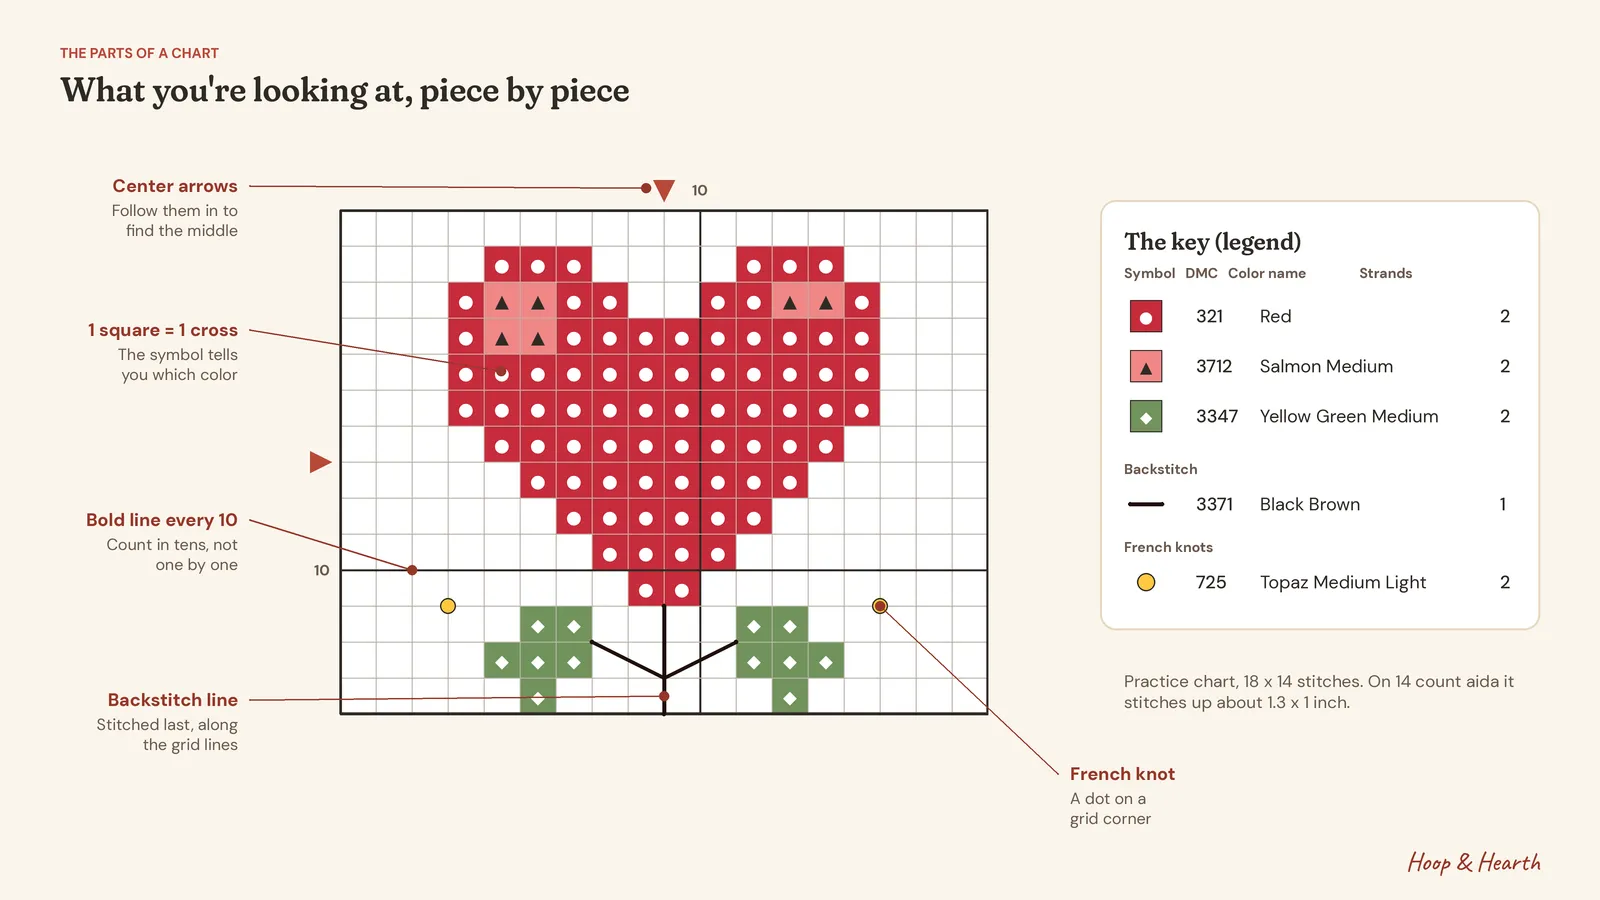
That’s honestly enough to begin. When you want the details, like multi-page charts, half symbols and color vs black-and-white charts, my full guide on how to read a cross stitch pattern walks through it all.
Step by step: your first stitch
Here’s exactly how I’d set up a first project, from cutting the fabric to the very first X.
1. Cut your fabric with room to spare
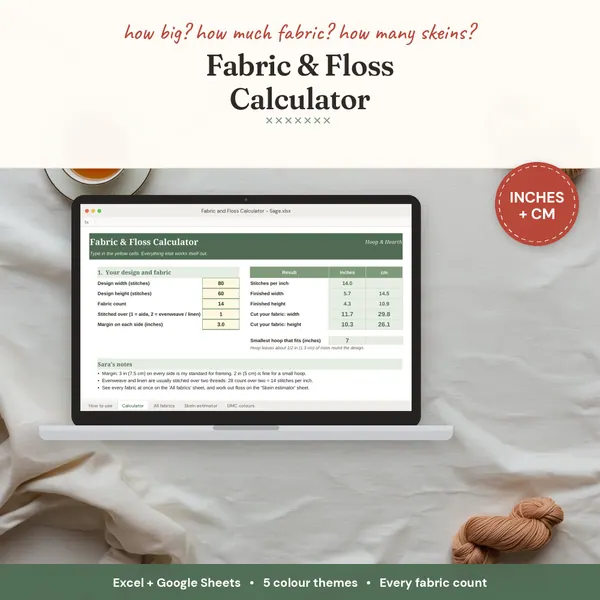
Work out the design size first. Divide the stitch count by the fabric count. A 42 x 42 stitch design on 14 count aida is 42 ÷ 14 = 3 inches square.
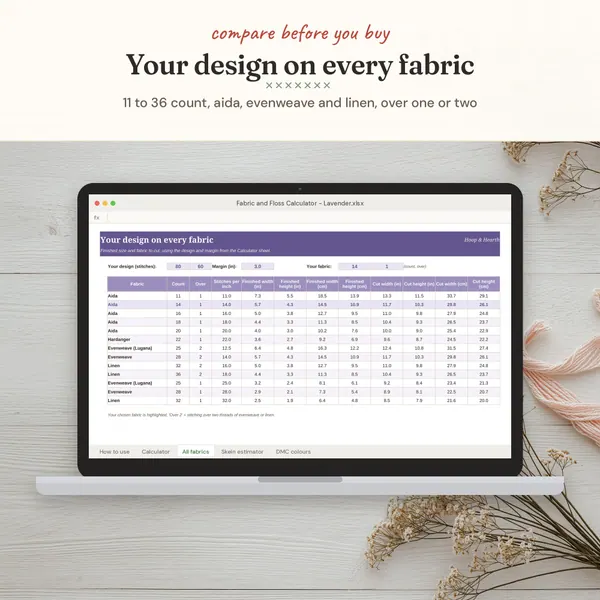
Then add 3 inches on every side for framing (6 inches in total each way), so that design wants a 9 x 9 inch piece of fabric. For a small ornament or a hoop finish, 2 inches a side is enough. The fabric size calculator does this sum for you.
Aida frays a little at the edges as you work. A quick zigzag on a sewing machine, or a simple overcast stitch by hand, keeps it tidy.
2. Find the center
Fold the fabric in half, then in half again. The corner of the folds is the center. Mark it with a pin, or run a line of loose basting thread along each fold. On the chart, follow the arrows in from the edges to find the matching center square.
Starting in the middle means the design ends up centered, with even margins all round. It’s the single best habit I can give you.
3. Put it in the hoop
Loosen the screw and separate the two rings. Lay the inner ring flat, put the fabric over it with the center in the middle, then press the outer ring down on top. Tighten the screw and gently tug the fabric edges until it’s taut, like a drum.
With aida, you want it firm but not stretched. If the holes start turning into little rectangles, it’s too tight.
4. Prepare your floss and start without a knot
DMC floss comes as six strands twisted together, and most patterns on 14 count use two strands. Cut a length about 18 inches long, roughly from your fingertips to your elbow. Longer pieces tangle and wear thin.
Now pull out one strand at a time, straight up from the end, and let the rest bunch up and fall back. Then put two single strands back together. This is called stripping the floss, and it makes your stitches lie flatter and shinier.
Try not to tie a knot. Knots make lumps under framed work and can pull through the fabric. My favorite start for two strands is the loop method:
- Take one strand twice as long as usual (about 36 inches) and fold it in half.
- Thread both cut ends through the needle, so there’s a loop at the other end.
- Come up from the back for your first stitch and go back down, leaving the loop hanging on the back.
- On the back, pass the needle through the loop and pull gently. Your thread is now anchored, with no knot at all.
The loop method only works with an even number of strands. For odd numbers, or other ways to start and end, see how to start cross stitch without a knot. If you’re unsure how many strands your fabric needs, my strands by fabric count chart has the quick answer.
5. Make the X
Every full cross is two diagonal stitches over one square of aida:
- Come up at the bottom left corner (1) and go down at the top right (2). That’s the bottom leg, /.
- Come up at the bottom right (3) and go down at the top left (4). That’s the top leg, \, and it crosses the first.
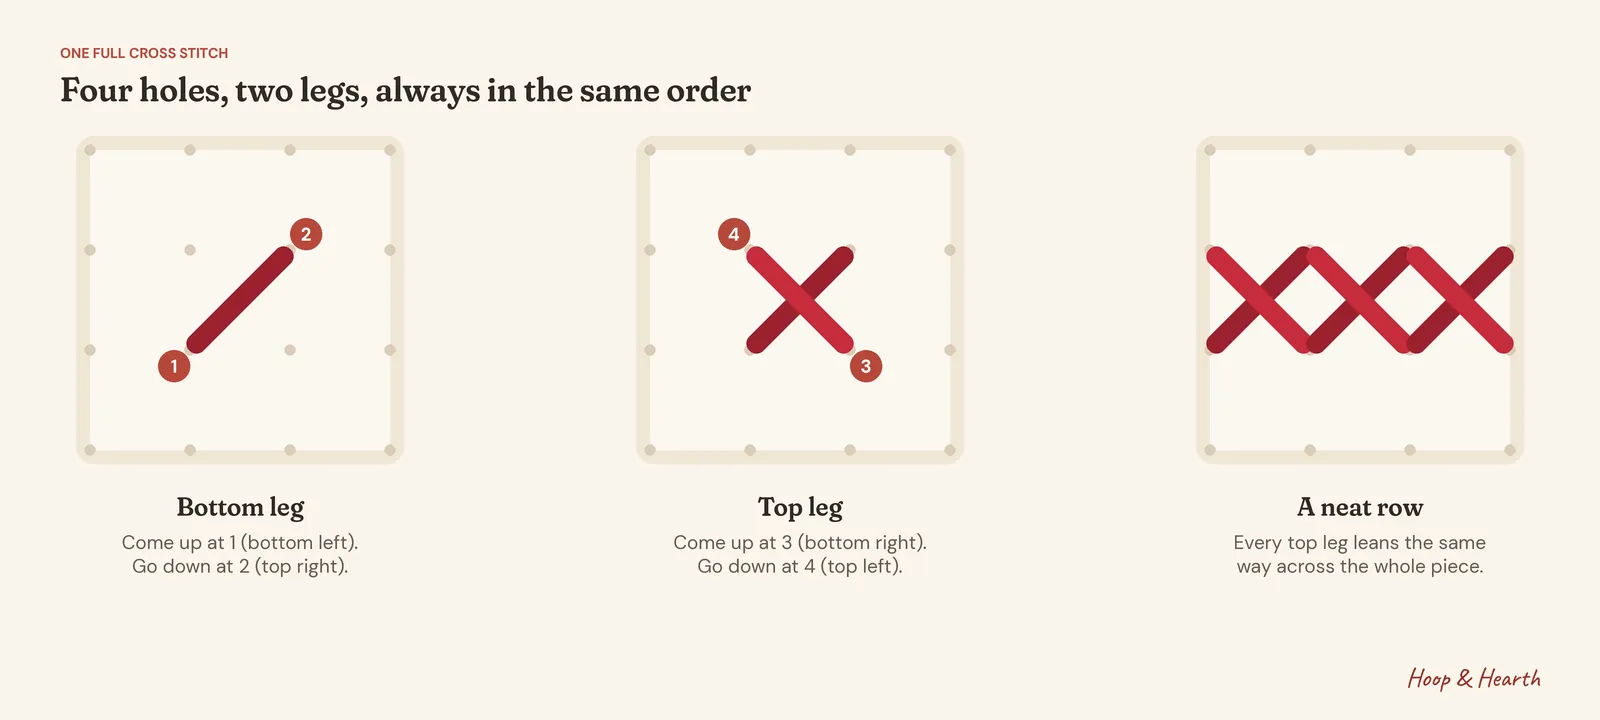
The one rule that really matters: every top leg should lean the same way across the whole piece. It doesn’t matter which way you choose, only that you’re consistent. That’s what makes cross stitch look smooth and neat.
Rows vs one at a time: Danish and English methods
There are two ways to work a group of stitches, and you’ll use both.
- Danish method: stitch a row of bottom legs (/ / /), then come back along the row crossing each one (\ \ \). It’s quick and tidy for big blocks of one color.
- English method: finish each X completely before moving to the next. It’s better for single stitches, diagonal lines and scattered spots.
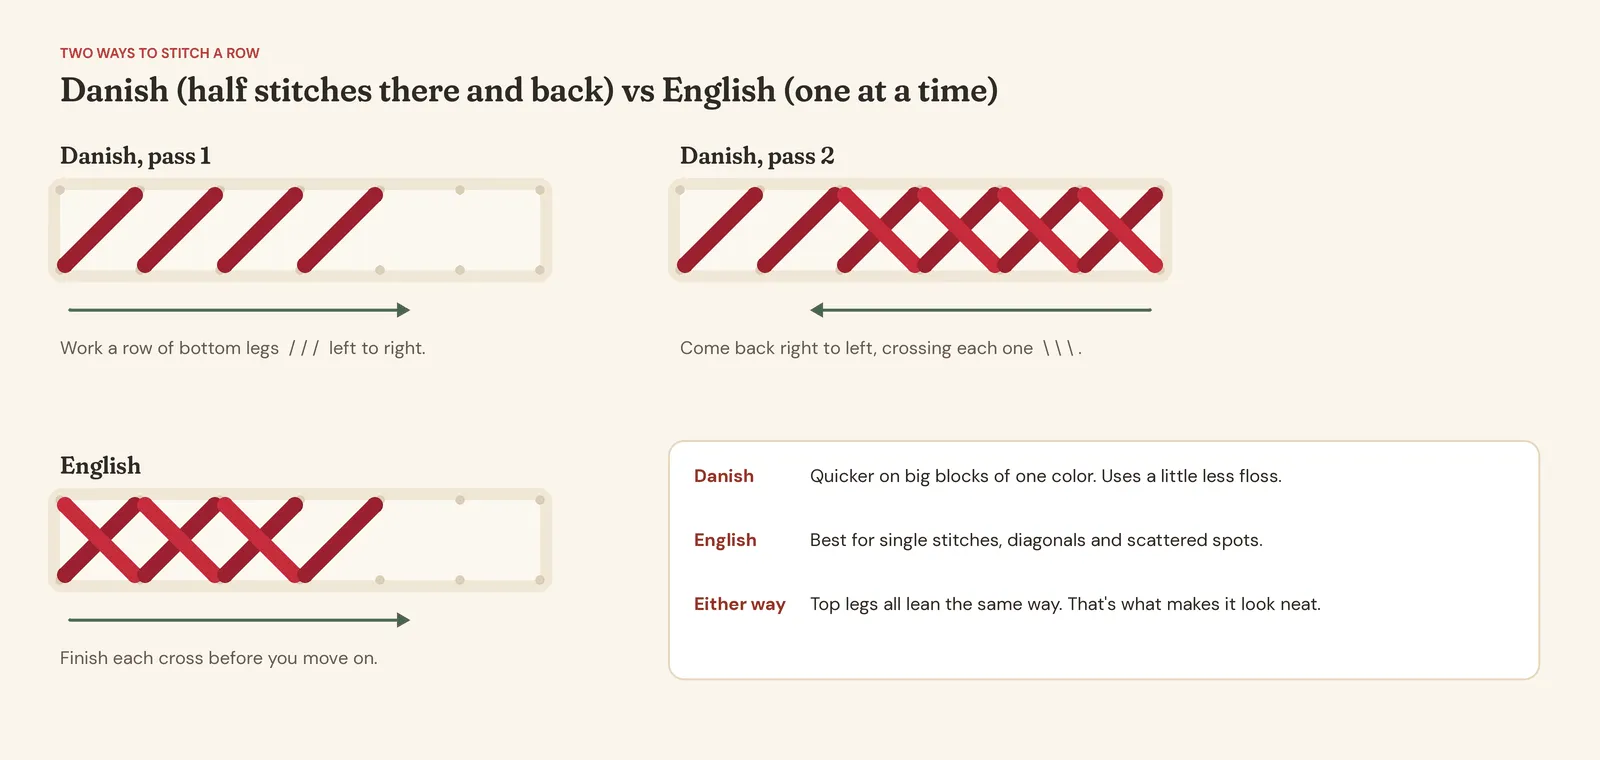
Whichever you use, stitch in a “stab” motion: needle straight up, pull through, needle straight down. Sewing in and out in one scoop pulls the aida out of shape.
6. Finish a thread
When your floss gets short (leave about 3 inches), take the needle to the back. Slide it under four or five stitches on the back of your work, ideally of the same color, and snip the tail close. No knot needed here either.
7. Change colors
When you’ve stitched every square of one color in the area you’re working, end that thread and start the next color nearby. Many stitchers work the darkest or outline color first, because it gives the design its shape and makes the rest easier to count. If two areas of the same color are far apart, end the thread and start again rather than carrying it across the back.
Your first evening, step by step
If you’d like a simple plan for night one:
- Cut and hem your fabric, and find the center (10 minutes).
- Sort your floss onto bobbins and write the chart symbol next to each DMC number (10 minutes).
- Put the fabric in the hoop and thread your first color with a loop start (5 minutes).
- Stitch a single row of ten crosses from the center, checking each one against the chart.
- Stop, look at your row, and make sure every top leg leans the same way.
That’s it. One neat row is a wonderful first evening. Tomorrow you’ll be quicker.
Common beginner worries (twisting floss, messy backs, mistakes)
These come up for everybody. You’re not doing it wrong.
My floss keeps twisting. It’s normal. Every stitch adds a tiny twist. Every few stitches, let the needle dangle and the thread will unwind itself. Shorter lengths twist less.
The back of my work is messy. Unless your piece will be seen from both sides, a perfect back doesn’t matter. What does matter: avoid carrying a thread more than about three or four stitches across the back, especially on light fabric, because dark floss can show through from the front. End the thread and start again instead.
I made a mistake. Everyone does. Stitchers call unpicking “frogging” (rip-it, rip-it). Use the blunt needle to ease the stitches out one at a time, or snip carefully on the back and pull the pieces out with tweezers. My guide to fixing cross stitch mistakes covers miscounts, puckering and more.
My stitches look uneven. Check two things: are all your top legs going the same way, and is your tension gentle and even? Nine times out of ten, it’s one of those.
I lost my place on the chart. Mark off finished stitches with a highlighter or pencil, and count from the bold 10-square lines rather than from the edge. A PDF chart on a tablet with an app like Pattern Keeper also helps. See my Pattern Keeper guide.
How long does it take, and is it hard?
There’s only one stitch to learn, so the basics come quickly. Most people feel comfortable within their first evening. What takes a little longer is counting confidently and getting a feel for tension. Both come by the end of a small project.
As for time, it depends on the design and on you. A small ornament is a few evenings. A big framed sampler can be months. I’ve written up some realistic numbers in how long does it take to cross stitch.
What to do when you finish
You did it! Take the fabric out of the hoop. If it has a hoop ring or a few marks, a gentle wash in cool water and a press face down on a towel will make the stitches look their best. Here’s how I wash and press cross stitch.
Then you get to decide how to display it. A hoop is the easiest finish, and there are lots more: frames, ornaments, cards and bookmarks. My guide on how to finish and frame cross stitch has nine ideas, step by step.
Sign and date the back. I promise future you will love seeing it.
Where to go next
Here’s the order I’d suggest for your first few weeks:
- Stitch one small, full-stitch pattern with four to ten colors.
- Read the chart guide once you’ve done a few rows. It makes more sense with a needle in hand.
- Try a second small design with a little backstitch. Backstitch and French knots are easier than they look.
- Keep a glossary handy for the funny words (WIP, FFO, SAL and friends).
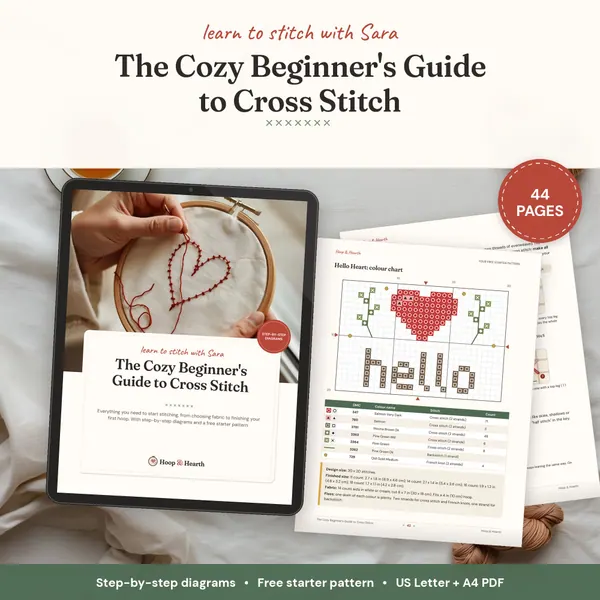
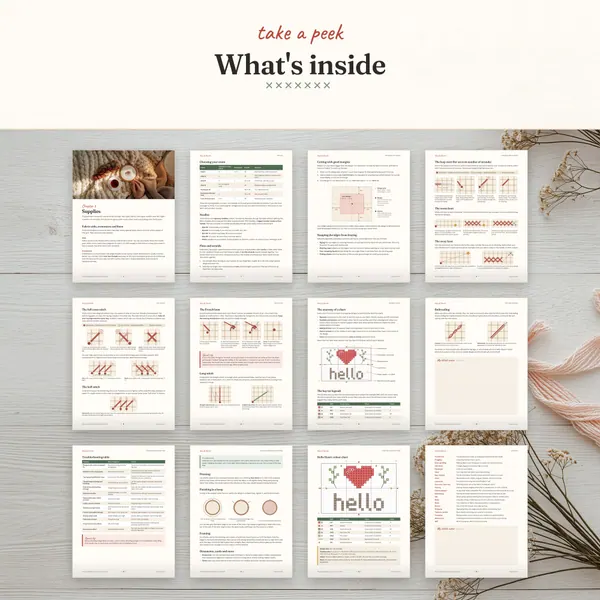
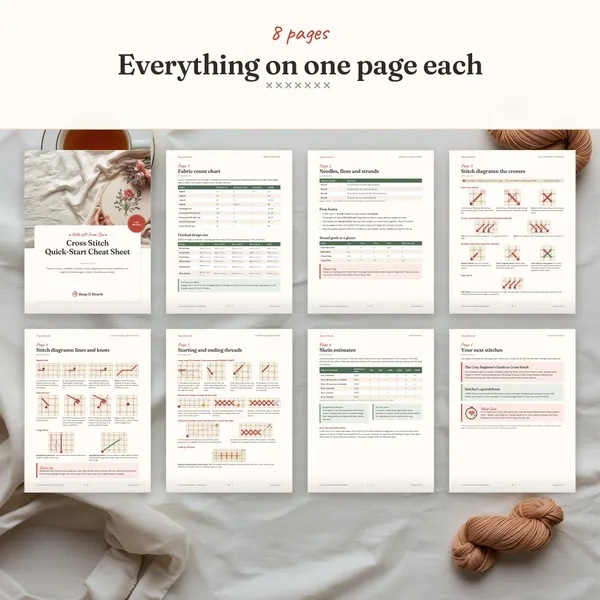
If you want everything in one place, my Cozy Beginner’s Guide puts all of this in a printable book, and the one-page cheat sheet lives happily next to my hoop.
You can also browse every beginner-friendly pattern in the shop, or start with something free from the free patterns page.
a little gift for you
Get your free cross stitch patterns
Join The Hearth Letter and download every freebie instantly, plus 15% off your first order and cozy stitching tips from Sara.
We send about two letters a month. Unsubscribe with one click.
Happy stitching. Make one small X tonight, then another. That’s all it ever is.
Frequently asked questions
Is cross stitch hard to learn?
No. There is really only one stitch to learn, a little X made of two diagonal stitches. The skills that take practice are counting carefully and keeping an even tension, and both come within your first small project.
How long does a first cross stitch project take?
A small beginner design of around 30 x 30 to 50 x 50 stitches usually takes a few weeks of relaxed evenings. Everyone stitches at a different speed, and you get faster as the motion becomes automatic.
Do I need a hoop to cross stitch?
You don't need one, but most beginners find a hoop helps. It keeps the fabric taut, so your stitches come out even. Take the fabric out of the hoop when you stop for the night so it doesn't leave a mark.
Should I start with a kit or a pattern?
Either works. A kit is handy because everything is included. A PDF pattern lets you choose any design, and you only buy fabric, floss and a needle once, so it often works out cheaper after your first project.
What fabric is best for beginners?
14 count aida in white or cream. The holes are easy to see, it holds its shape, and most patterns give finished sizes for it.
Patterns to try
Stitch along with this post
Keep reading
More from the blog
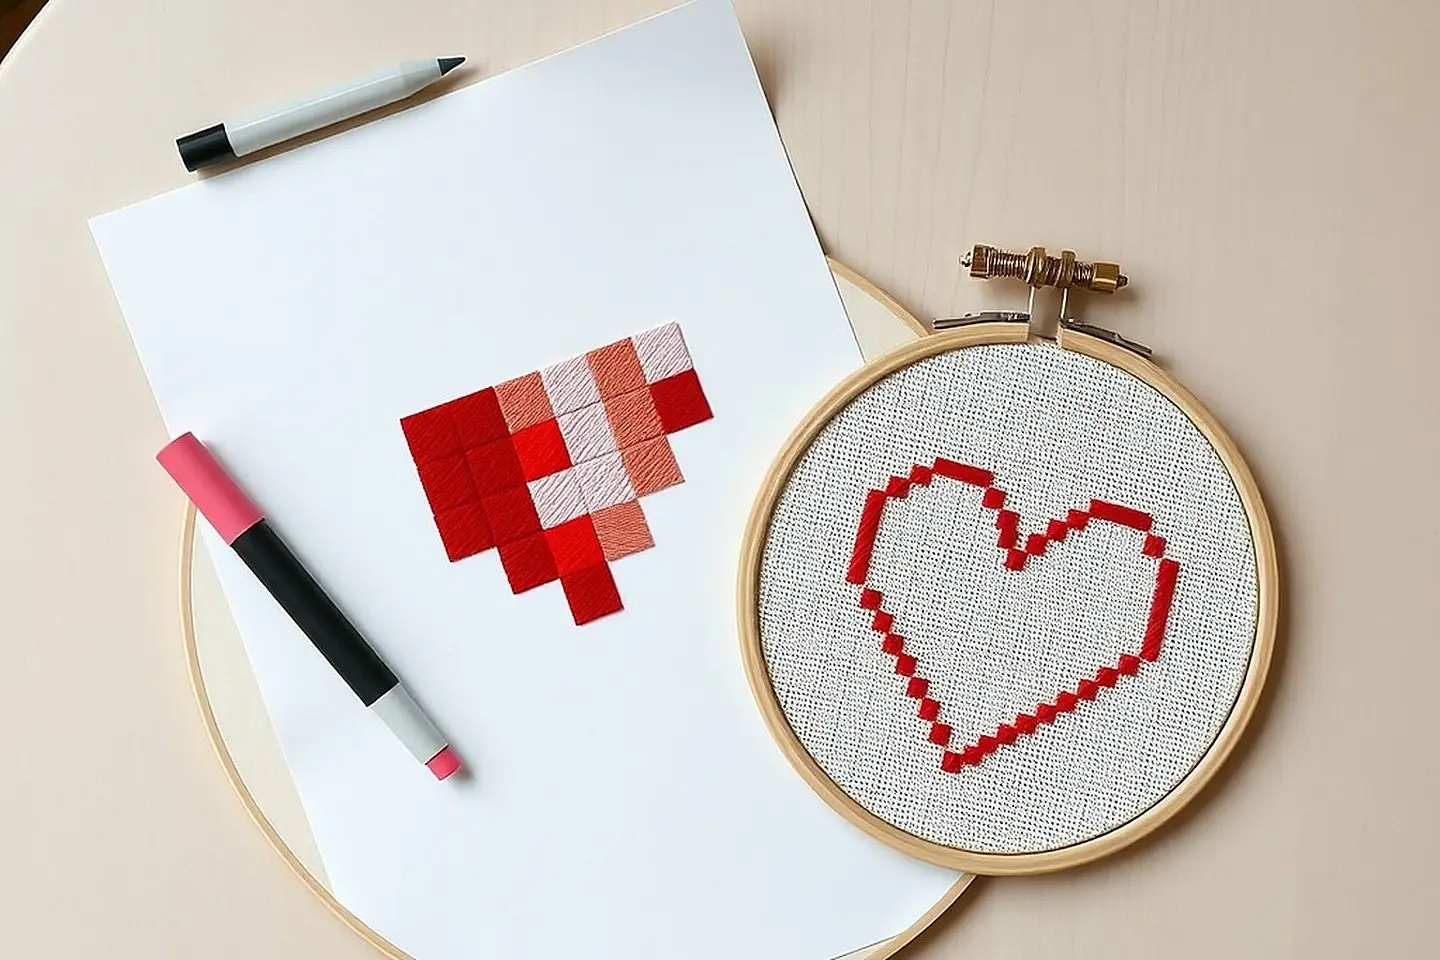
How to Read a Cross Stitch Pattern (Step by Step)
Symbols, grids, keys and backstitch lines explained simply, with a free practice chart so you can learn how to read a cross stitch pattern tonight.
Cross Stitch Glossary: WIP, FFO, SAL, Frogging & More
What do WIP, FO, FFO, SAL, HAED, PK, frogging and confetti mean? A friendly A-Z cross stitch glossary of terms and abbreviations for new stitchers.
How to Fix Cross Stitch Mistakes (Frogging Made Easy)
Miscounted? Wrong color? How to unpick cross stitch safely, fix tension and messy backs, and stop thread tangling, without damaging your fabric.