
How to Frame Cross Stitch in a Hoop (Neat Back)
A step-by-step guide to framing cross stitch in an embroidery hoop: centering, tightening, gathering the back, and adding a felt backing.
In this post
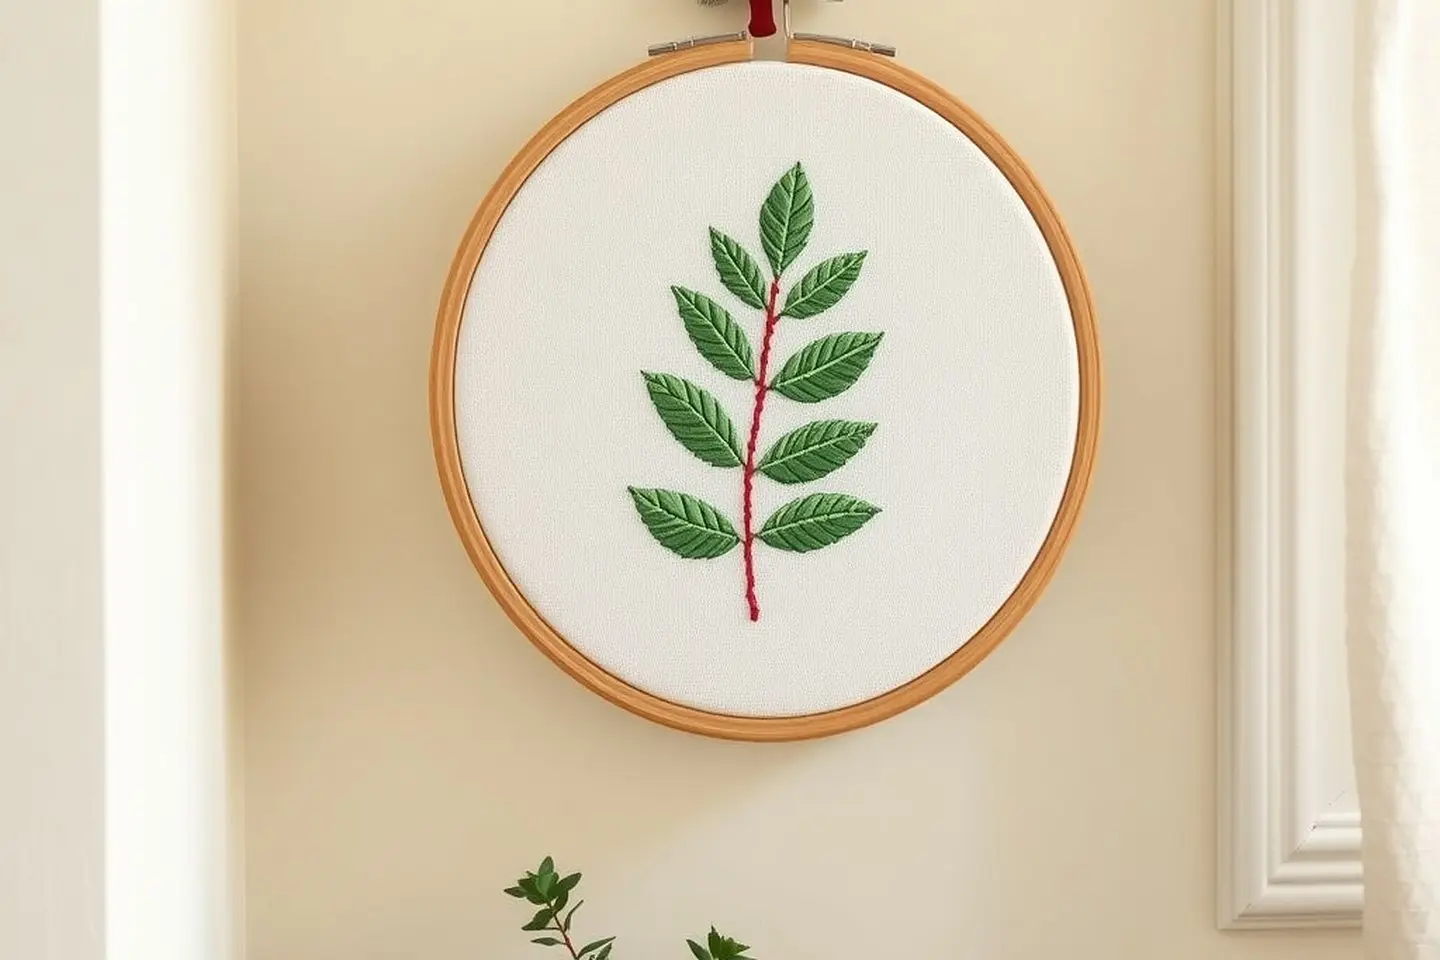
A hoop is my favorite way to display cross stitch. It’s quick, cheap, needs no sewing machine, and it looks lovely on a wall, a shelf or a gift. The only tricky bit is the back, and once you’ve done one, it’s easy. This guide shows how to finish cross stitch in a hoop with a neat back, start to finish.
The short answer: wash and press your piece, center it in a display hoop with the screw at the top, and tighten it drum-taut. Trim the fabric to a circle about 1 to 1.5 inches beyond the hoop, gather it at the back with a running stitch, then cover the back with a felt or card circle.
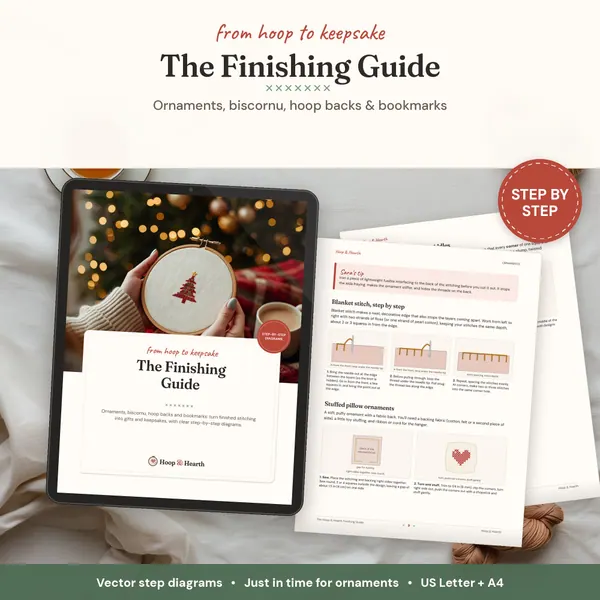
This is one of the methods in my bigger guide to finishing and framing cross stitch, so have a look there if you’re weighing up a frame or an ornament instead.
Choosing a display hoop size
You want a little breathing room between the design and the hoop, about half an inch (1.5 cm) or more on every side. Measure your design’s longest side in stitches and use this table for 14 count:
| Longest side (14 count) | Stitched size | Display hoop |
|---|---|---|
| up to 42 stitches | up to 3 in | 4 in |
| 43 to 56 stitches | 3.1 to 4 in | 5 in |
| 57 to 70 stitches | 4.1 to 5 in | 6 in |
| 71 to 84 stitches | 5.1 to 6 in | 7 in |
| 85 to 98 stitches | 6.1 to 7 in | 8 in |
On other fabric counts, divide the stitch count by the fabric count to get inches, or let the fabric calculator do it for you. For tall designs, an oval hoop often looks better than a big round one.
Use a hoop with a brass or metal screw at the top for display. Wooden hoops are classic, and imitation-wood plastic “flexi” hoops are also made for exactly this.
Centering and tightening your design
Start with a clean, pressed piece. If yours has hoop marks or creases, my guide to washing and ironing cross stitch takes ten minutes and makes a real difference.
- Find the center of the design. Fold the fabric gently in half both ways, or count from the chart.
- Lay the inner ring on a table and place the fabric over it, design side up, centered.
- Loosen the outer ring and turn it so the screw sits at the top, in line with the middle of your design.
- Press the outer ring down over the fabric and inner ring.
- Tighten a little, then pull the fabric gently at the edges all the way round, a bit at a time, like tuning a drum.
- Check the grid. The rows of aida should run perfectly straight across. If they curve or tilt, loosen and nudge the fabric back.
- Tighten the screw fully once it’s taut and straight.
Take your time here. A design that sits a few squares off-center or slightly crooked is the one thing you’ll notice every time you look at it.
If it won’t stay taut
- Fabric slipping as you tighten? Wrap the inner ring with a strip of cotton bias tape or twill tape, glued at the end. It grips the fabric and stops slipping.
- Ripples near the screw? Loosen, tug the fabric gently away from the screw on both sides, and tighten again.
- Design slowly drifting crooked? Tighten the screw a little at a time, checking the grid between turns, rather than all at once at the end.
Trimming the fabric
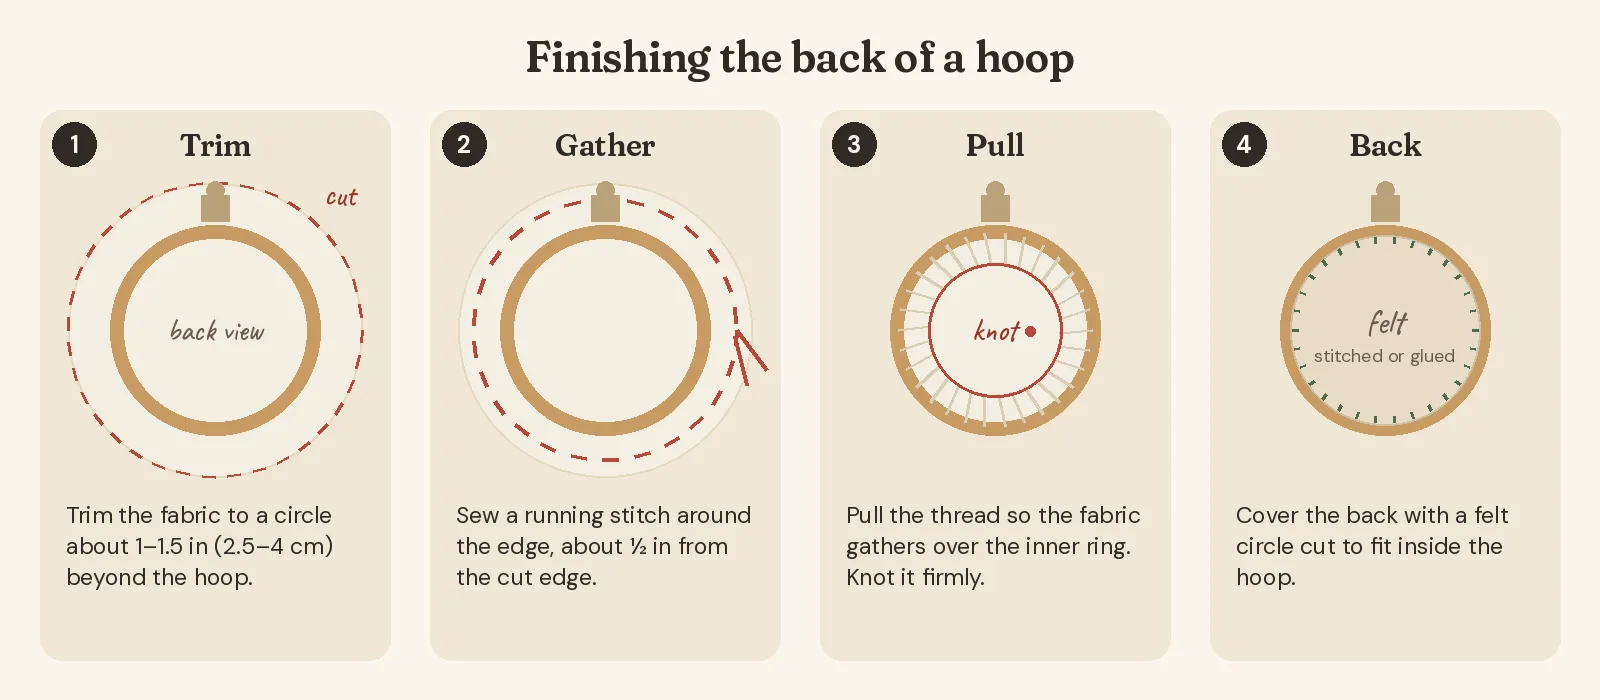
Turn the hoop over. Trim the excess fabric into a circle about 1 to 1.5 inches (2.5 to 4 cm) beyond the hoop. You don’t need to be precise. A little extra is easier to gather than too little.
a little gift for you
Get your free cross stitch patterns
Join The Hearth Letter and download every freebie instantly, plus 15% off your first order and cozy stitching tips from Sara.
We send about two letters a month. Unsubscribe with one click.
Method 1: running-stitch gather
This is my go-to. It’s neat, sturdy and can be undone if you ever want to reframe the piece.
- Thread a needle with strong thread. Doubled sewing thread works well, or three or four strands of floss in a color close to your fabric.
- Sew a running stitch around the edge, about half an inch in from the cut edge. Stitches about a quarter-inch long are perfect.
- Pull the thread gently so the fabric gathers in over the inner ring, like a drawstring bag.
- Even out the gathers with your fingers so they sit flat.
- Knot it firmly with two or three small stitches through the gathers.
For bigger hoops (7 inches and up), add a few long stitches across the back, zigzagging from side to side through the gathered edge. This lacing keeps the front extra taut.
Method 2: glue (when it’s OK)
Glue is quicker, and for small gifts and ornament hoops it’s perfectly fine. Run a thin line of fabric glue around the edge of the inner ring, press the trimmed fabric onto it, let it dry, then trim close.
A few honest cautions:
- It’s permanent. You can’t easily reframe the piece later.
- Use a little. Too much can soak through to the front and leave a dark ring.
- Hot glue works, but it’s lumpy and can show through thin fabric. Keep it to the wood, not the fabric face.
For heirloom pieces, I’d always sew.
Adding a felt or card back
A back covers the gathers, keeps dust off the reverse of your stitches, and makes the whole thing feel finished.
- Felt back: trace around the inner ring on felt, cut just inside the line, and press it in over the gathers. Attach it with fabric glue or a neat whip stitch through the gathered fabric.
- Card back: cut a circle of card the size of the inner ring and pop it in behind the stitching before you gather. It gives a crisp, flat look and you can write a note on it.
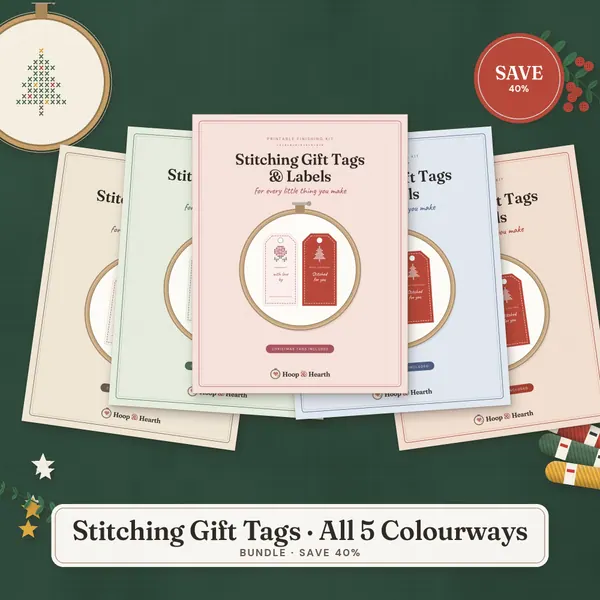
- Printed backing cards: a nice touch for gifts. The hoop backing cards in my stitching gift tags printable come in 4, 5 and 6 inch sizes.
Painting or wrapping the hoop
Want the hoop to match a room or a season? Do this before you mount the stitching.
- Paint: a thin coat of acrylic craft paint on the outer ring, two coats if needed, fully dry before use. Leave the screw unpainted.
- Wrap: ribbon, bias tape or twine wound tightly around the outer ring, glued at the ends.
- Seasonal touches: a small sprig of faux greenery or a bow tied at the screw for Christmas.
Hanging and gifting
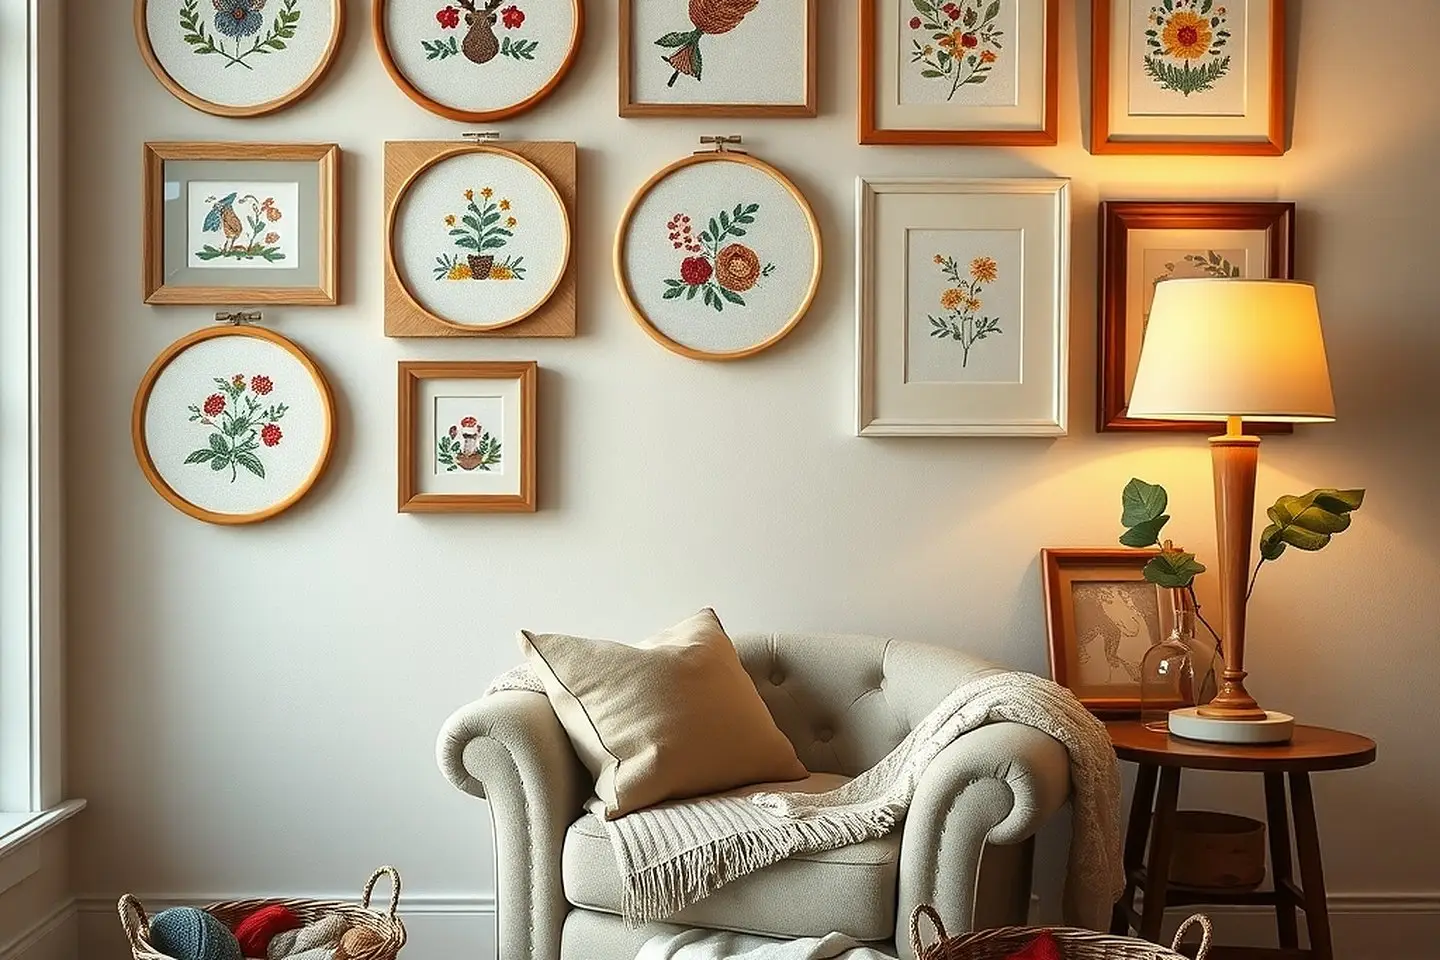
The screw at the top is your hanging point. Thread a ribbon or loop of twine through it, or hang it straight on a small nail. Group three or five hoops of different sizes for a sweet little gallery wall.
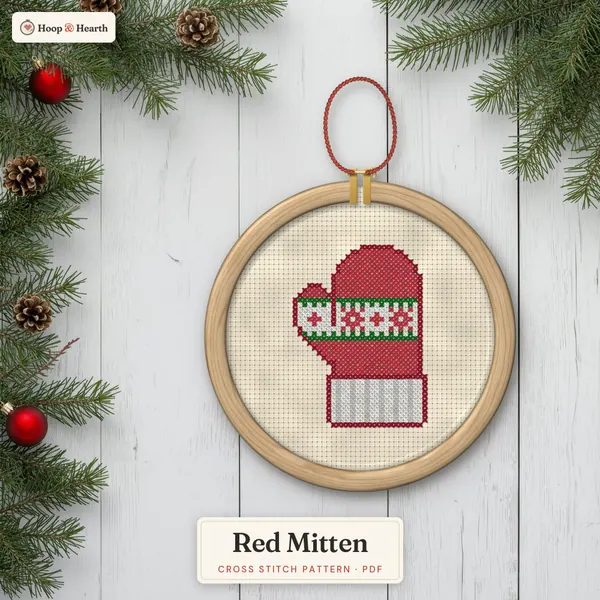
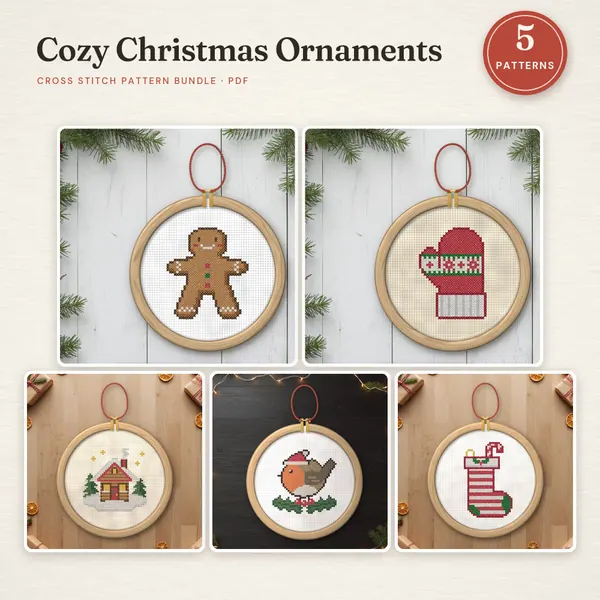
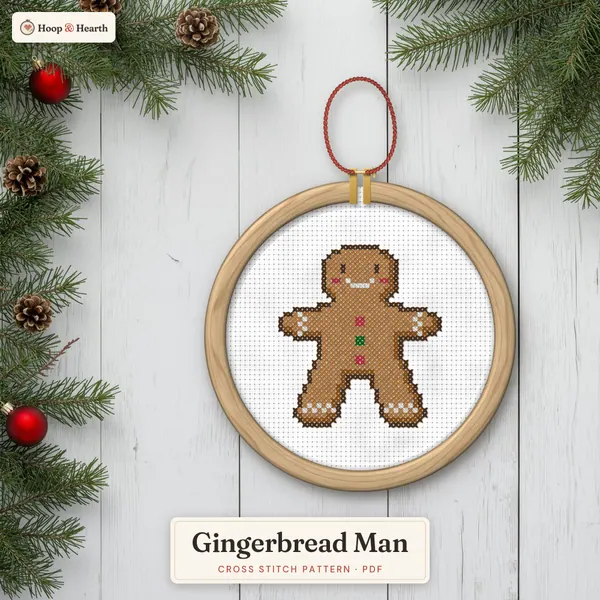
For gifting, wrap the hoop in tissue and tuck in a small card. If you’d like quick designs that suit small hoops, the ornaments are perfect, and my guide to making cross stitch ornaments covers mini hoop finishes too.

Not ready for a hoop? A cross stitch bookmark is another easy first finish.
a little gift for you
Get a small free pattern to finish this weekend
Join The Hearth Letter and download my free patterns. They're the perfect size for a 4 or 5 inch hoop.
We send about two letters a month. Unsubscribe with one click.
Frequently asked questions
How much fabric do you need to finish cross stitch in a hoop?
Leave at least 1 to 1.5 inches of fabric beyond the hoop on every side so you can gather it at the back. A wider margin is easier to hold while you tighten the hoop.
Should I glue or sew the back of a cross stitch hoop?
Sewing a running-stitch gather is neater and can be undone later. Glue is quicker and fine for small gifts and ornaments, as long as you use a little fabric glue on the inner ring and keep it off the front.
What size hoop should I use to display cross stitch?
Pick a hoop that leaves about half an inch or more of bare fabric around the design. For example, a design of 56 stitches on 14 count is 4 inches wide, so it fits a 5 inch hoop.
How do I cover the back of a cross stitch hoop?
Cut a circle of felt or card the size of the inner ring, then glue it or whip-stitch it over the gathered fabric. It hides the back and keeps dust out.
Patterns to try
Stitch along with this post
Keep reading
More from the blog
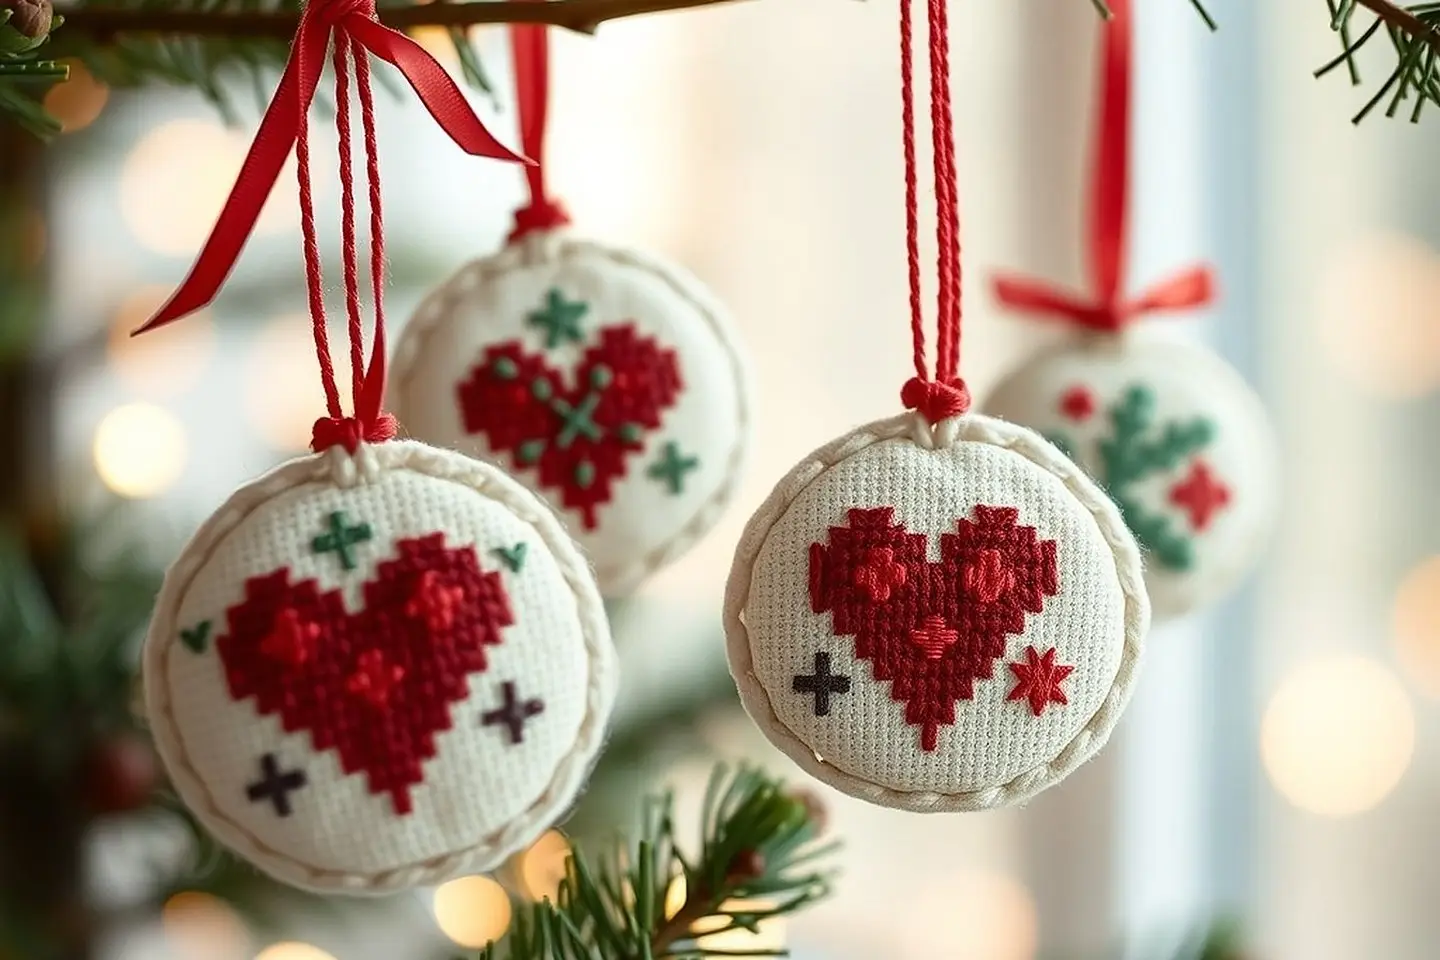
How to Make Cross Stitch Ornaments (Easy, No-Sew Too)
Turn little stitched designs into handmade Christmas ornaments: flat felt-backed, stuffed and mini-hoop finishes, step by step, with free patterns.
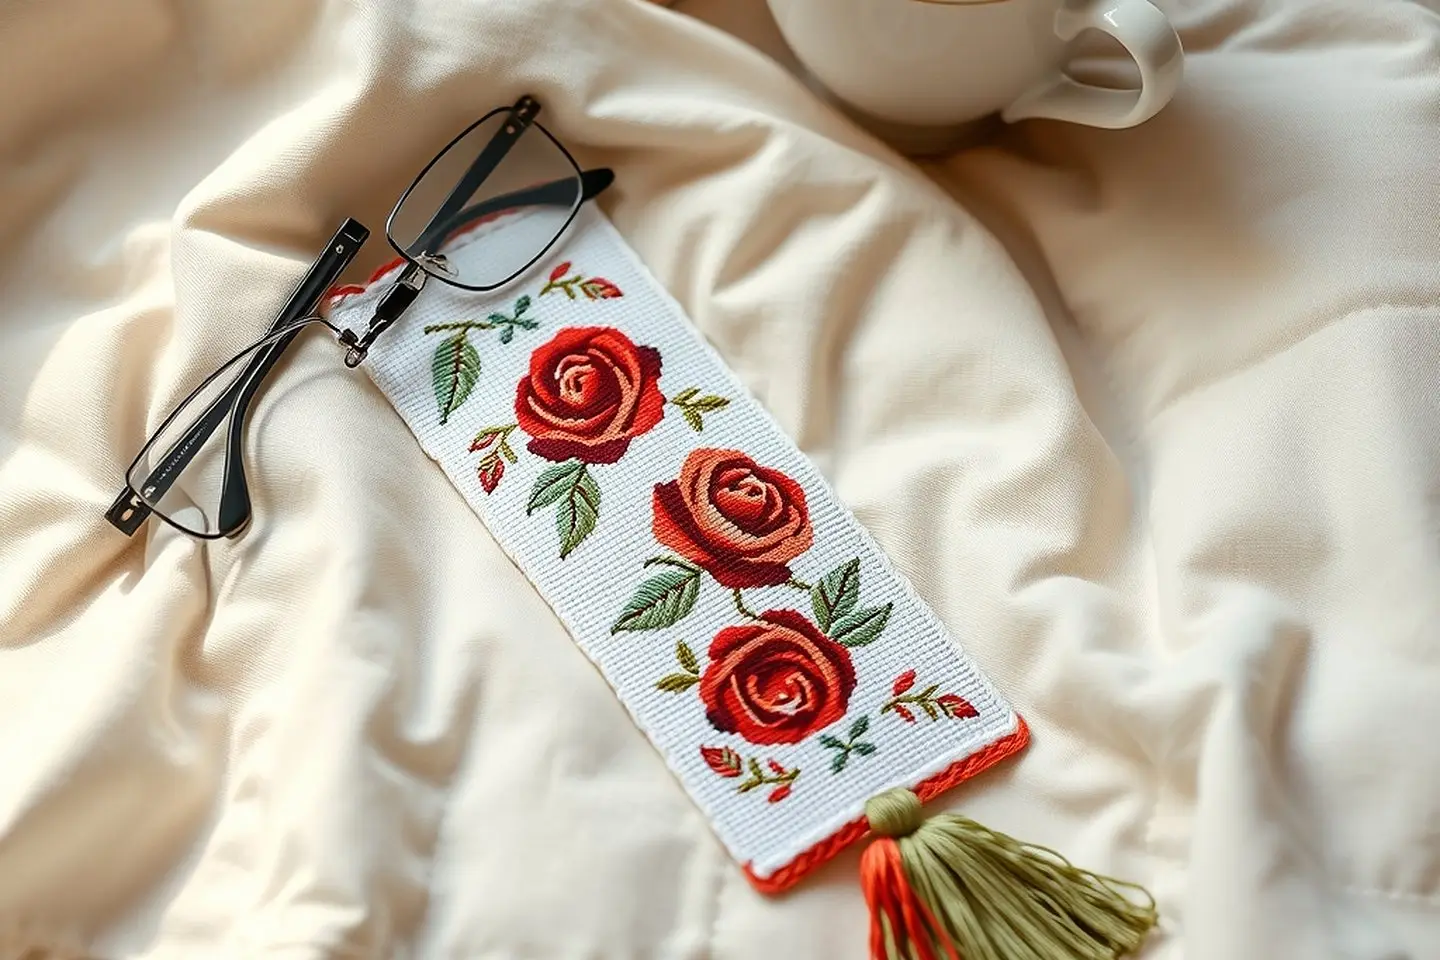
How to Make a Cross Stitch Bookmark (+ Free Pattern)
Make a cross stitch bookmark start to finish: best fabric, sizing, a free bookmark cross stitch pattern and three finishing methods, including no-sew.
How to Finish & Frame Cross Stitch: 9 Pretty Ideas
From hoops to frames, ornaments, pillows and bookmarks: easy ways to finish and frame cross stitch at home, with step-by-step tips from my sofa.