
How to Start Cross Stitch Without a Knot (3 Methods)
The loop method, the waste knot and the away knot explained simply, plus how to end a thread neatly so the back of your cross stitch stays flat.
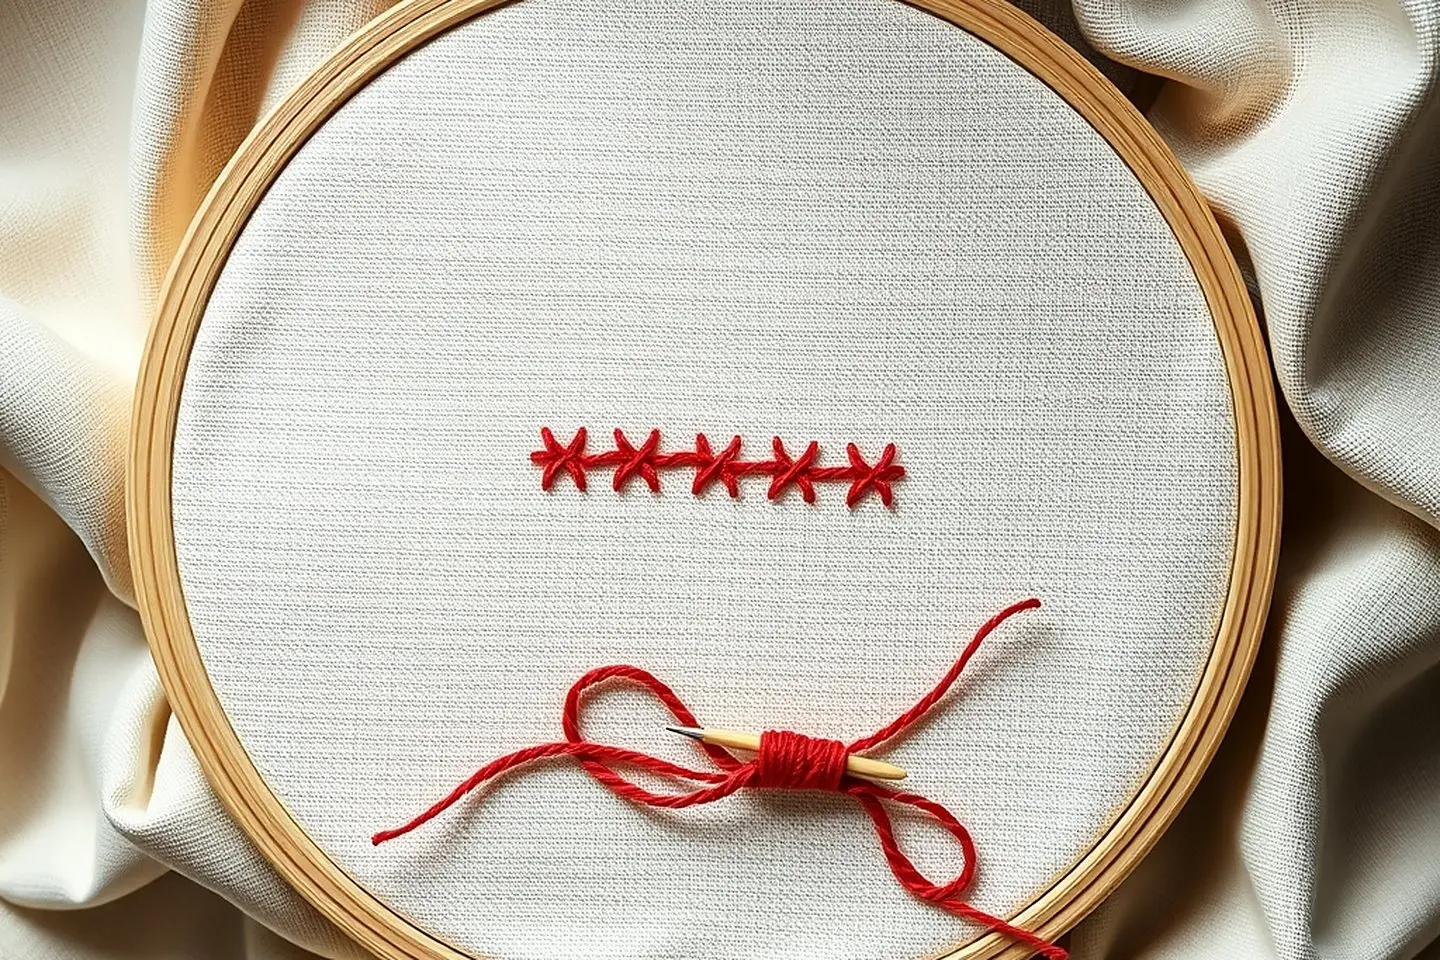
In this post
Most of us learned to sew with a knot at the end of the thread. In cross stitch, it’s worth unlearning. Knots make little lumps on the back that show when you frame or press your work, and they can pop through the fabric. Here’s how to start cross stitch without a knot, three different ways, plus how to finish a thread so your back stays flat and tidy.
The short answer: for 2 strands, use the loop method: fold one long strand in half, come up from the back, make your first half stitch and catch the loop on the back. For any number of strands, use a waste knot placed on the front in your stitching path, or an away knot placed far away and woven in later. Once stitches exist, just run under them on the back.
If you’re completely new, start with my beginner’s guide to cross stitch. These methods come up right after you learn the basic X.
Why start cross stitch without a knot?
A knot isn’t a crime. But it causes three small problems:
- Lumps. A knot sits on the back like a pebble. Under glass or stretched over a board, you’ll see it from the front.
- They work loose. On aida, the holes are big. A small knot can slip right through, especially with 2 strands.
- They waste thread. And they’re fiddly to undo if you need to frog.
So the goal is to anchor the thread with your own stitches, not with a knot.
The loop method (even strands only)
This is my everyday start. It’s fast, secure and leaves no tail at all. It only works with 2 or 4 strands, because you fold a strand in half.
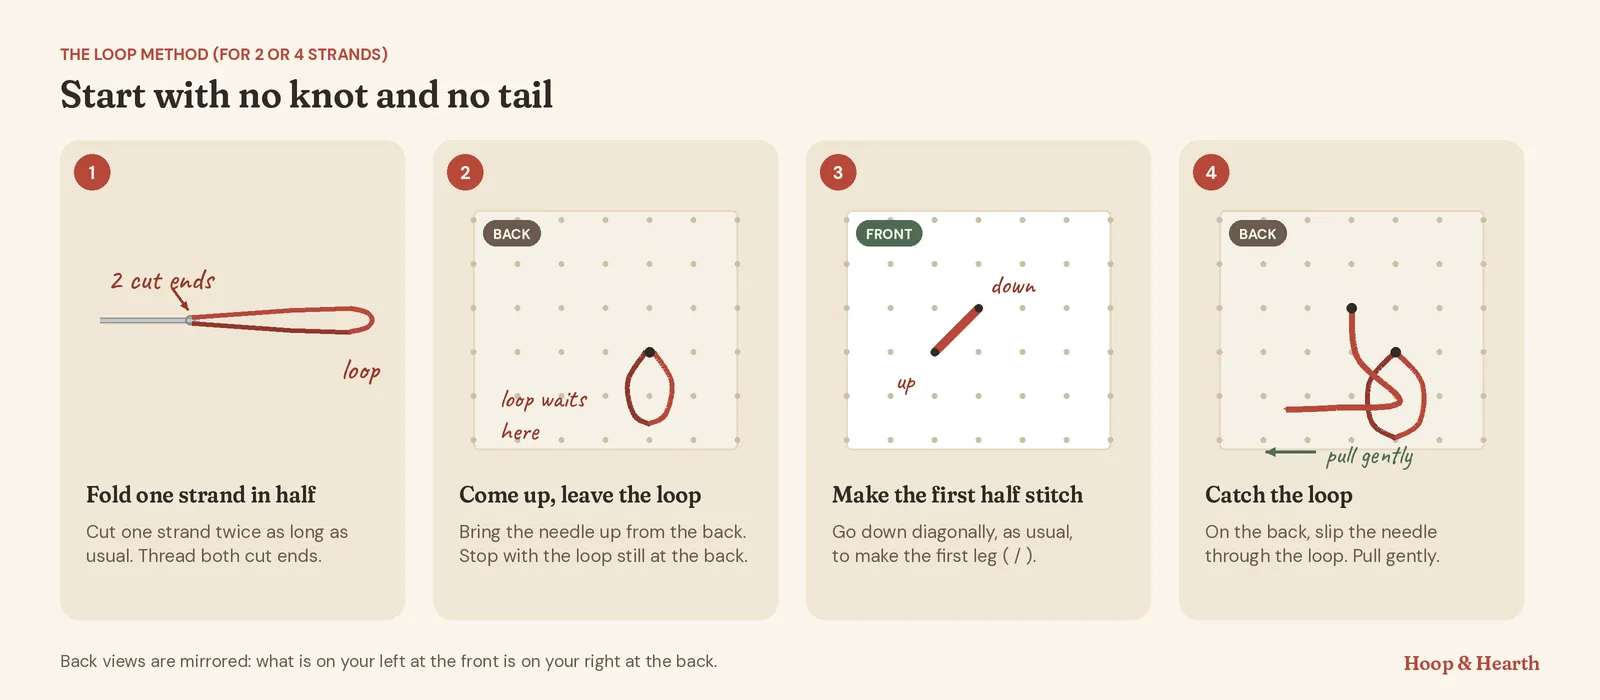
- Cut one strand about 36 inches (90 cm) long. That’s twice the usual length.
- Fold it in half and thread both cut ends through the needle. The folded end is now a loop.
- Come up from the back at the bottom-left of your first stitch. Pull gently and stop while the loop is still hanging at the back.
- Make the first half stitch: go down at the top-right corner.
- Turn the work over and slip the needle through the loop.
- Pull gently until the loop snugs flat against the fabric. Your thread is anchored. Carry on stitching.
For 4 strands (for example on 11 count or Binca), fold 2 strands in half the same way.
a little gift for you
Get your free cross stitch patterns
Join The Hearth Letter and download every freebie instantly, plus 15% off your first order and cozy stitching tips from Sara.
We send about two letters a month. Unsubscribe with one click.
The waste knot
The waste knot works with any number of strands and is lovely for starting a new area or a new color.
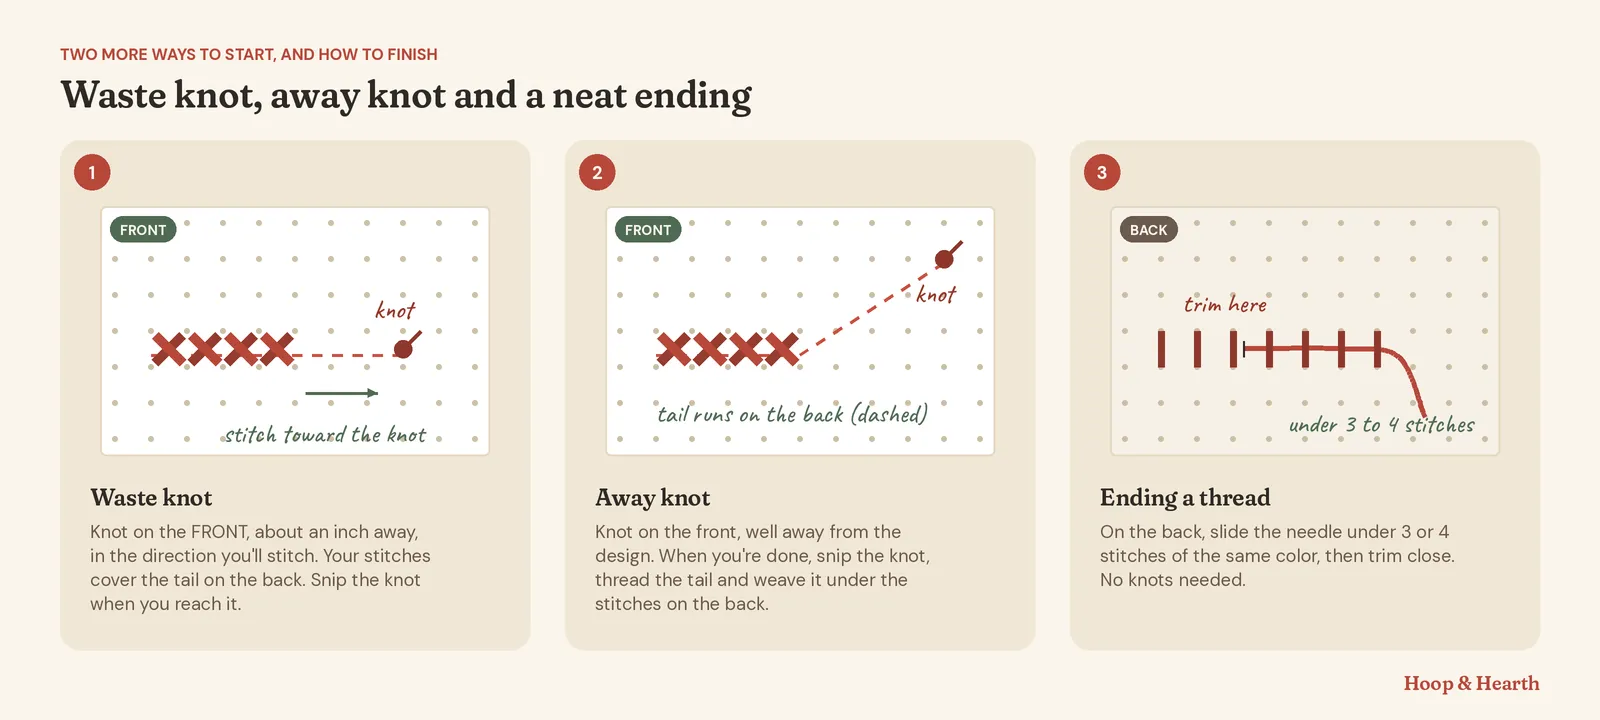
- Tie a knot at the end of your thread.
- From the front, go down about 1 inch (2 to 3 cm) away from your first stitch, in the direction you’ll be stitching. The knot stays on top of the fabric.
- Come up at your first stitch and stitch toward the knot. On the back, your stitches cover the tail and lock it in.
- When you reach the knot, pull it up gently and snip it off. The tail is already secure.
The only rule: make sure your stitches really do pass over the tail on the back. If they don’t, use the away knot instead.
The away knot (for long distances)
The away knot is for when your stitches won’t cover the tail: backstitch, scattered stitches, or the very first stitch in an empty area.
- Knot the end of the thread.
- From the front, go down far away from your design, at least 3 to 4 inches, somewhere you won’t stitch.
- Come up at your first stitch and work your area.
- When you’re done, snip off the knot. Turn the work over, thread the long tail onto the needle, and weave it under 3 or 4 stitches on the back. Trim.
It’s a little slower, but it’s the most secure start for tricky spots.
Starting under existing stitches
Once you have stitches on the fabric, you don’t need any special start:
- Turn the work over.
- Slide the needle under 3 or 4 stitches on the back, ideally of the same or a similar color.
- Come up to the front where you need to be.
This works for any number of strands. Try not to run a dark thread under light stitches or across bare fabric, because it can show through on the front, especially on white aida.
How to end a thread neatly
Ending is the same idea in reverse:
- Finish your last stitch on the back of the fabric.
- Slide the needle under 3 or 4 stitches on the back. Some stitchers then turn and go back under one or two in the other direction for extra security.
- Pull through and trim close, leaving no long tails to tangle with later stitches.
A few habits that keep the back flat:
- Don’t carry thread too far. If the next stitch of a color is more than about 3 squares away across bare fabric, end the thread and start again.
- Keep the thread around 18 inches long. Longer threads twist and fray.
- End before the thread gets thin and fuzzy. That’s usually the last 3 to 4 inches.
Which method I use and when
| Situation | My start |
|---|---|
| 2 strands, empty area | Loop method |
| 1 or 3 strands, empty area | Waste knot (or away knot) |
| Backstitch or scattered stitches | Away knot |
| Stitches already nearby | Run under 3 or 4 stitches |
| Kids’ first project | A simple knot, honestly |
Not sure how many strands you need? There’s a quick chart in how many strands for cross stitch. If your thread keeps twisting or tangling, how to fix cross stitch mistakes covers that too, and the cross stitch glossary explains any words that are new.
Practice on a small pattern
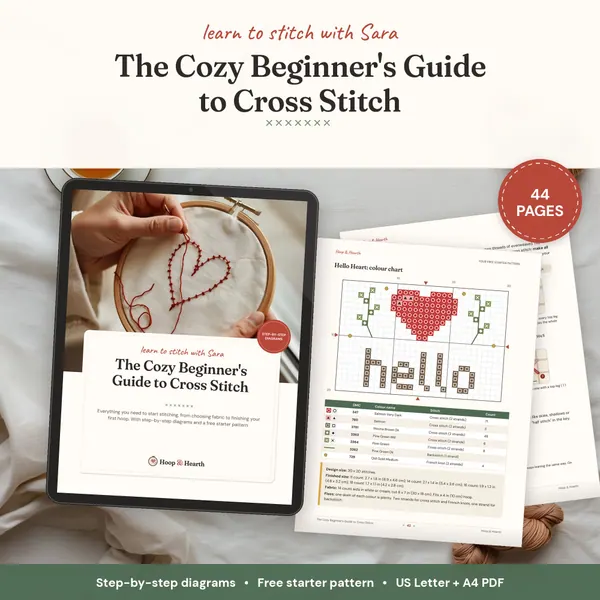
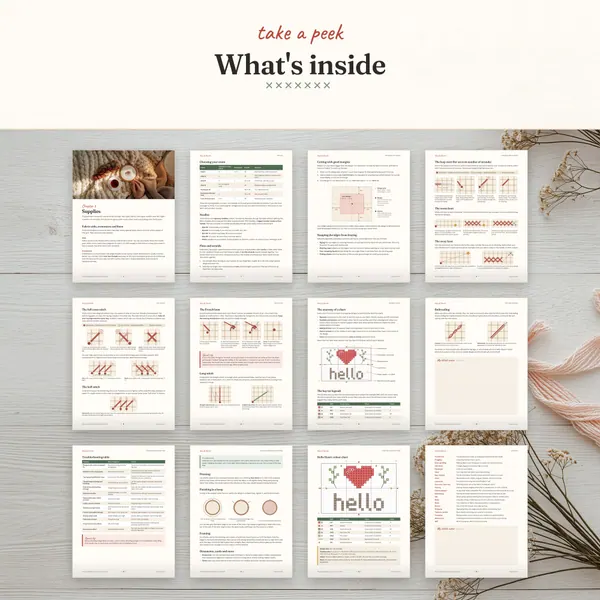
The best way to get comfortable is a small project with a few colors, so you start and end lots of threads. My free beginner heart has three colors and takes an evening or two. After that, try one of these:
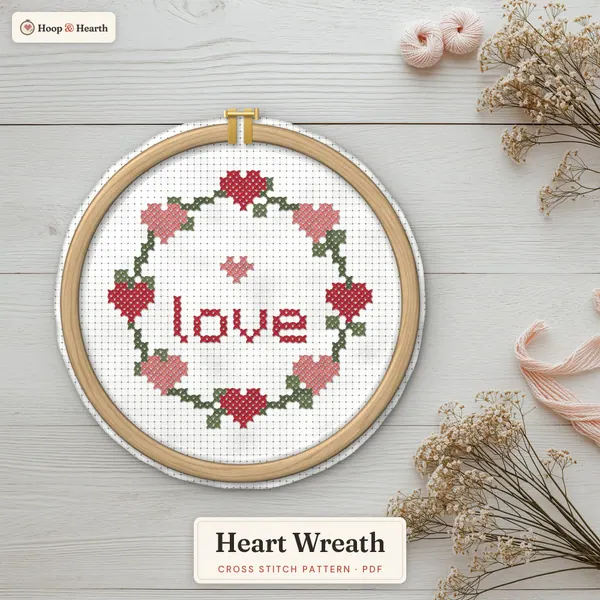
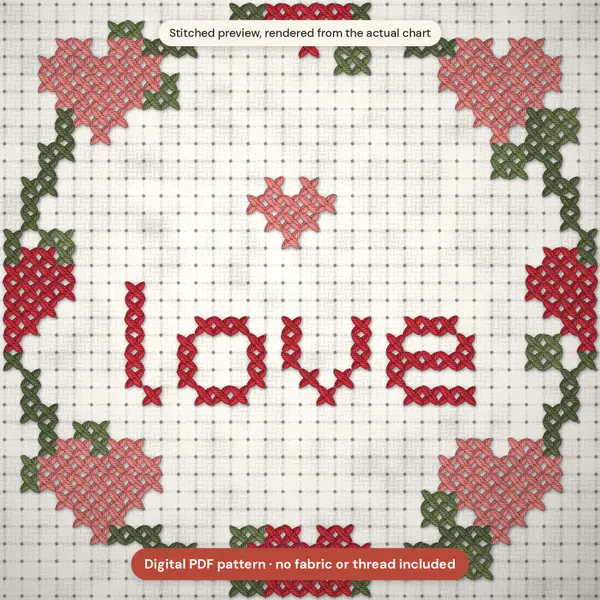
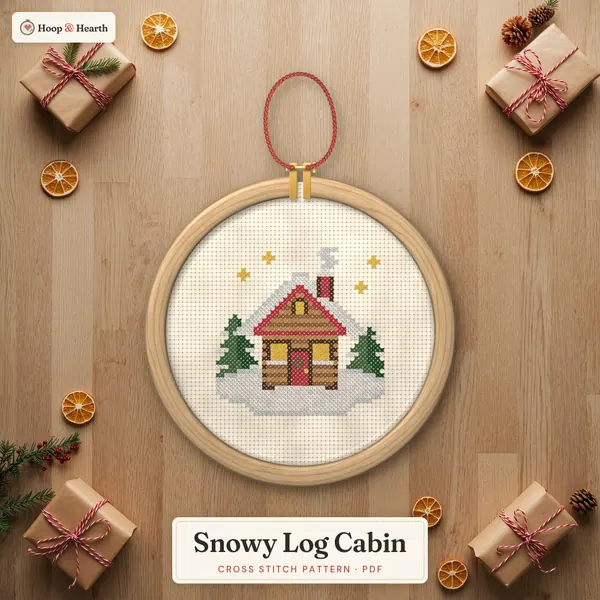
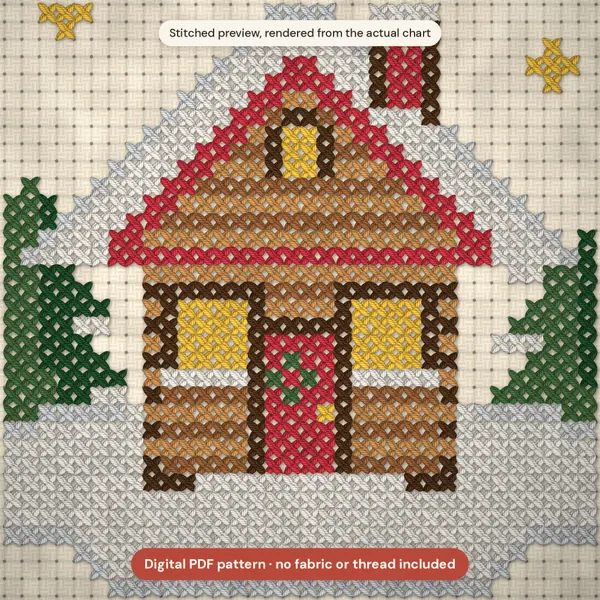
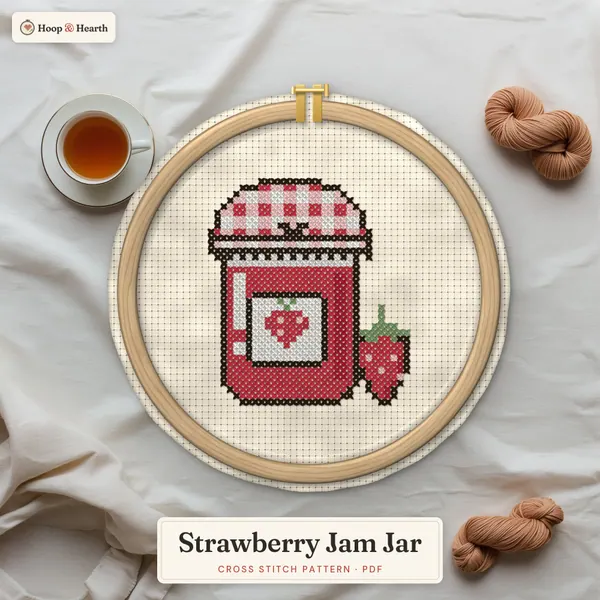
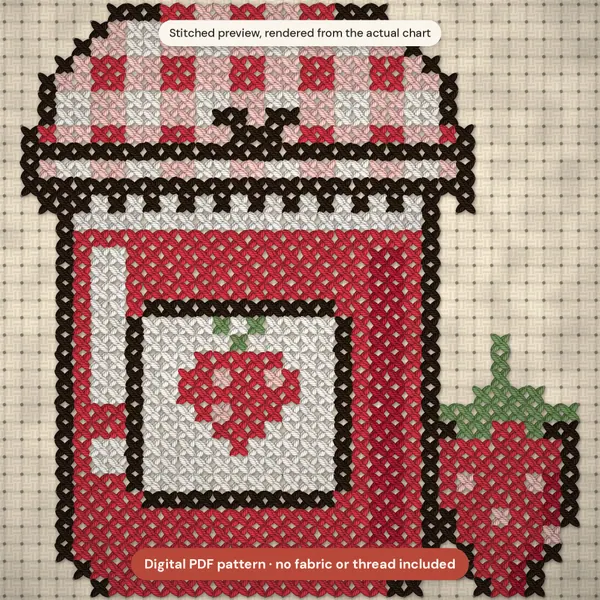
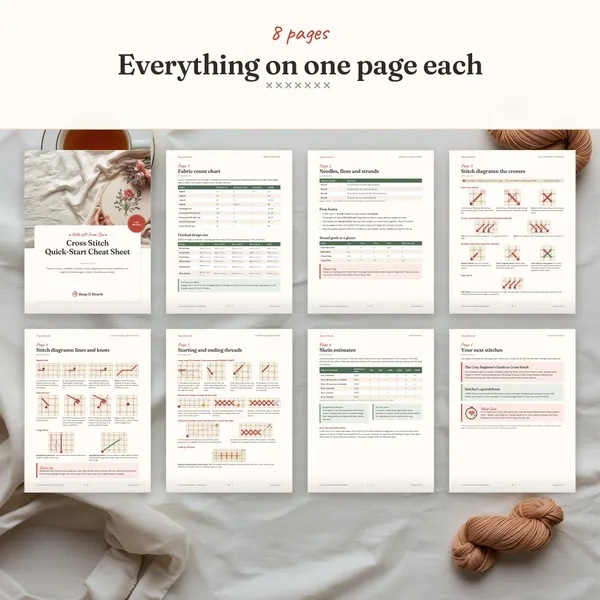
And if you’d like every beginner tip on one page, the beginner cheat sheet comes free with The Hearth Letter. For the full picture, head back to the complete beginner guide.
a little gift for you
Get the free beginner cheat sheet
Starting, strands, needle sizes and the stitch itself on one page. Join The Hearth Letter to download it.
We send about two letters a month. Unsubscribe with one click.
Frequently asked questions
Can you use the loop method with an odd number of strands?
No. The loop method only works with an even number of strands (2 or 4), because you fold one long strand in half. For 1 or 3 strands, use a waste knot, an away knot or start by running the thread under existing stitches on the back.
How do I start a new color in cross stitch?
If there are already stitches nearby, slide the new thread under 3 or 4 stitches on the back and come up where you need it. If the area is empty, use the loop method (for 2 strands) or a waste knot.
Is it bad to use a knot in cross stitch?
It isn't a disaster, but knots make lumps that show when you frame or press your work, and they can pull through or come undone over time. That's why most stitchers start without one. For kids' first projects, a knot is fine.
How long should my thread be for cross stitch?
About 18 inches (45 cm) for normal stitching. For the loop method, cut a single strand about 36 inches long so it's 18 inches once folded.
How do you tie off cross stitch thread?
You don't tie it. Turn the work over, slide the needle under 3 or 4 stitches on the back, ideally of the same or a similar color, pull through and trim close.
Patterns to try
Stitch along with this post
Keep reading
More from the blog
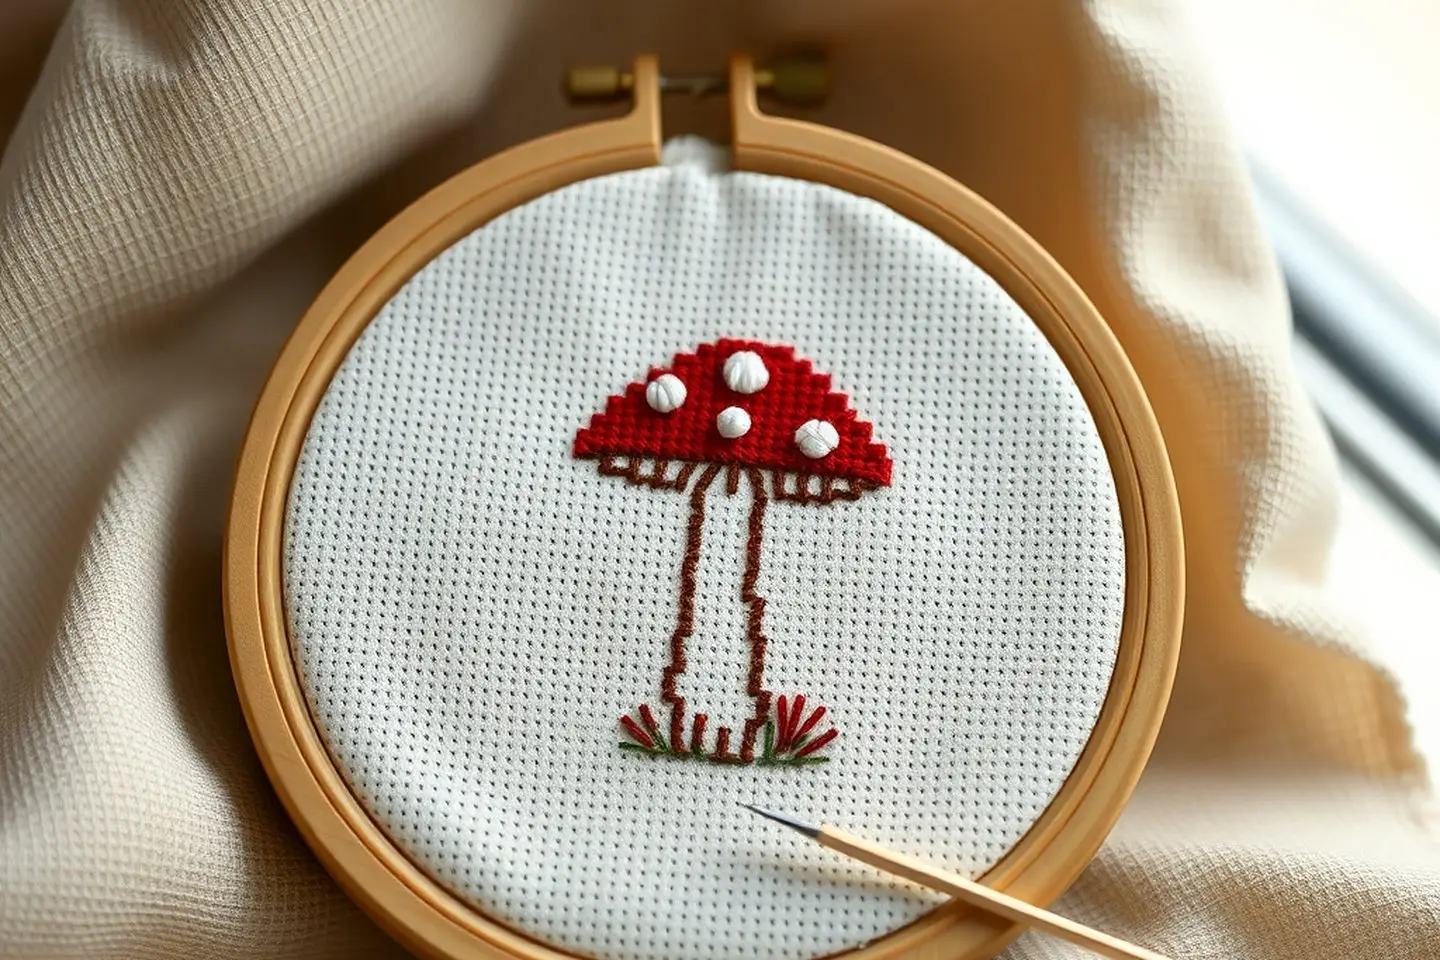
Backstitch & French Knots in Cross Stitch (Easy Guide)
How to do backstitch and French knots in cross stitch, read them on a chart, and get neat outlines and knots that don't pull through.
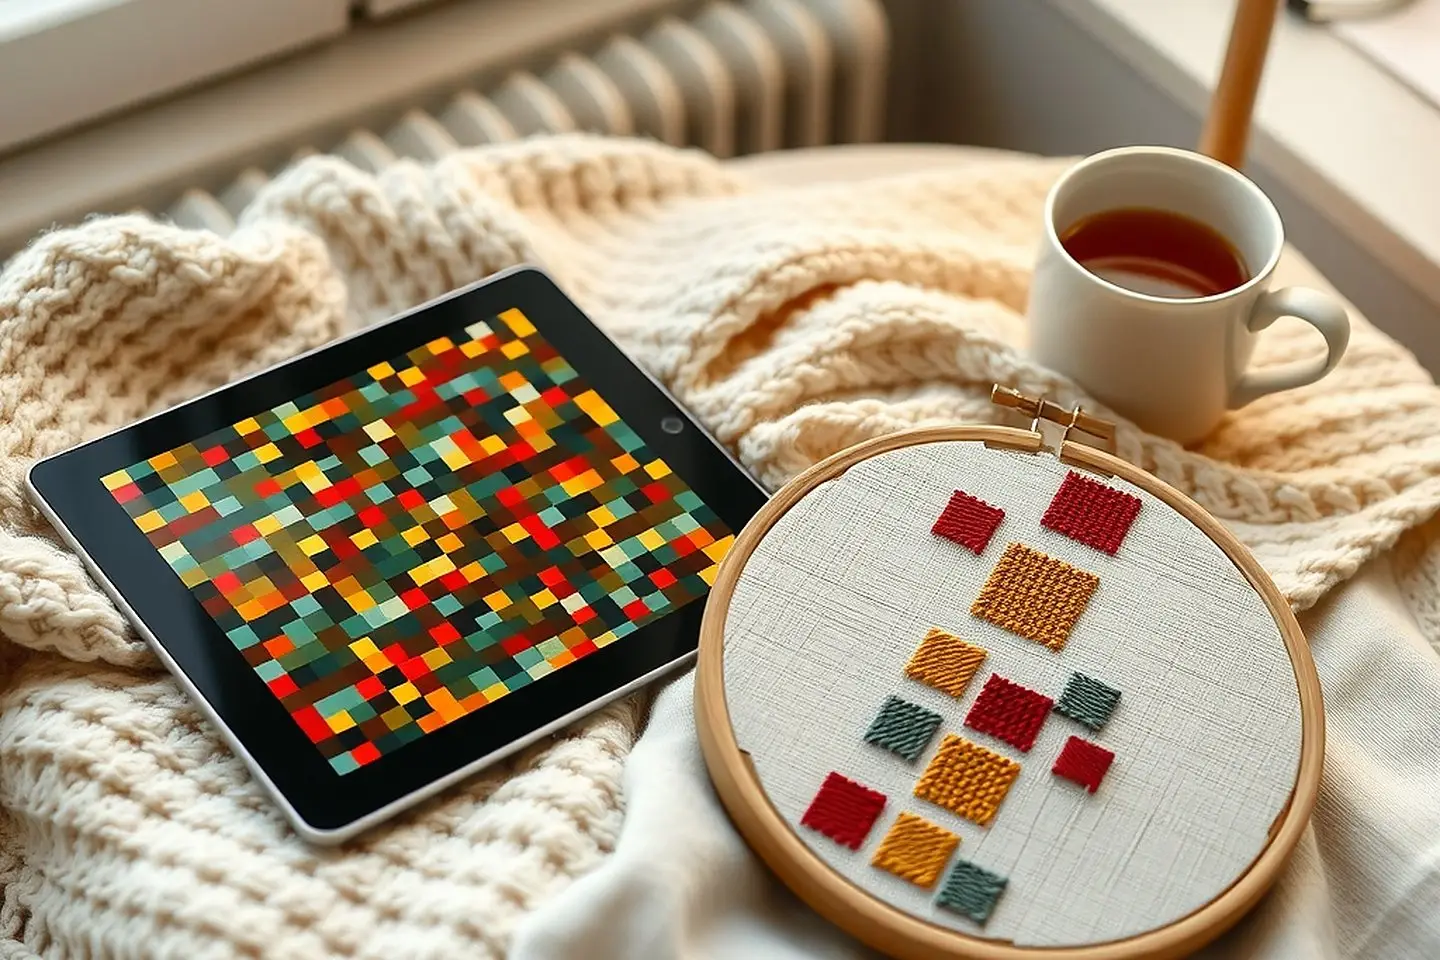
Pattern Keeper Guide: Stitch PDF Patterns on a Tablet
How to use PDF cross stitch patterns on paper, tablet or phone, a beginner's guide to the Pattern Keeper app, and what makes a PDF PK-compatible.
What Is Confetti in Cross Stitch? (+ How to Tame It)
Confetti stitches explained: what they are, why they slow you down, tips like parking for confetti-heavy patterns, and how to spot low-confetti charts.