
Backstitch & French Knots in Cross Stitch (Easy Guide)
How to do backstitch and French knots in cross stitch, read them on a chart, and get neat outlines and knots that don't pull through.
In this post
Backstitch and French knots are the two little extras that turn a block of color into a mushroom with gills, a cat with whiskers, or a snowy roof with sparkle. They look fiddly on the chart. They are not. This cross stitch backstitch tutorial covers how to read both on a pattern, how to stitch them step by step, and the small habits that keep outlines crisp and knots on the front where they belong.
The short answer: backstitch is a line of small straight stitches worked hole to hole along the edges of the squares, usually with 1 strand, and always after your cross stitches. A French knot is the floss wrapped twice around the needle and taken back down right next to where it came up, never in the same hole.
If you’re brand new, my complete beginner guide to cross stitch covers the basic X first. Then come back here for the details.
What backstitch does (and why patterns add it last)
Cross stitches fill areas. Backstitch draws lines. A designer adds it where a shape needs an edge (a cap against a white background), where a detail is too thin for a full square (stems, whiskers, lettering), or where two similar colors need separating.
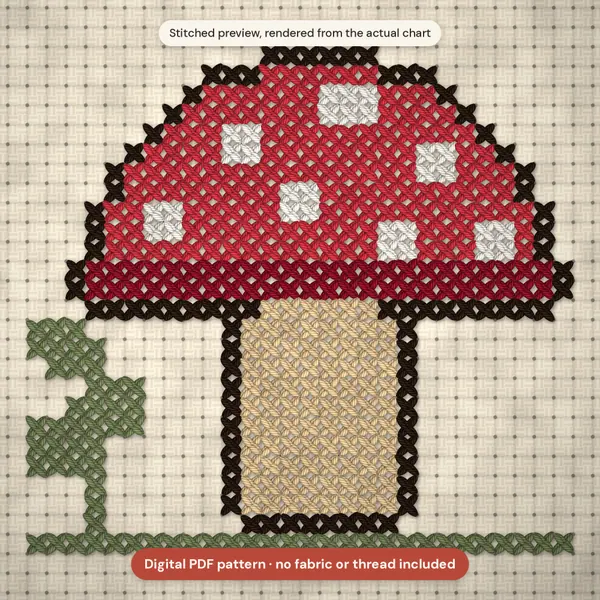
Here’s the same tiny mushroom with and without its outline and knots. Same chart, same three colors:
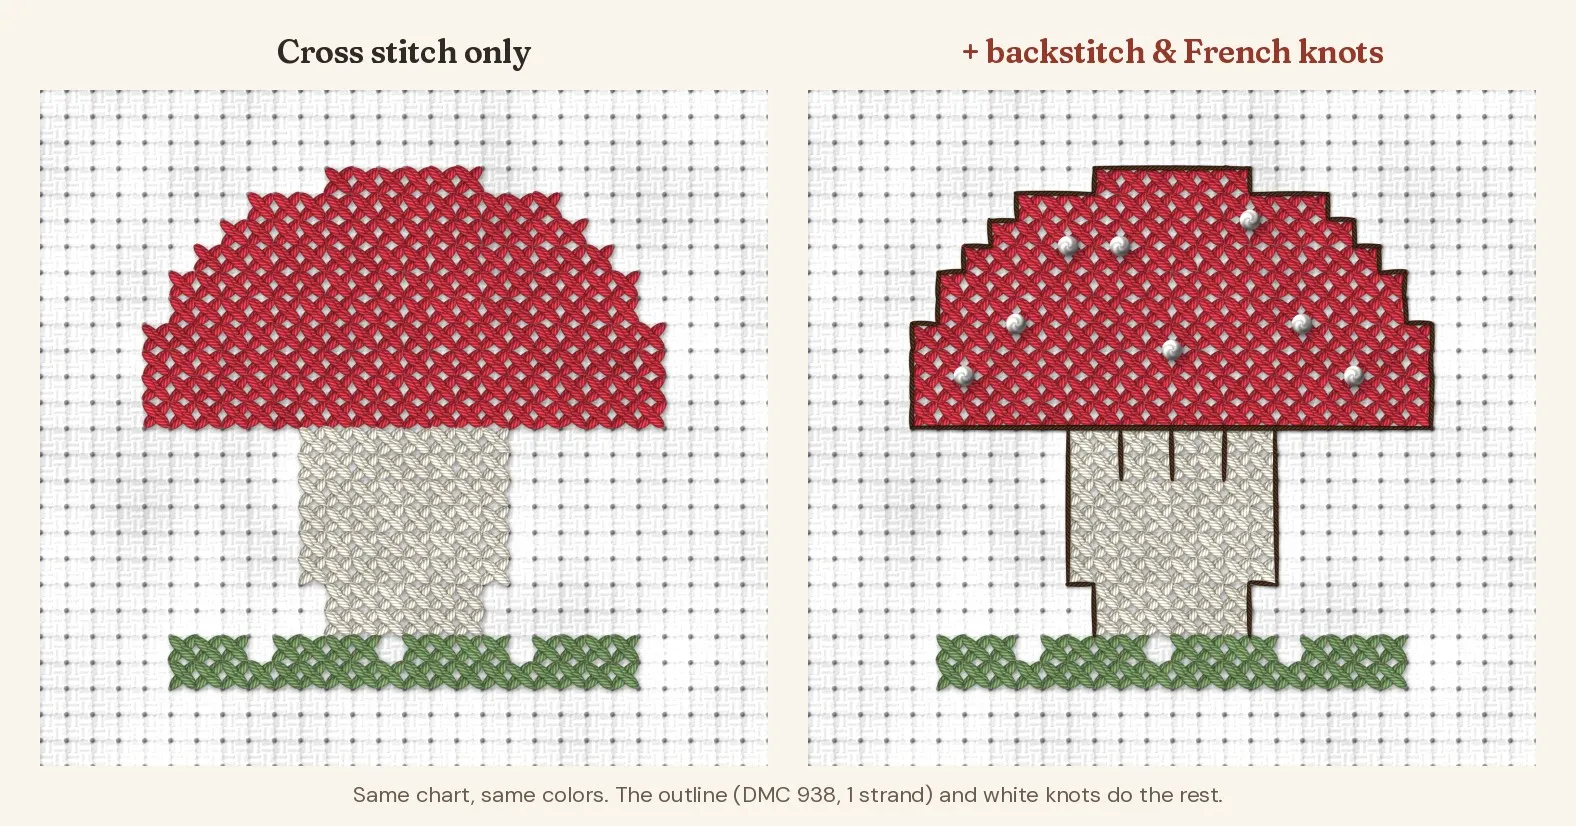
That’s why backstitch comes last. Full crosses are slightly raised. If you outline first, the crosses you add afterwards push the line around and half bury it. Stitch every cross in the area first, then outline on top.
How to read backstitch lines on a chart
On a chart, backstitch shows up as solid lines drawn along the grid lines, not inside the squares. A few things to look for:
- The floss key lists backstitch separately, usually under its own heading with a DMC number and a strand count, for example “Backstitch: 938, 1 strand”.
- Each color gets its own line color or line style on a color chart. On a black-and-white chart, designers often use dashed or dotted lines to tell them apart.
- Lines can run diagonally from corner to corner of a square. Sometimes a line meets the middle of a square. You just pierce the aida block in the center there.
- French knots are usually shown as a dot or small circle sitting on a grid intersection, with their own entry in the key.
If you’re still getting comfortable with symbols and keys, my guide to reading a cross stitch pattern step by step walks through a whole chart page.
Step by step: backstitch
You’ll need the floss and strand count from the key (usually 1 strand), a tapestry needle (size 24 or 26 for 14 count aida), and fabric held taut in a hoop or frame.
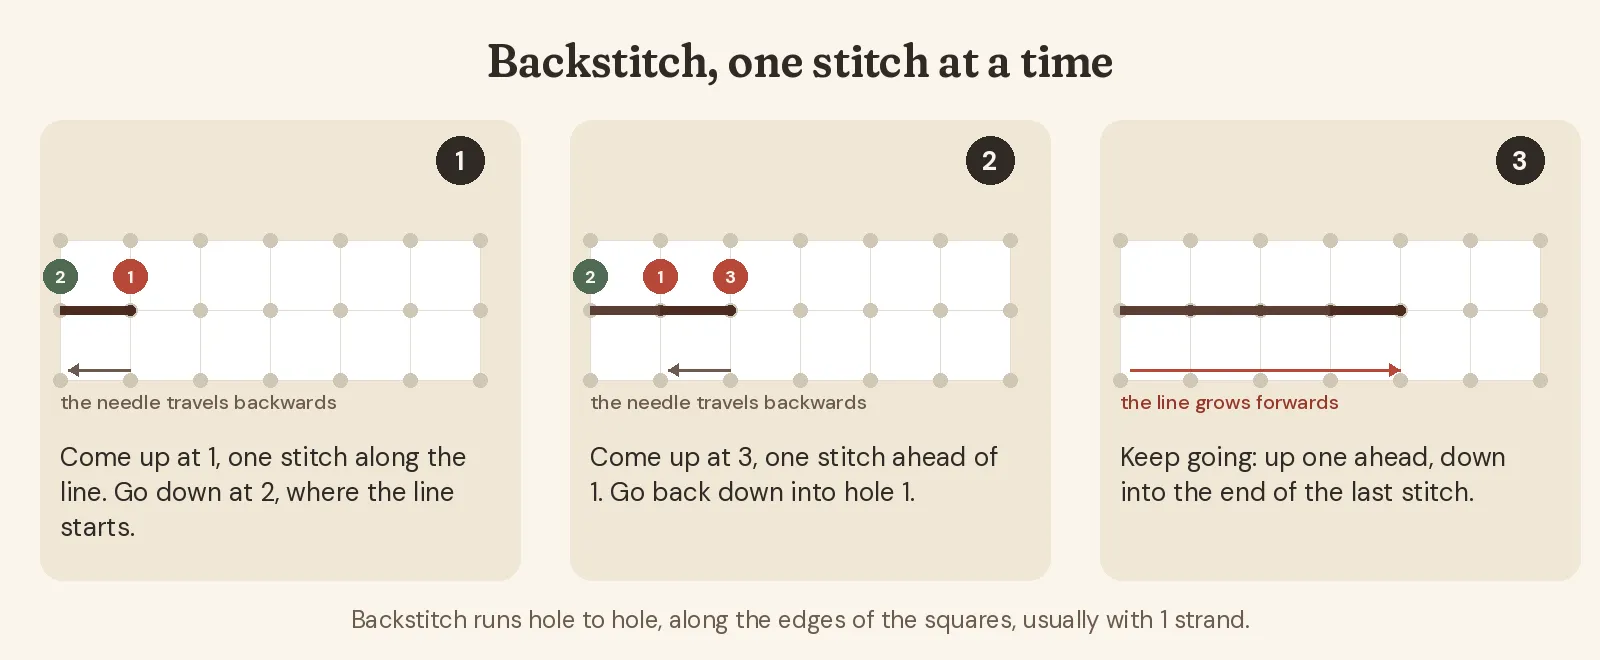
- Secure your thread. Start by running the tail under four or five stitches on the back of nearby cross stitches. With one strand there’s no loop start, so this is the neatest option. (My post on starting without a knot has the other methods.)
- Come up one stitch along the line (point 1).
- Go down at the start of the line (point 2). You’ve made your first stitch, backwards.
- Come up one stitch ahead of point 1 (point 3), then go back down into point 1, sharing the hole.
- Repeat. Up one ahead, down into the end of the last stitch. The needle travels backwards on the front, and the line grows forwards.
- Finish by running the thread under a few stitches on the back and snipping close.
Keep your tension relaxed. Backstitch pulled tight puckers the fabric and makes curves look jagged.
a little gift for you
Get your free cross stitch patterns
Join The Hearth Letter and download every freebie instantly, plus 15% off your first order and cozy stitching tips from Sara.
We send about two letters a month. Unsubscribe with one click.
Long stitches vs short stitches
Most charts draw backstitch as one stitch per square. Some lines, such as whiskers, rays, or a flower stem, are drawn as long stitches that cross several squares in one go.
| Situation | What I do | Why |
|---|---|---|
| Chart shows one stitch per square | Follow it, one square at a time | Curves stay smooth |
| A straight line over 2-3 squares | One longer stitch is fine | Looks crisp, saves time |
| A straight line over 4+ squares | Split it, or couch it in the middle | Long loose threads snag on fingers and frames |
| Lettering | Short stitches, and stitch letters one at a time | Sharp corners, readable words |
| Thick outline in 2 strands | Check the key, keep strands untwisted | Two twisted strands look lumpy |
To couch a long stitch, make the long stitch, then bring the needle up beside it halfway along, go over it and back down. One tiny stitch holds it flat.
Step by step: the French knot
French knots scare everyone the first time. They get easy very fast once you see that the trick is all in tension and where the needle goes back down.
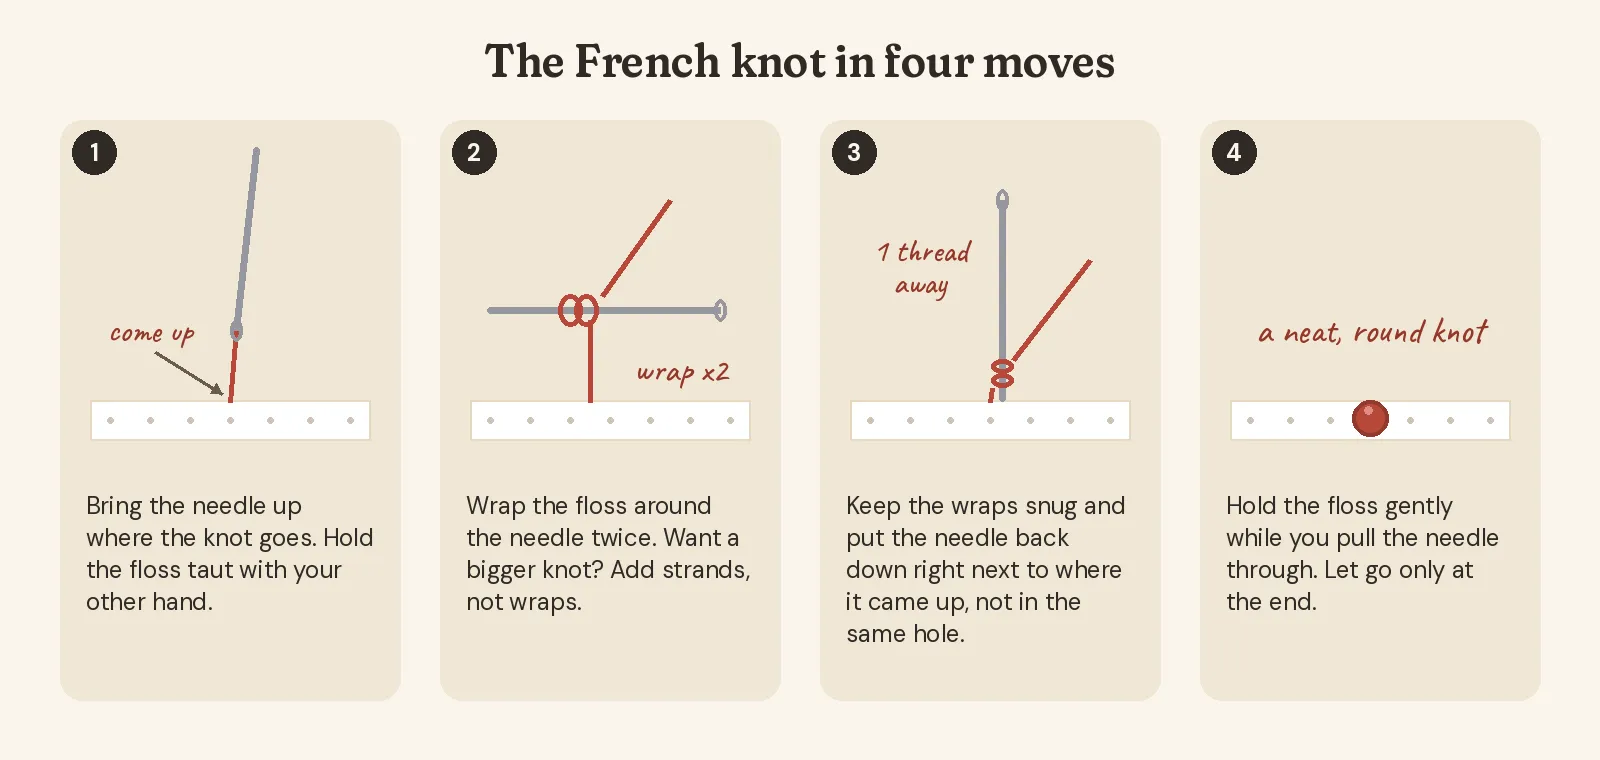
- Bring the needle up where the knot goes. Hold the floss in your non-needle hand, a few inches from the fabric.
- Wrap the floss around the needle twice, close to the fabric.
- Slide the wraps down snug against the fabric, still holding the floss taut.
- Take the needle back down right beside where it came up. On aida that means just into the edge of the block next to the hole, not the hole itself.
- Keep a light hold on the floss while you pull the needle all the way through. Let go only at the very end.
Most patterns ask for 2 strands for knots on 14 count. If you want a bigger, rounder knot, add strands rather than wraps. Three or four wraps tend to make a loose, floppy knot.
A hoop or frame helps a lot here. With the fabric held taut, you get both hands free: one to hold the floss, one to steer the needle.
French knots that won’t pull through
If your knot vanished to the back, one of these is almost always the reason:
- You went back down the same hole. The knot simply follows the needle through. Go down next to it.
- You let go of the floss too early. The wraps loosen and slide. Keep that gentle tension until the needle is out the back.
- The wraps were loose on the needle. Snug them down before you push through.
- The knot sits over an empty hole on loose-weave fabric. On 11 count or loose evenweave, use an extra strand so the knot is bigger than the hole.
And if knots truly fight you, the colonial knot is a sturdy cousin worth trying. It uses a figure-eight wrap and holds its shape well. For tiny eyes on small motifs, a single cross stitch or a short straight stitch works too. Nobody will be checking.
Practice both on a free mini motif
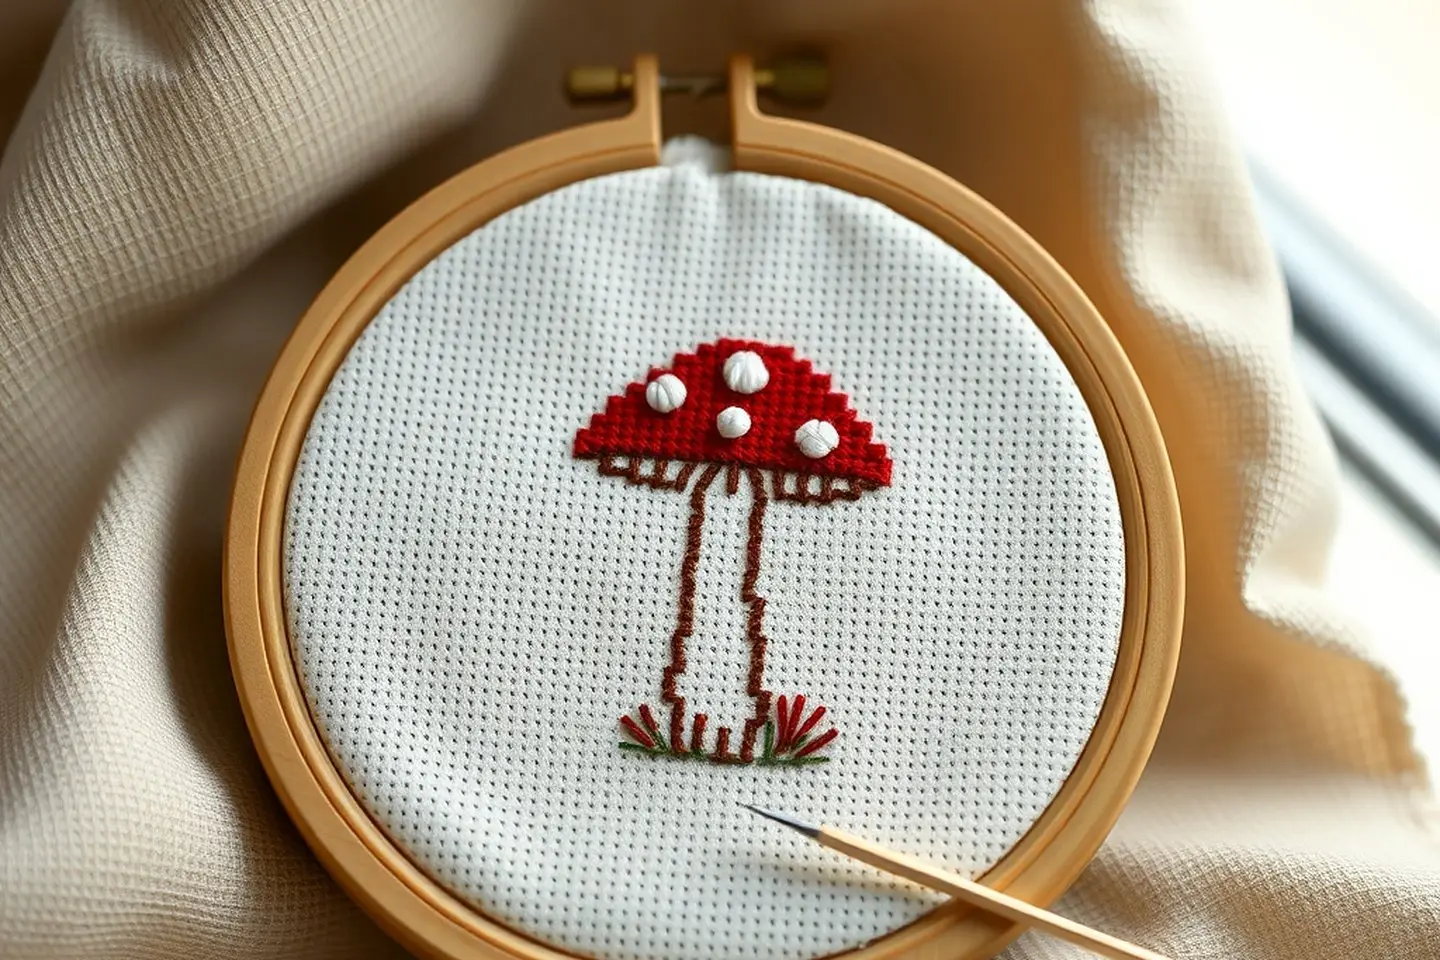
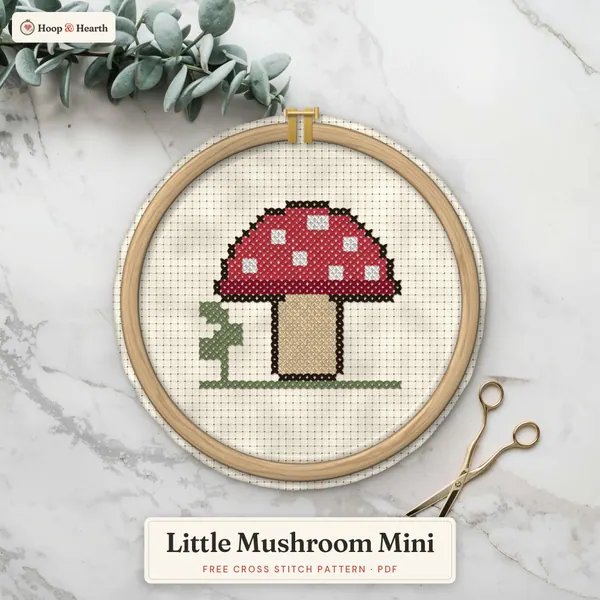
The best way to get comfortable is a small, low-pressure motif with just a little of each. My little mushroom mini has a short backstitch outline and a few white spots that are perfect practice. You’ll find it on the free patterns page, and there’s more about it in my post on the free mushroom cross stitch pattern.
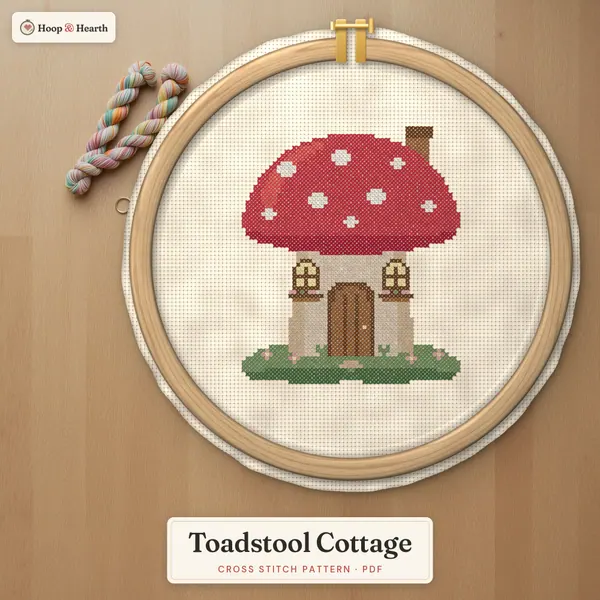
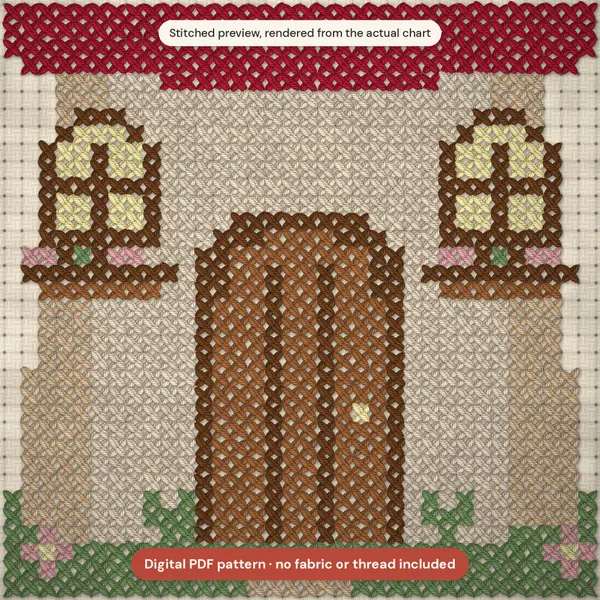
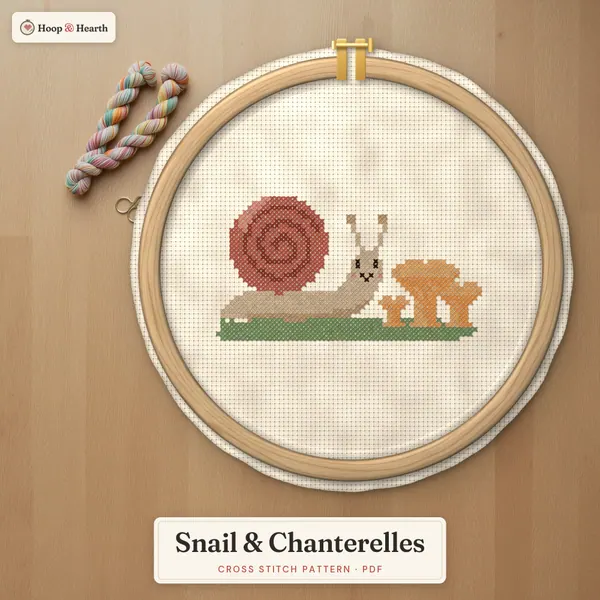
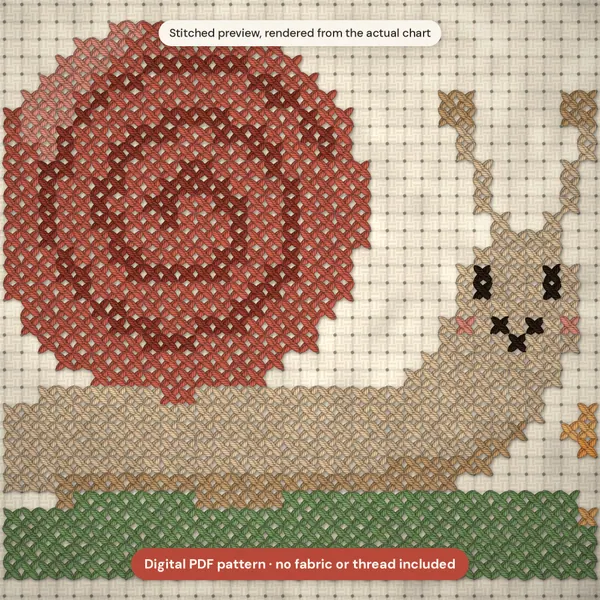
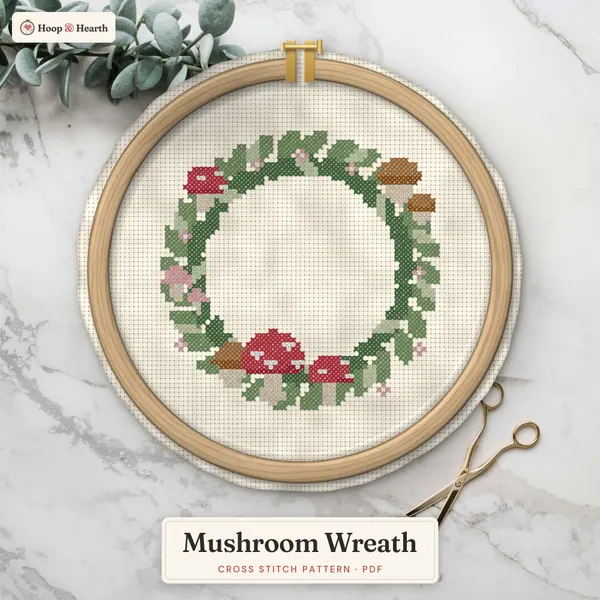
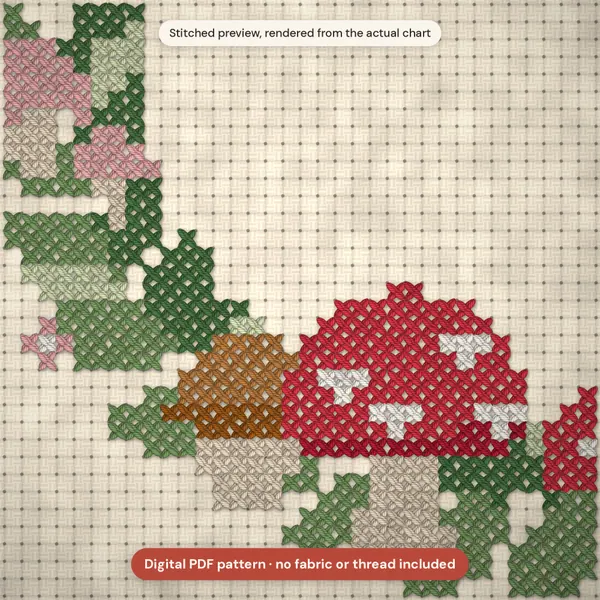
When you’re ready for more, these patterns use backstitch to bring out the details:
If you make a mistake in an outline, don’t worry. A single strand unpicks easily, and my guide to fixing cross stitch mistakes shows how. And if you’re wondering what any of the shorthand in a pattern key means, keep the cross stitch glossary handy.
a little gift for you
Get a free pattern to practice on
Join The Hearth Letter and download my free patterns instantly, plus the beginner cheat sheet.
We send about two letters a month. Unsubscribe with one click.
Frequently asked questions
How many strands do you use for backstitch in cross stitch?
Usually one strand on 14 count aida. Some patterns ask for two strands when they want a bold outline or lettering that stands out, so always check the floss key first.
Do you do backstitch before or after cross stitch?
After. Backstitch sits on top of the finished cross stitches. If you outline first, the crosses push the line around and partly cover it.
Why does my French knot pull through to the back?
Almost always because the needle went back down in the exact hole it came up from. Go down right next to it instead, keep the wraps snug, and hold the floss gently until the needle is all the way through.
How many times do you wrap a French knot?
Twice is the usual. If you want a bigger knot, use more strands rather than more wraps, because extra wraps tend to make a loose, wobbly knot.
Patterns to try
Stitch along with this post
Keep reading
More from the blog
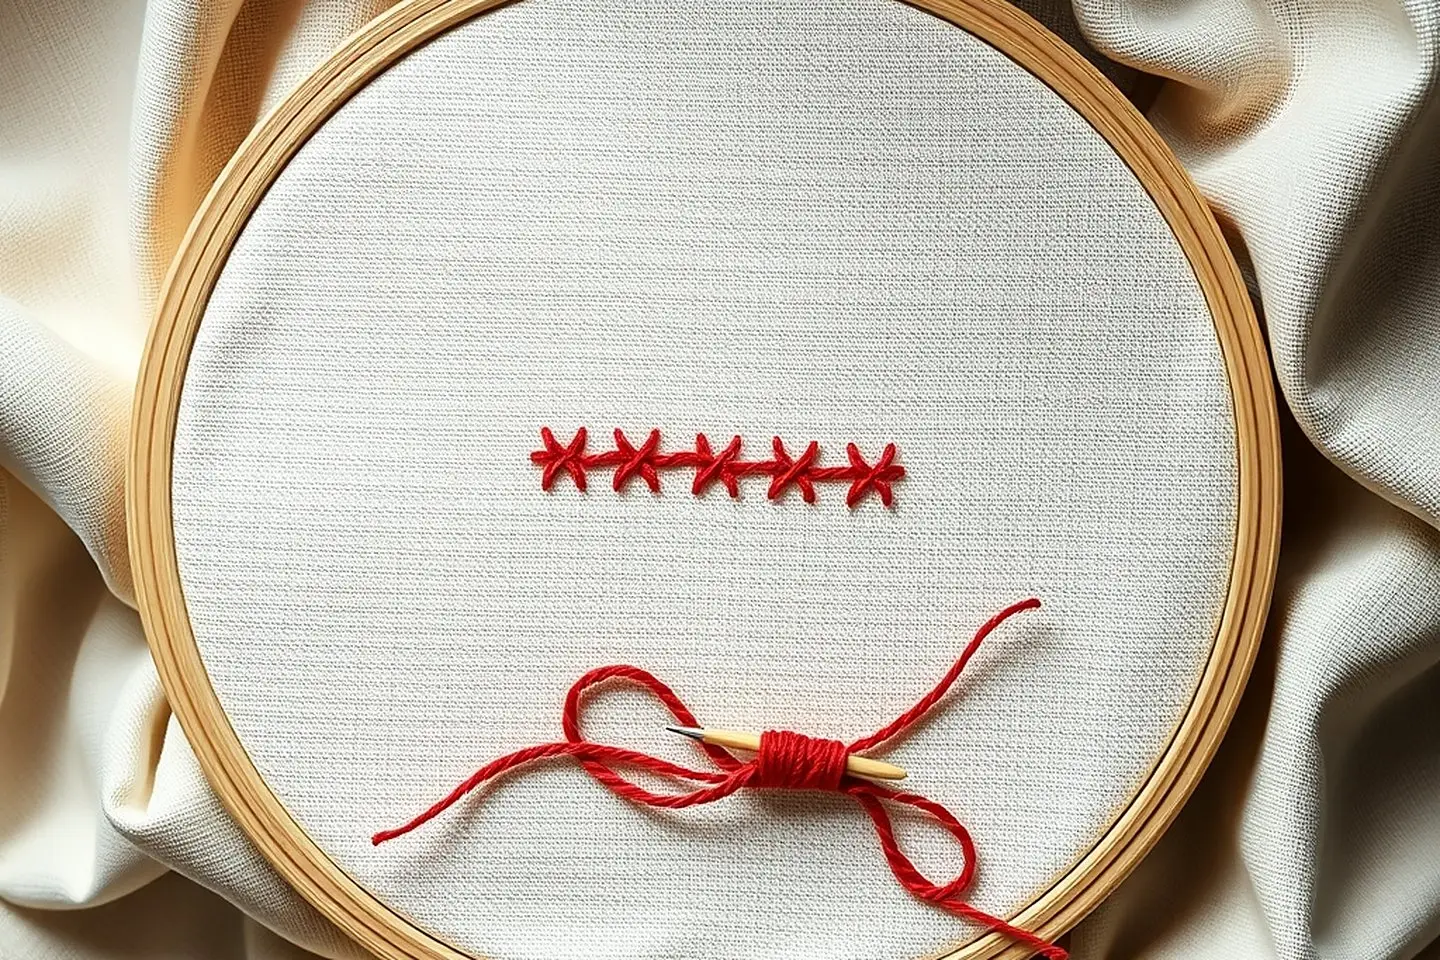
How to Start Cross Stitch Without a Knot (3 Methods)
The loop method, the waste knot and the away knot explained simply, plus how to end a thread neatly so the back of your cross stitch stays flat.
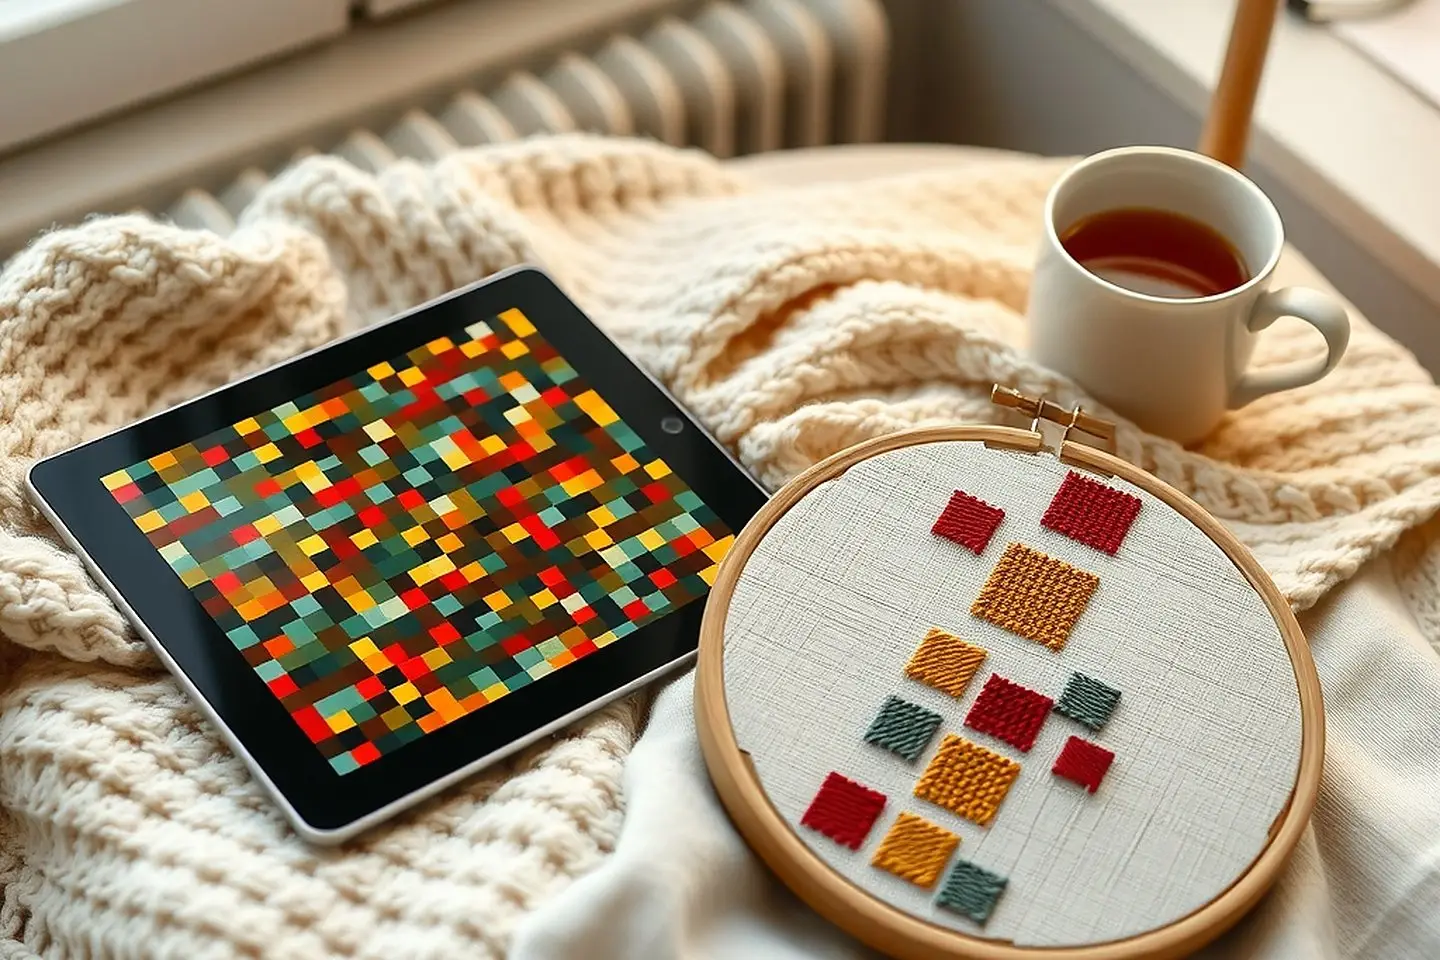
Pattern Keeper Guide: Stitch PDF Patterns on a Tablet
How to use PDF cross stitch patterns on paper, tablet or phone, a beginner's guide to the Pattern Keeper app, and what makes a PDF PK-compatible.
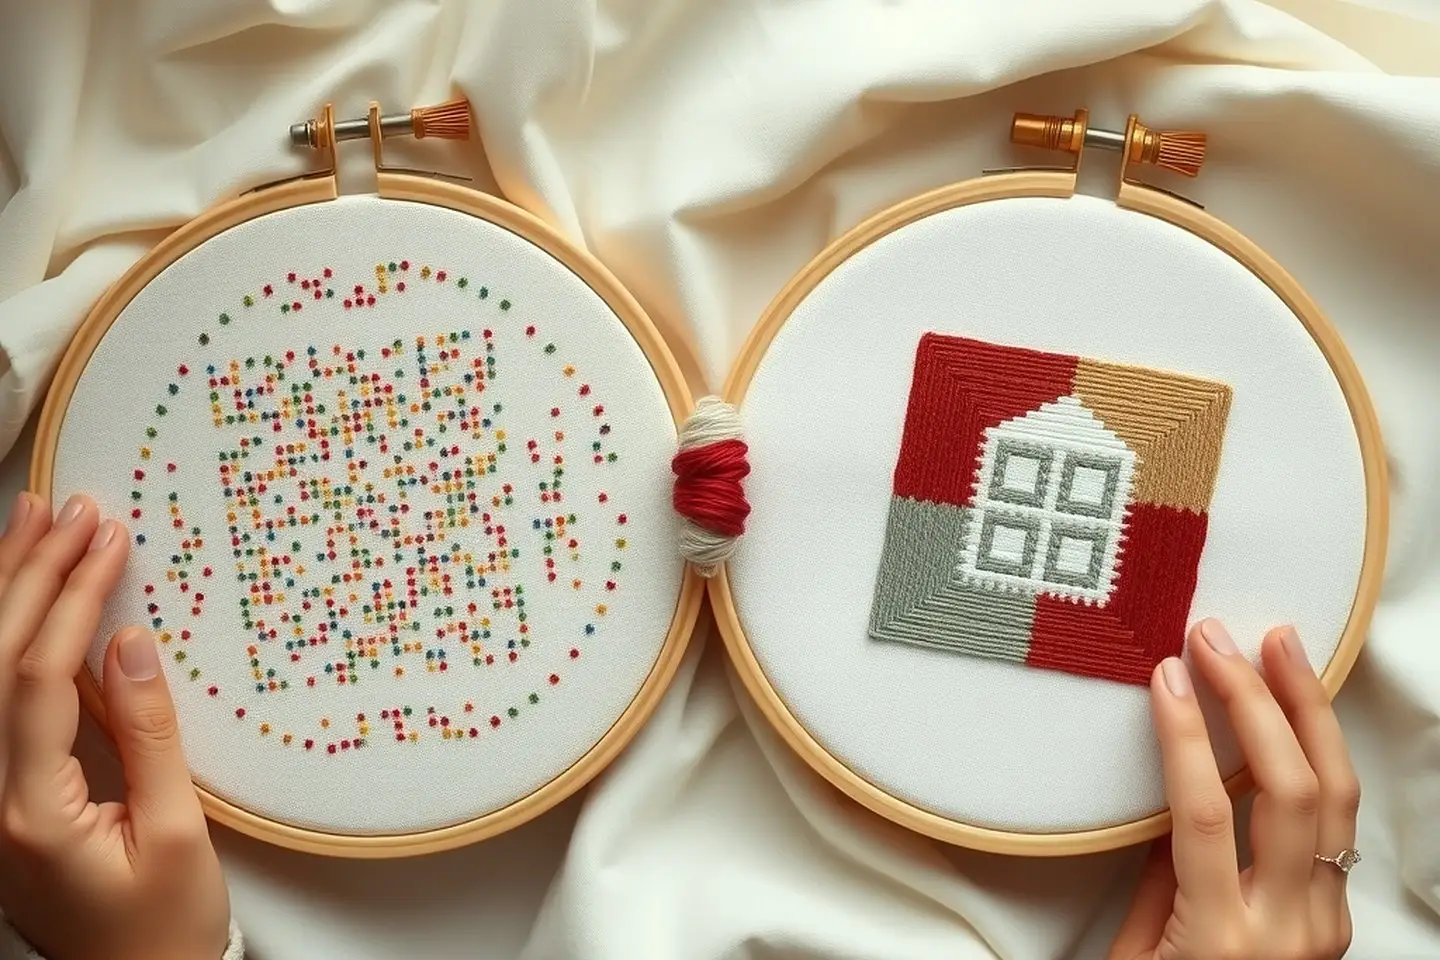
What Is Confetti in Cross Stitch? (+ How to Tame It)
Confetti stitches explained: what they are, why they slow you down, tips like parking for confetti-heavy patterns, and how to spot low-confetti charts.