
How to Fix Cross Stitch Mistakes (Frogging Made Easy)
Miscounted? Wrong color? How to unpick cross stitch safely, fix tension and messy backs, and stop thread tangling, without damaging your fabric.
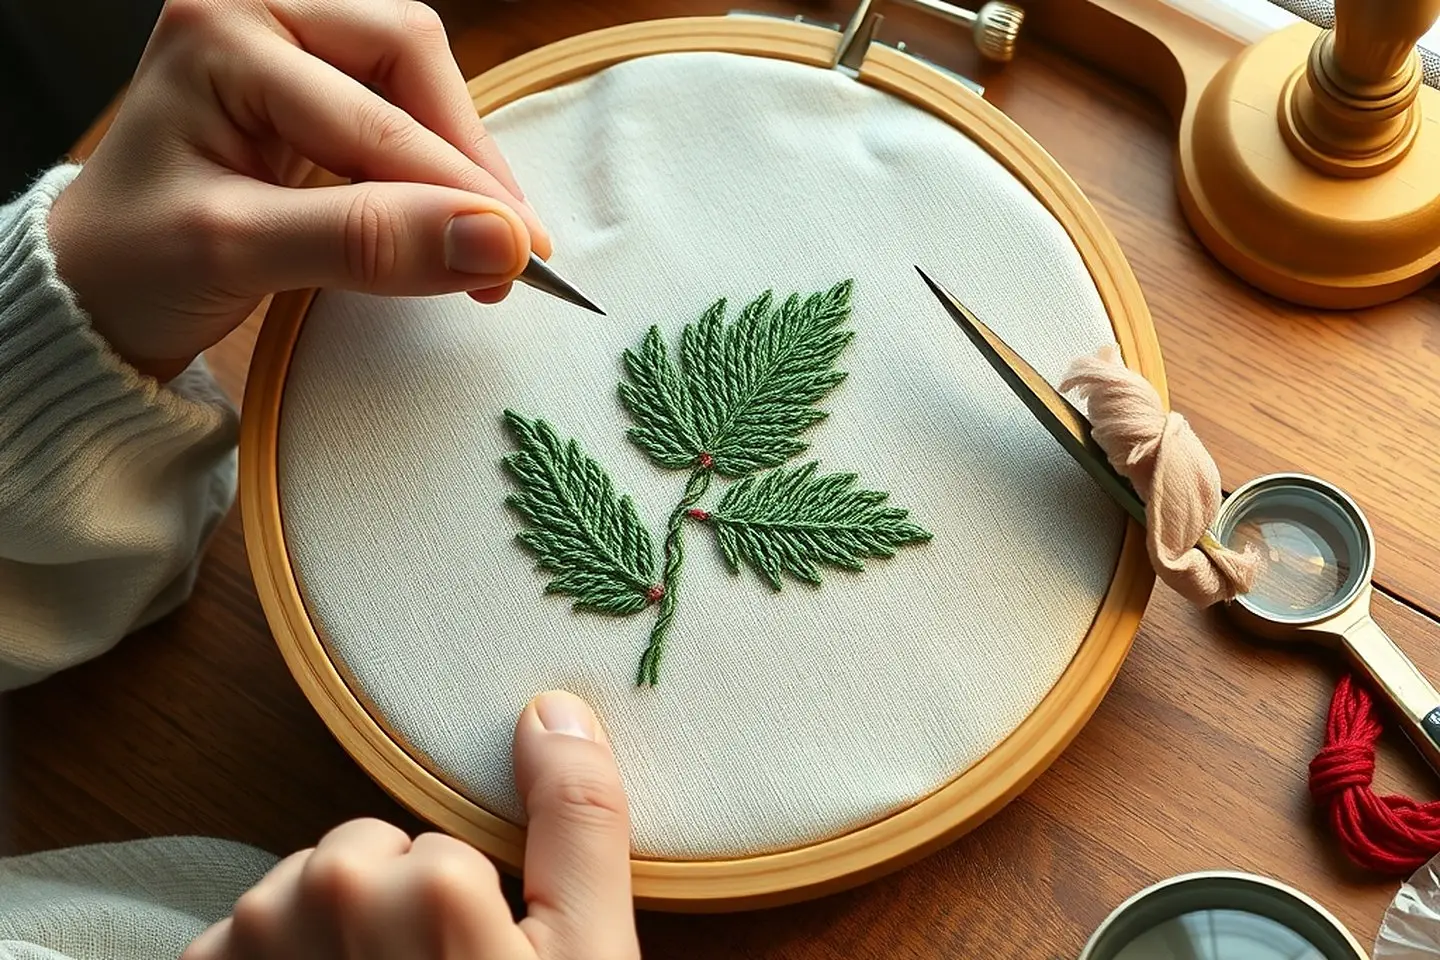
In this post
Every stitcher makes mistakes. Every single one. I’ve miscounted a whole cottage roof by one square, stitched a window in the wrong yellow, and once worked half a row with a thread so twisted it looked like string. The good news: almost everything in cross stitch can be fixed, and most of it is quick.
Here’s how to fix cross stitch mistakes calmly: when to leave them, which tools to use, how to unpick a few stitches or a big section without hurting your fabric, and how to stop the most common problems (miscounts, tension, tangles and messy backs) before they start.
The short answer: first decide whether it really needs fixing. If it does, unthread your needle and lift a few stitches out from the back with its tip. For bigger areas, snip the top legs on the front with small sharp scissors and pull the pieces out from the back with tweezers. Then remove the fuzz with sticky tape and re-stitch with fresh thread.
New to all of this? My beginner’s guide to cross stitch covers the basics.
First: do you even need to fix it?
Before you reach for the seam ripper, look at the piece from across the room. Honestly, a lot of mistakes vanish at arm’s length.
| Mistake | Usually… |
|---|---|
| One stitch in a slightly wrong shade, inside a big area | Leave it. Nobody will ever see it |
| One top leg crossing the wrong way | Leave it, or fix just that stitch |
| A shape is one square wider than the chart | Leave it if the shape still looks right. Adjust the next row to match |
| The whole area is shifted and the next part won’t fit | Fix it |
| Wrong color in a key detail, like an eye | Fix it |
| A knot or loop showing on the front | Fix it |
Frogging tools (seam ripper, tweezers, a good light)
You don’t need much:
- A blunt tapestry needle for lifting out a few stitches.
- Small, very sharp embroidery scissors with fine points.
- A seam ripper. Useful, but sharp. Use it gently and always on the top of the thread, never pushed down into the fabric.
- Fine-pointed tweezers for pulling out short snipped pieces.
- Good light and, if it helps, a magnifier.
- Sticky tape or a lint roller to lift the fuzz left behind.
Unpicking a few stitches
For one to about ten stitches, especially with the thread still on your needle:
- Unthread the needle.
- Turn the work over. Using the blunt tip of the needle, lift the last stitch’s thread out of its hole.
- Work backwards, one leg at a time, until you’ve removed the mistake.
- If you have enough thread left (a few inches more than you need), rethread and carry on. If it looks fuzzy or crinkled, end it and start a new length.
Don’t tug. Ease each leg out. Pulling hard drags the holes out of shape.
Unpicking a big section
For a larger area, cutting is faster and safer than picking each stitch out from the back:
- On the front, slide the points of your scissors (or the seam ripper) under the top leg of a stitch, lifting it away from the fabric.
- Snip only the thread. Check that no fabric is between the blades. Do a few stitches at a time.
- Turn the work over and pull the short pieces out with tweezers.
- Remove the bottom legs the same way.
- Dab the area with sticky tape to lift the leftover fuzz.
- Gently scratch the holes back into shape with a fingernail or the needle tip. Any stretched holes usually settle back further when you wash the finished piece. See how to wash cross stitch.
- Re-stitch with fresh thread.
a little gift for you
Get your free cross stitch patterns
Join The Hearth Letter and download every freebie instantly, plus 15% off your first order and cozy stitching tips from Sara.
We send about two letters a month. Unsubscribe with one click.
Fixing miscounts (the 10 x 10 grid habit)
Miscounts are the most common mistake, and the most annoying, because you often find them twenty rows later. The habit that fixed them for me: grid your fabric to match your chart.
Most charts have a bold line every 10 squares. If you add the same lines to your fabric, you’re never counting more than 10 at a time.
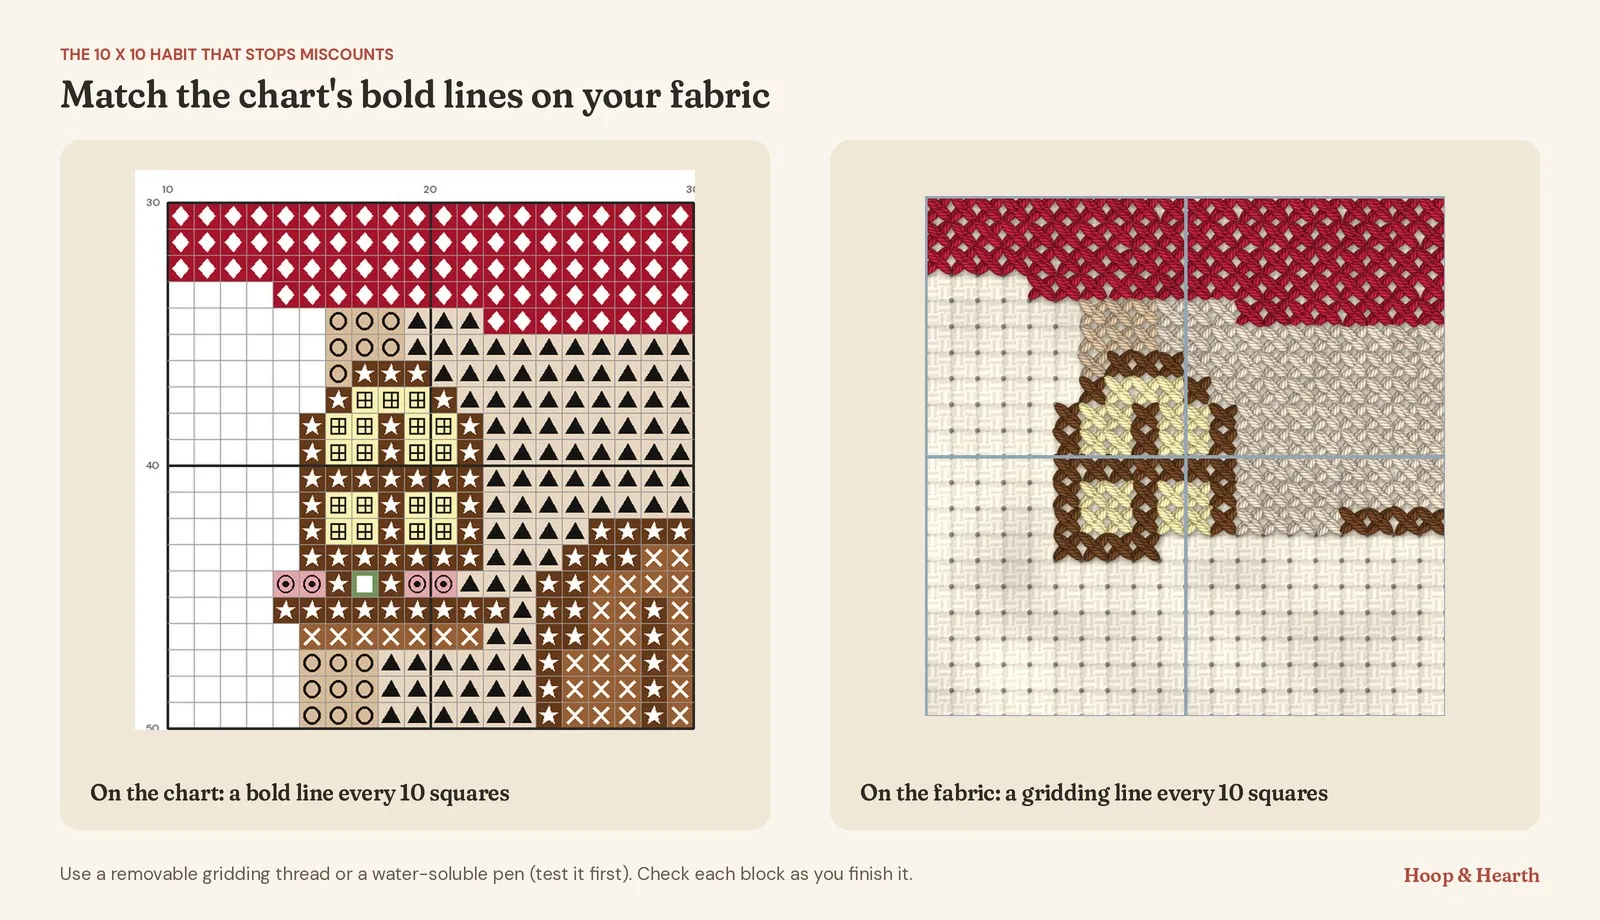
Ways to grid:
- Gridding thread: a thin thread (some people use fishing line) running under every 10th row of holes, removed when you’re done.
- A water-soluble pen. Test it on a scrap first and wash the piece afterwards.
- Avoid heat-erasable pens. Their marks can come back when the fabric gets cold.
Other habits that help:
- Count twice, stitch once, especially at the start of a new area.
- Use landmarks. Count from stitches you’ve already done, not from the edge of the fabric.
- Mark off as you go, on paper or in an app.
If the chart itself is hard to follow, my guide to reading a cross stitch pattern has tips for keeping your place.
Tension, puckering and wonky stitches
Puckering (the fabric ripples or the holes look pulled) means the stitches are too tight. Pull each stitch just until it lies flat. In a hoop, keep the fabric drum-tight so it doesn’t get dragged by your stitches. Small puckers often relax after washing and pressing face down on a towel.
Loose, loopy stitches mean the opposite: you’re not pulling quite enough, or you’re stitching “in hand” with very slack fabric. Snug them up as you go.
Wonky or uneven stitches usually come from:
- Top legs going different ways. Every X should be crossed in the same direction. Pick one and stick to it.
- Strands not separated. Pull strands out one at a time and lay them back together. More on that in how many strands for cross stitch.
- Old, fuzzy thread. End it when it looks thin.
Twisting and tangling floss
- Let the needle dangle every few stitches so the thread untwists.
- Keep lengths around 18 inches. Long threads tangle.
- If a knot forms, don’t pull. Slide the needle into the loop of the knot and gently pull it away from the fabric. It usually opens right up.
- If a thread keeps knotting, it’s probably too long or too twisted. End it and start fresh.
Messy backs: when it matters and when it doesn’t
The back of your stitching doesn’t need to be perfect. It’s a myth that it should look like the front. But a few things are worth avoiding:
It matters when:
- dark thread travels across bare fabric and shows through on the front, especially on white aida,
- lumps from knots or bunched threads will show under glass, on a board, or in a flat ornament,
- long loose loops can catch on your needle and pull stitches out of shape.
It doesn’t matter when:
- it’s tidy enough to lie flat, and nothing shows from the front,
- the piece will be framed or backed with felt, so nobody will ever see it.
To keep it reasonable, start and end threads without knots (see how to start cross stitch without a knot), and end a thread rather than carry it more than about three squares across bare fabric.
How to fix cross stitch mistakes before they happen: clear charts
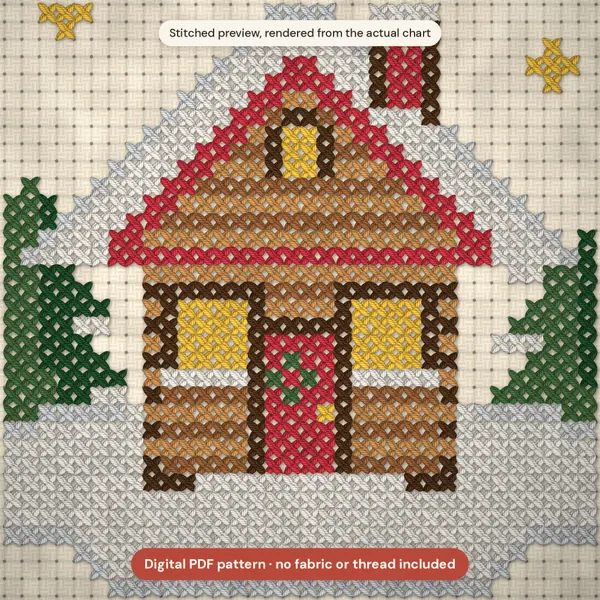
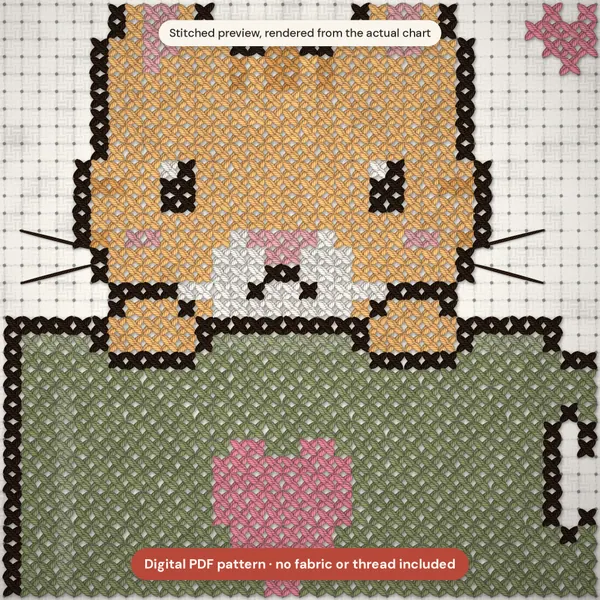
So many “mistakes” are really chart problems: look-alike symbols, missing grid lines, tiny squares. I design my patterns with clear, distinct symbols, a bold 10 x 10 grid and very little confetti, so there’s less to trip over.
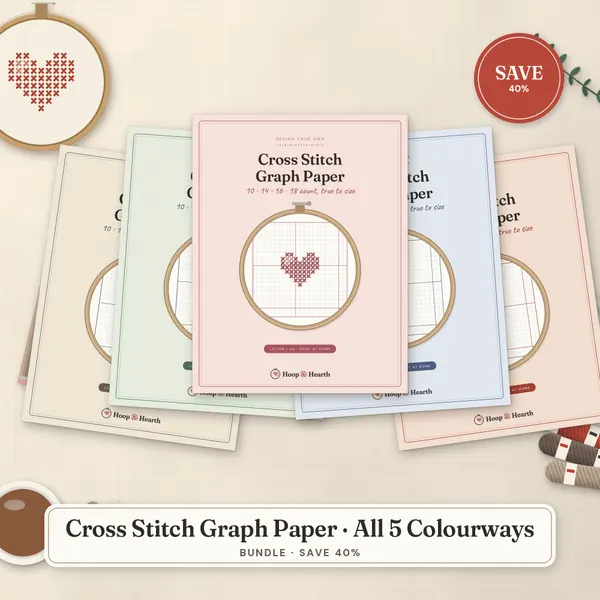
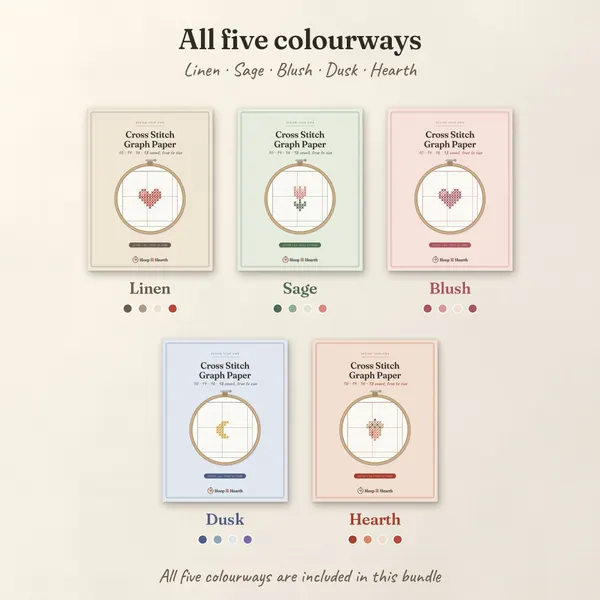
If you like to plan your own designs or practice counting, the cross stitch graph paper has bold lines every 10 squares too. And for every other beginner question, the complete beginner guide is the place to start. Happy (and gentle) frogging.
a little gift for you
A first pattern that's hard to get wrong
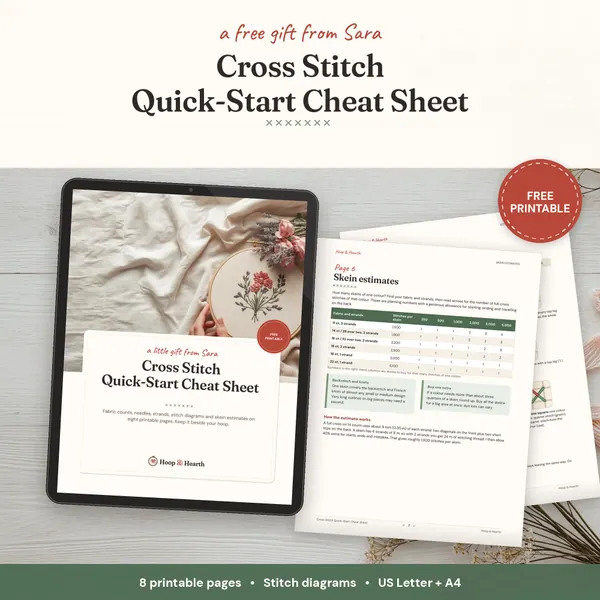
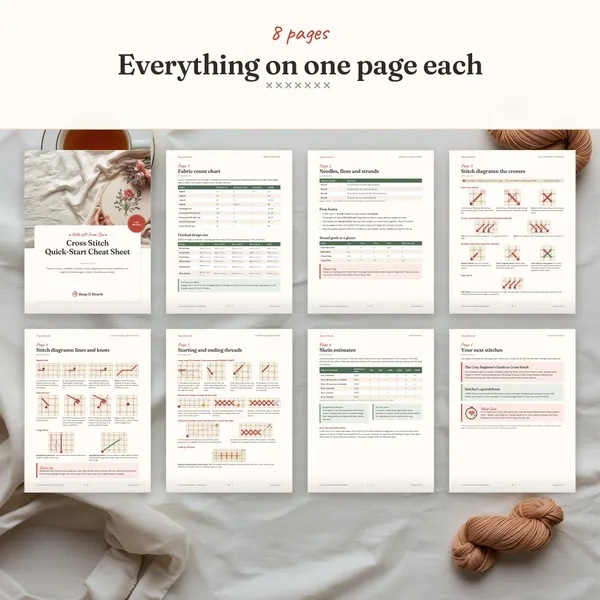
Join The Hearth Letter for my free beginner pattern and one-page cheat sheet.
We send about two letters a month. Unsubscribe with one click.
Frequently asked questions
What is frogging in cross stitch?
Frogging means unpicking stitches. The name comes from the sound "rip it, rip it", which sounds a bit like a frog's croak.
How do you unpick cross stitch without damaging the fabric?
For a few stitches, unthread the needle and use its blunt tip to lift each stitch out from the back. For larger areas, snip the top legs on the front with small sharp scissors, then pull the short pieces out from the back with tweezers. Go slowly and never pull hard.
Why does my cross stitch look messy?
Usually it's one of four things: the top legs of the Xs don't all lean the same way, the strands are twisted, the stitches are pulled too tight, or the thread is old and fuzzy. Separate your strands, keep tension snug but not tight, and cross every X in the same direction.
How tight should cross stitch be?
Snug. The thread should lie flat on the fabric without pulling the holes out of shape. If the fabric puckers or the holes look stretched, you're pulling too hard.
Can I reuse thread after frogging?
It's better not to. Unpicked thread is crinkled and worn, and it won't look like your other stitches. Cut a fresh length.
Patterns to try
Stitch along with this post
Keep reading
More from the blog
Cross Stitch Glossary: WIP, FFO, SAL, Frogging & More
What do WIP, FO, FFO, SAL, HAED, PK, frogging and confetti mean? A friendly A-Z cross stitch glossary of terms and abbreviations for new stitchers.
How Many Strands for Cross Stitch? A Simple Chart
How many strands of floss to use on 11, 14, 16 and 18 count aida or evenweave: a simple chart, how to separate floss, and when to break the rules.
How to Read a Cross Stitch Pattern (Step by Step)
Symbols, grids, keys and backstitch lines explained simply, with a free practice chart so you can learn how to read a cross stitch pattern tonight.